
Quick Summary: Installing a window AC is simple! Measure your window opening first, secure the main unit into the opening, slide the accordion panels shut, and use the provided brackets for stability. Always plug it into a dedicated outlet for safety.
Hello there! I’m Jack from ACReviewHub.com, and I know how frustrating it can be when your room is hot and sticky. Maybe you just bought a new window AC, or maybe you’re just trying to avoid those scary high energy bills. Setting up a new air conditioner can seem complicated, but trust me, it’s not. We are going to walk through every single step together. By the time we are done, you will feel totally confident about getting that cool air flowing.
What You Need Before You Start: Gathering Your Tools
Before we even touch the box, let’s make sure you have everything ready. Being prepared saves so much time later on. Think of this as gathering your ingredients before baking a cake!
You’ll need a few basic tools. Most window AC kits come with the necessary screws and brackets, but it’s good to have your own reliable tools handy.
Essential Tools Checklist
- Screwdriver (usually Phillips head)
- Measuring tape
- Pencil or marker
- Level (a small one works great)
- Drill (optional, but helpful for mounting brackets)
- Safety glasses (always good for peace of mind!)
Step 1: Picking the Right Spot and Checking Your Window Size
The success of your installation depends heavily on where you put the unit. A snug fit means better cooling and less chance of leaks.
First, measure your window opening carefully. You need to know the width, height, and depth of the space where the AC will sit. Don’t guess on these measurements!
Check your AC owner’s manual. It will list the minimum and maximum window dimensions the unit is designed to fit. If your window is too small, the unit won’t fit safely. If it’s too big, you’ll have gaps letting the hot air back in.
Sizing Up Your Needs: BTU Quick Guide
Before you even buy the unit, you need to know how much cooling power (BTUs) you need for your room size. Too small, and it runs constantly; too big, and it wastes energy and doesn’t dehumidify properly.
| Room Size (Square Feet) | Recommended Cooling Capacity (BTUs) |
|---|---|
| 150 to 250 sq. ft. | 5,000 to 6,000 BTUs |
| 250 to 350 sq. ft. | 7,000 to 8,000 BTUs |
| 350 to 450 sq. ft. | 9,000 to 10,000 BTUs |
For more detailed guidance on sizing, check out the Department of Energy’s tips on choosing an efficient AC unit (Energy.gov Link Example).
Step 2: Preparing the Window Unit for Installation
Now we get the AC ready to go into the frame. This usually involves attaching the side panels, often called accordion panels.
Carefully remove the air conditioner from its box. Place it on a towel or blanket on the floor so you don’t scratch the case or your flooring.
Extend the sliding accordion panels on both sides of the unit. These panels fill the gap between the AC sides and the window frame. Make sure they slide smoothly; you’ll lock them in place later.
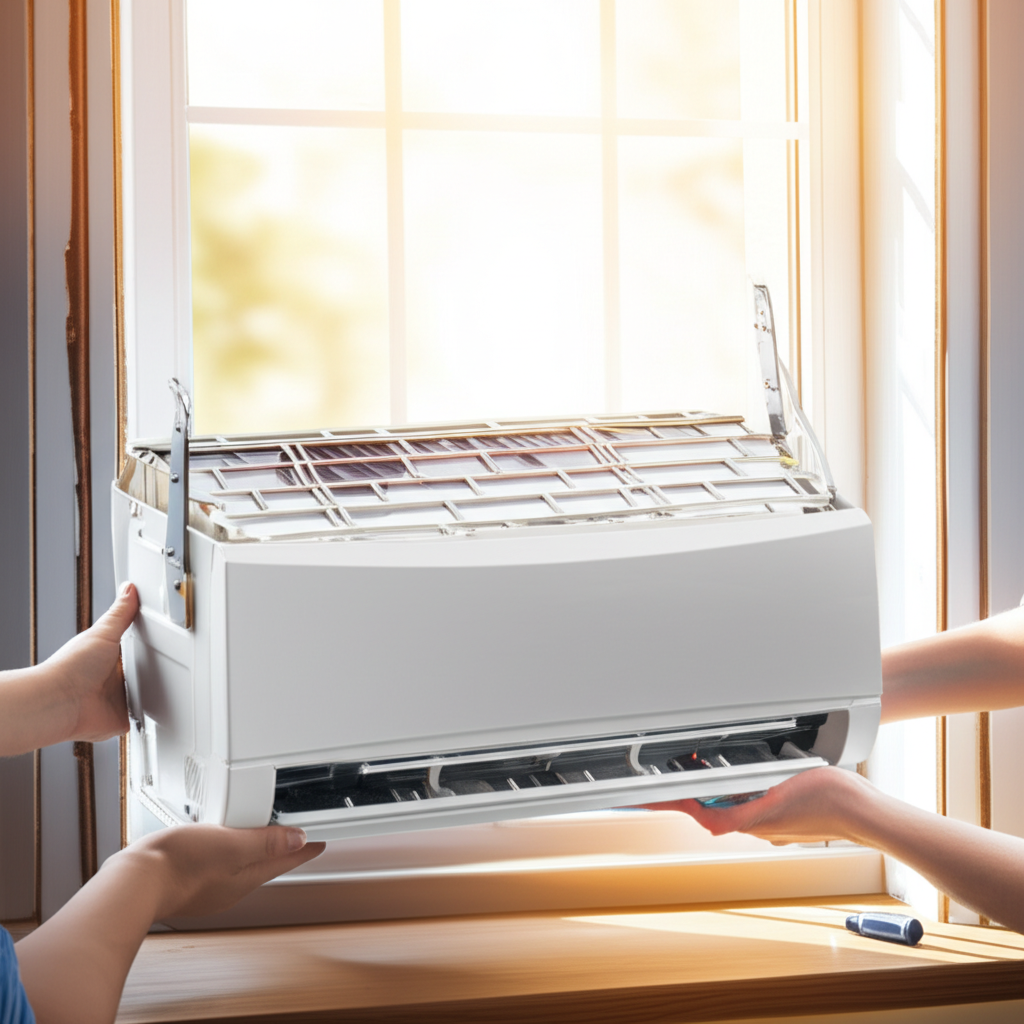
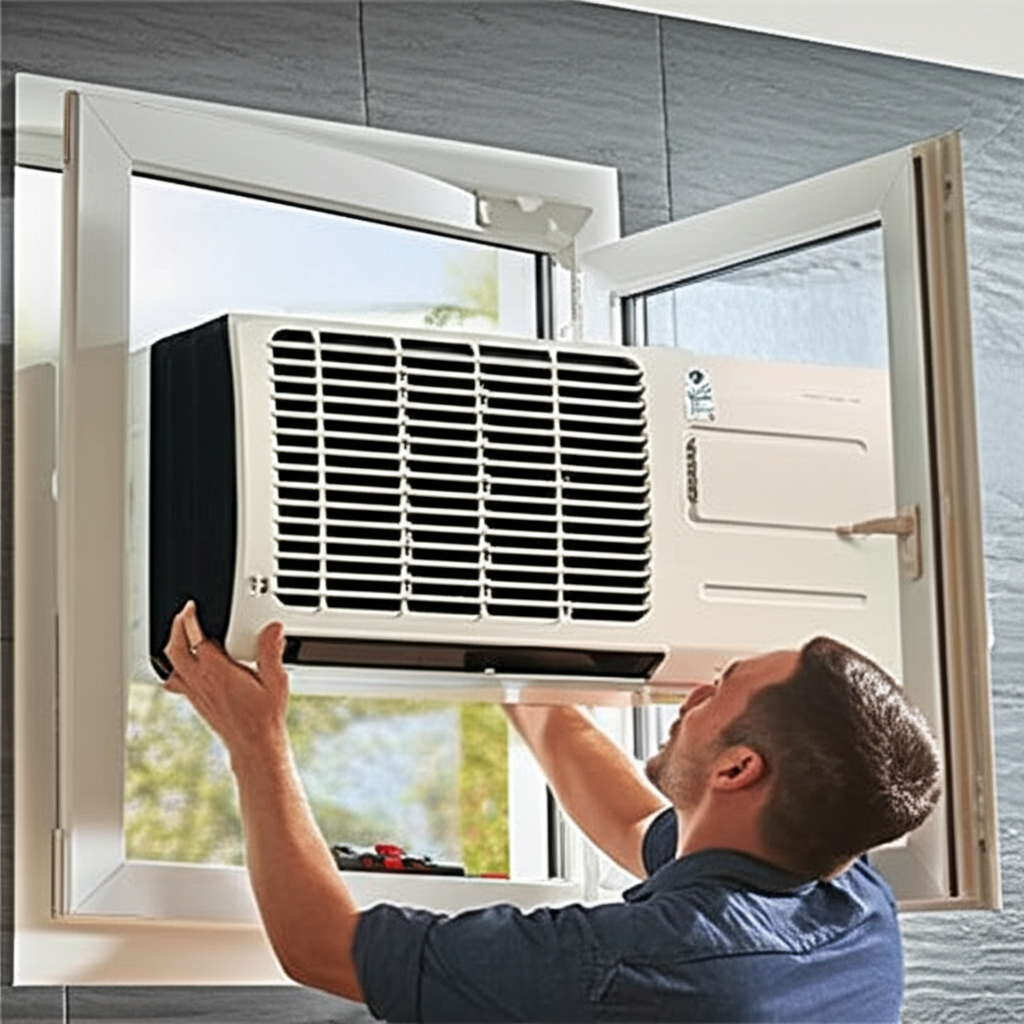
Step 3: Placing the AC Unit Securely in the Window
This is the big moment! If you have a helper, now is the time to call them over. Window AC units can be heavy and awkward.
Raise the unit carefully and place the bottom edge onto the window sill. Make sure it sits flat and firm. You want the front of the unit to be slightly lower than the back.
Why the slight tilt? This small downward tilt toward the outside allows condensation (the water that forms when cooling) to drip harmlessly outside instead of pooling inside your house. Use your level to check this—a slight bubble toward the outside is perfect.
Step 4: Locking Down the Sides and Frame
Once the unit is sitting correctly, it’s time to secure it so it won’t wiggle or fall out.
Extend the side accordion panels until they firmly meet the inside window frame. Use the screws provided to fasten these panels into the window frame itself. Drill pilot holes if necessary to prevent the wood from splitting.
Next, you need to secure the top of the unit to the bottom sash (the movable part) of the window. Most units have a locking lever or bracket that slides into a groove, locking the sash down onto the AC top.
Step 5: Installing the Support Brackets (Crucial for Safety)
Even if your unit feels snug, outside support brackets are often required by local codes and are essential for safety, especially for heavier models.
The support bracket (often L-shaped or a metal brace) attaches to the bottom of the AC case on the outside and then screws into the structure beneath the window.
Follow your manual precisely for bracket installation. This step prevents the AC from falling out, which is dangerous for anyone walking below!
Step 6: Sealing Up the Gaps (The Insulation Step)
We’ve secured the AC, but now we need to stop air leaks. Any gap lets your expensive cool air escape and hot air sneak in.
Use the foam insulation strips provided in your kit. Peel the backing off these strips and press them firmly into any remaining gaps between the sliding window sash and the top/sides of the AC unit.
If there are noticeable gaps on the outside, you might use weather stripping or even a bit of window insulation putty to seal them up completely from the exterior.
Simple Window AC Maintenance Tips
Installing it is only half the battle! To keep enjoying that cool air efficiently, you need simple maintenance.
- Clean the Filter Monthly: Pop out the front grille and remove the reusable filter. Rinse it with warm, soapy water and let it dry completely before putting it back. A clogged filter makes your AC work way too hard.
- Check for Debris Outside: Once every few weeks, make sure the outside fins (the metal radiator part) aren’t blocked by leaves, grass clippings, or dirt.
- Winterizing: Before the cold weather hits, remove the unit or, at the very least, cover the front panel securely with a heavy-duty AC cover to keep drafts out.
Troubleshooting Common Beginner Installation Issues
Don’t panic if things aren’t perfect right away. Here are a few quick fixes for common hiccups.
| Symptom | What It Likely Means | Quick Fix |
|---|---|---|
| AC won’t turn on | Plugged into a GFCI outlet that tripped, or fuse blew. | Check your breaker box. Never use an extension cord! |
| Water dripping inside | Unit is not tilted slightly outward. | Slightly loosen the exterior screws and gently push the front up until the level is correct. |
| Unit rattles loudly | Screws holding the side panels are loose. | Tighten all exterior mounting screws until the unit feels solid. |
Frequently Asked Questions from New AC Owners
Q: Can I use an extension cord for my window AC?
A: Please don’t! Window AC units draw a lot of power. Always plug them directly into a grounded wall outlet. Extension cords are a fire risk here.
Q: How much gap should there be between the window sill and the AC?
A: Ideally, there should be almost no gap at the bottom, but the unit should rest firmly on the sill. Any gap above the unit must be filled completely with the foam insulation strips.
Q: Do I need to seal the unit from the outside?
A: Yes! Sealing the outside gaps prevents bugs, rain, and air leaks. Use the provided foam, or look into inexpensive external weather stripping.
Q: How long should the AC run for?
A: It should cycle on and off. If it runs constantly without reaching your set temperature, it might be too small for the room, or the filter is very dirty.
Q: Can I install a heavy AC unit myself?
A: For units over 12,000 BTUs, it’s really best to have two strong people or hire a professional. Safety first!
Q: What if my window opens vertically (up and down)?
A: Most window ACs are designed for double-hung windows (where both sashes slide). If you have a sliding window, you might need a special mounting kit, or it might be safer to choose a different AC type.
You’ve successfully navigated the installation process! Remember, the key to saving energy and keeping your unit happy is consistency in your simple monthly checks. Don’t wait until the filter is totally black to clean it. A little preventative care goes a long way toward lower bills and better comfort.
You’ve got this — and cool, comfortable air is just a few simple steps away.