
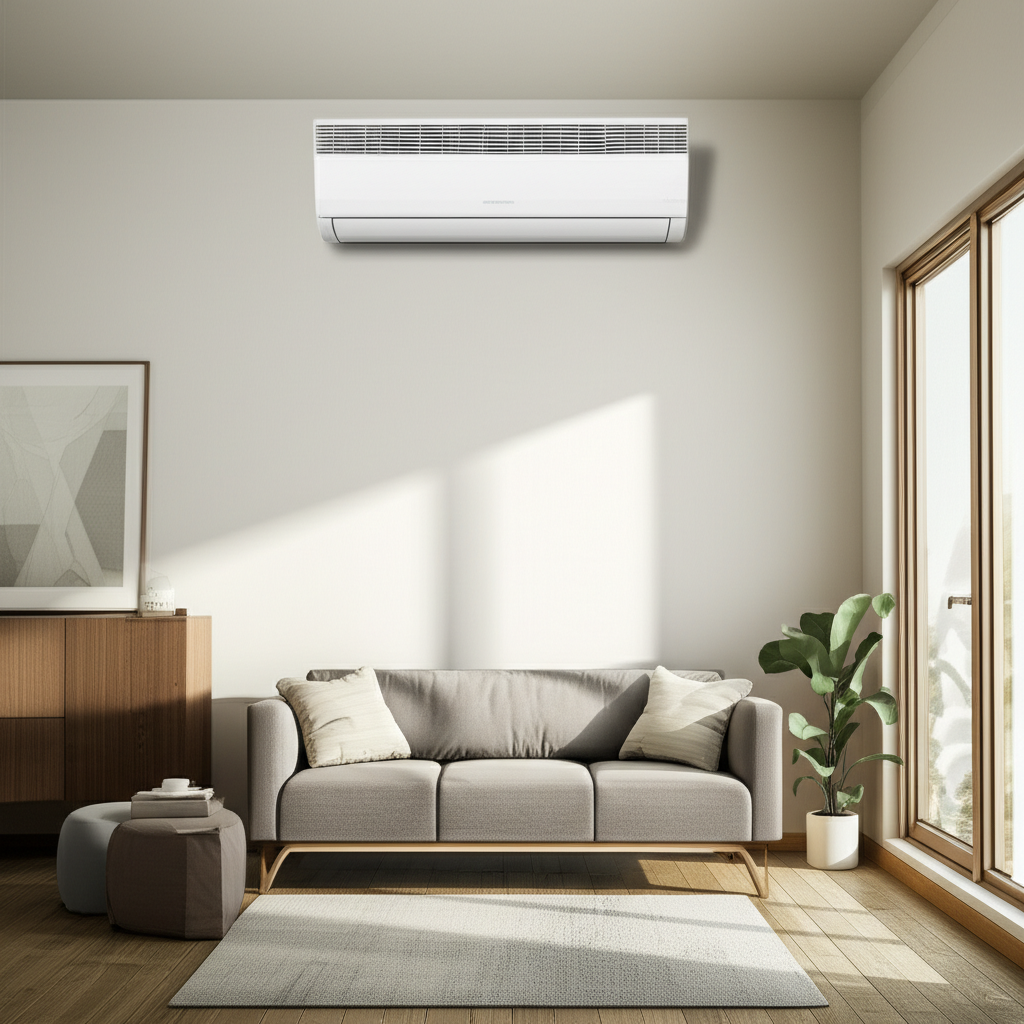
The best spot for your mini split indoor unit is usually high on an interior wall, away from direct sunlight, heat sources, and obstructions, to ensure the coolest air spreads evenly throughout the room.
Are you staring at your new mini split head unit? Maybe you are worried about getting the placement just right. Getting the installation spot wrong can mean weak cooling or high electric bills. That is a headache nobody needs when it’s hot outside. Don’t worry one bit. I’m Jack from ACReviewHub.com, and I will walk you through this step-by-step. We will find the perfect spot so your new system works like a charm, saving you money and keeping you comfy.
Finding the Perfect Spot: Why Placement Matters So Much
The location of your indoor unit is super important. It is like picking the best seat in a movie theater. If you pick a bad seat, you miss the show. The same goes for your AC. Good placement means great airflow. Great airflow means you feel cooler faster. It also means your unit does not have to work overtime.
A mini split works by blowing cold air out. This cold air needs space to mix with the warm air in the room. If something blocks the air, the unit gets confused. It might think the room is cold when it is not. That means it shuts off too soon.
Top 5 Rules for Placing Your Mini Split Head Unit
These rules are simple guidelines that most pros follow. Think of them as the golden rules for perfect cooling. We want the best air throw possible.
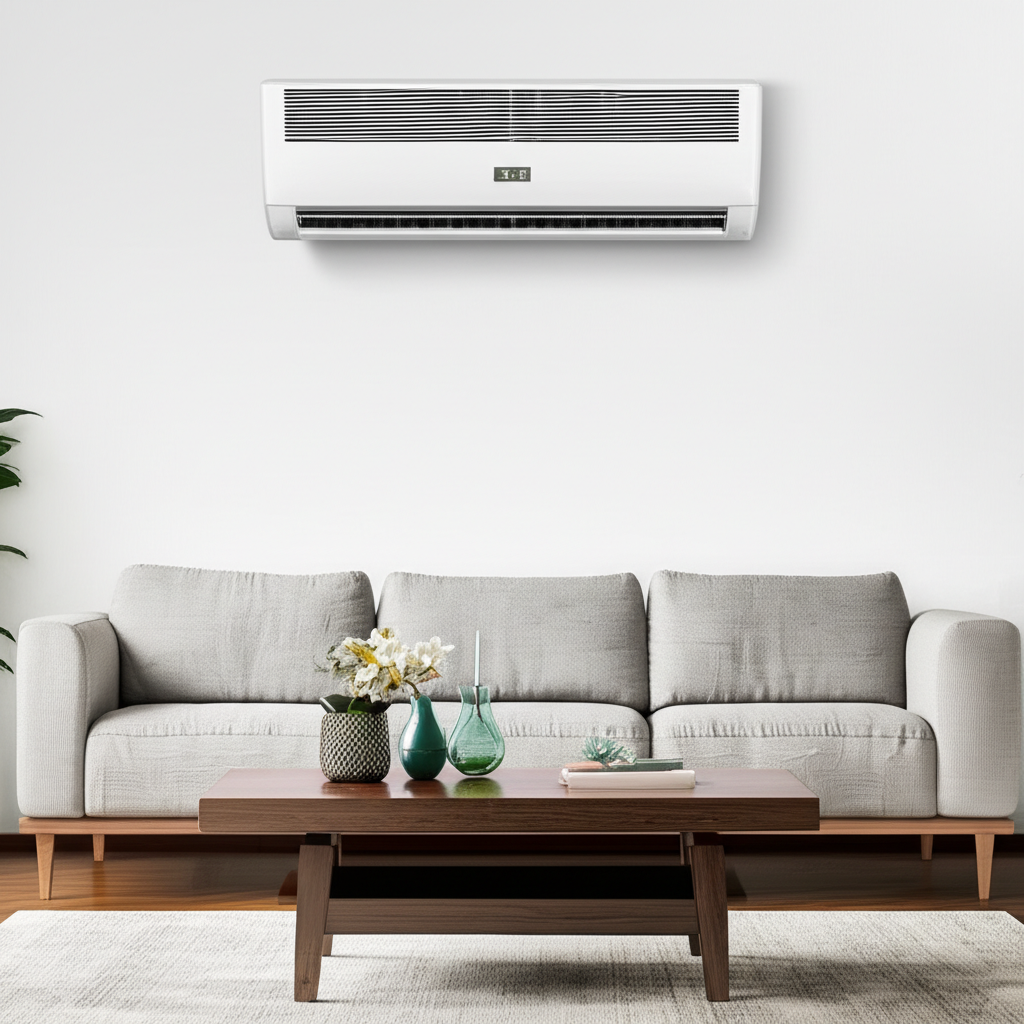
- Go High on the Wall: Cold air naturally sinks. Placing the unit high up lets the cold air fall and push the warmer air down. This creates a natural circulation loop.
- Center is King: Try to place the unit near the center of the longest wall. This helps the air spread out evenly across the room.
- Avoid Direct Sunlight: Never put the unit where the afternoon sun blasts onto it. The unit’s sensors think the room is warmer than it is, making it run too much.
- Keep it Clear: Make sure there are no big things directly in front of it. Think bookshelves, tall dressers, or even heavy curtains.
- Stay Away from Heat: Keep it far from heat sources like kitchen ovens, large TVs, or heat lamps. These trick the unit into thinking it needs to cool harder.
Where NOT to Install Your Mini Split (The Big Mistakes)
Sometimes knowing what to avoid is more helpful than knowing what to do. Let’s look at the common traps beginners fall into.
Many people want the unit right above their bed for direct nighttime cooling. This is usually a bad idea. It can cause drafts right where you sleep. It also makes noise louder near your head.
Another mistake is putting it too close to the ceiling. If it’s too close, the air gets trapped right up high. It never mixes down where you are sitting. You want at least 6 inches of space above the unit.
- Placing it near return vents from your central air system. This confuses the temperature sensors.
- Putting it in a damp basement or garage where moisture is high. This can cause rust or mold growth.
- Installing it right above a doorway that is always open. The cold air just rushes out to the next room too fast.
- Choosing a wall that faces the outside if possible. Walls that don’t touch the outside are better insulators.
How Far From Corners and Ceilings Should It Be?
Installers follow specific minimum distances. These distances ensure the unit can draw in air properly. If the unit cannot breathe, it struggles. Think of it like trying to breathe through a straw.
Here are some standard spacing rules. Always check your specific model manual, but these are great starting points.
| Location | Minimum Recommended Distance | Why It Matters |
|---|---|---|
| From Ceiling to Top of Unit | 6 to 12 inches | Allows proper air intake and drainage. |
| From Side Walls | At least 3 inches on each side | Prevents airflow restriction and noise buildup. |
| From Furniture Below | At least 5 feet | Ensures maximum air throw distance across the room. |
Understanding Airflow Direction: The Importance of Louvers
Mini splits have little doors called louvers. These direct the cold air where you want it to go. For cooling, you want the louvers pointed slightly down. This sends the cold air over the occupants.
For heating mode (if your unit is a heat pump), you want the louvers pointed straight out or slightly up. Warm air naturally rises, so pushing it upward helps it spread better throughout the space.
Modern units often have swing or “auto” modes for the louvers. This moves them back and forth gently. This is great for mixing air without creating strong, constant drafts in one spot.
Sizing Your Unit: BTU and Room Size Matching
The best placement won’t matter if the unit is too small or too big for the room. This is called sizing. A correctly sized unit cools efficiently.
We measure cooling power in BTUs (British Thermal Units). Bigger rooms need more BTUs. Here is a simple chart to get you started. Remember, more windows or sun exposure means you might need to bump up a size.
| Room Size (Square Feet) | Required Cooling Capacity (BTUs per Hour) |
|---|---|
| 150 – 250 sq ft | 6,000 – 8,000 BTUs |
| 250 – 350 sq ft | 8,000 – 10,000 BTUs |
| 350 – 550 sq ft | 10,000 – 12,000 BTUs |
| 550 – 1,000 sq ft | 15,000 – 18,000 BTUs |
For more detailed information on how efficiency ratings like SEER work, check out what the experts at Energy.gov recommend for high-efficiency choices.
Installation Checklist: What the Pro Should Do
Even if you hire an HVAC technician, you should know what a good installation looks like. This ensures you get the best performance right from day one.
- Check Wall Integrity: Make sure the wall can hold the weight of the unit securely.
- Optimal Line Set Routing: The line set (the pipes connecting inside and outside) should be as short and straight as possible.
- Proper Condensate Drain: The drain line must have a slight downward slope. This lets water drip out, not back up into your wall.
- Vacuum and Charge: The technician must vacuum the lines to remove all moisture and air before starting the system.
- Test Run: Run the unit in both cooling and heating modes to confirm everything is working perfectly.
A good installation partner is worth their weight in gold. You can read consumer reports on local installers to make sure you hire someone experienced with ductless systems.
Frequently Asked Questions About Mini Split Placement
Here are quick answers to the most common questions I hear from new mini split owners.
Q1: Can I install the unit in a hallway?
A: Generally, no. Hallways are narrow, and air gets trapped. It won’t cool the main living area well. Stick to the main rooms.
Q2: Is it okay if the unit is above a doorway?
A: Yes, this is often a great spot! Cold air falls past the doorway, helping cool the adjacent room slightly, too. Just make sure it’s high enough.
Q3: Does the outside unit placement matter for the inside unit?
A: Yes, it does! A shorter distance between the indoor and outdoor units means better efficiency and less energy loss.
Q4: What if I have very high ceilings?
A: If your ceilings are over 10 feet, you might need a unit rated slightly higher in BTUs, or you might need to aim the louvers a bit lower than usual to push air down.
Q5: Will the unit block my TV watching view?
A: Placement matters for aesthetics too. Discuss mounting locations with your installer that look good but follow the airflow rules we talked about.
Q6: Can I use two units on one outdoor compressor?
A: Yes, that’s called a multi-zone system! You can put multiple indoor heads in different rooms, as long as the outdoor unit is properly sized for the total load.
Wrapping Up Your Installation Confidence
See? Figuring out the best place for your mini split indoor unit is not rocket science. It is all about following a few simple rules for good airflow. Keep the unit high, keep it clear of obstacles, and keep it away from direct heat. That’s 90% of the battle won.
By paying attention to these small placement details now, you set yourself up for years of quiet, efficient, and comfortable cooling. Stay cool, keep things simple, and enjoy that perfectly conditioned air!