
Quick Summary: Keep your mini split healthy by cleaning the filters monthly, checking the outside unit yearly, and never ignoring strange noises. Simple upkeep prevents big repair bills and keeps you cool.
Is your mini split blowing warm air? Are your energy bills creeping up higher each month? It’s easy to feel lost when your cooling system acts up. Many people think AC repair means calling an expensive expert right away. But often, simple maintenance fixes the biggest problems. I’m Jack from ACReviewHub.com, and I’m here to show you that caring for your mini split is easier than you think. This guide will walk you through every step to keep your unit running perfectly all summer long.
Why Mini Split Maintenance Stops Disaster
Mini splits are fantastic, quiet, and efficient. They are different from old window units. But even simple systems need love to work right. Skipping care is like skipping oil changes in your car. Small issues turn into huge, costly breakdowns fast. A dirty filter makes the system work much harder.
When your system works hard, it uses more electricity. This means higher bills for you. Regular checks catch small problems before they become big disasters. You save money and stay comfortable. That is a win-win situation.
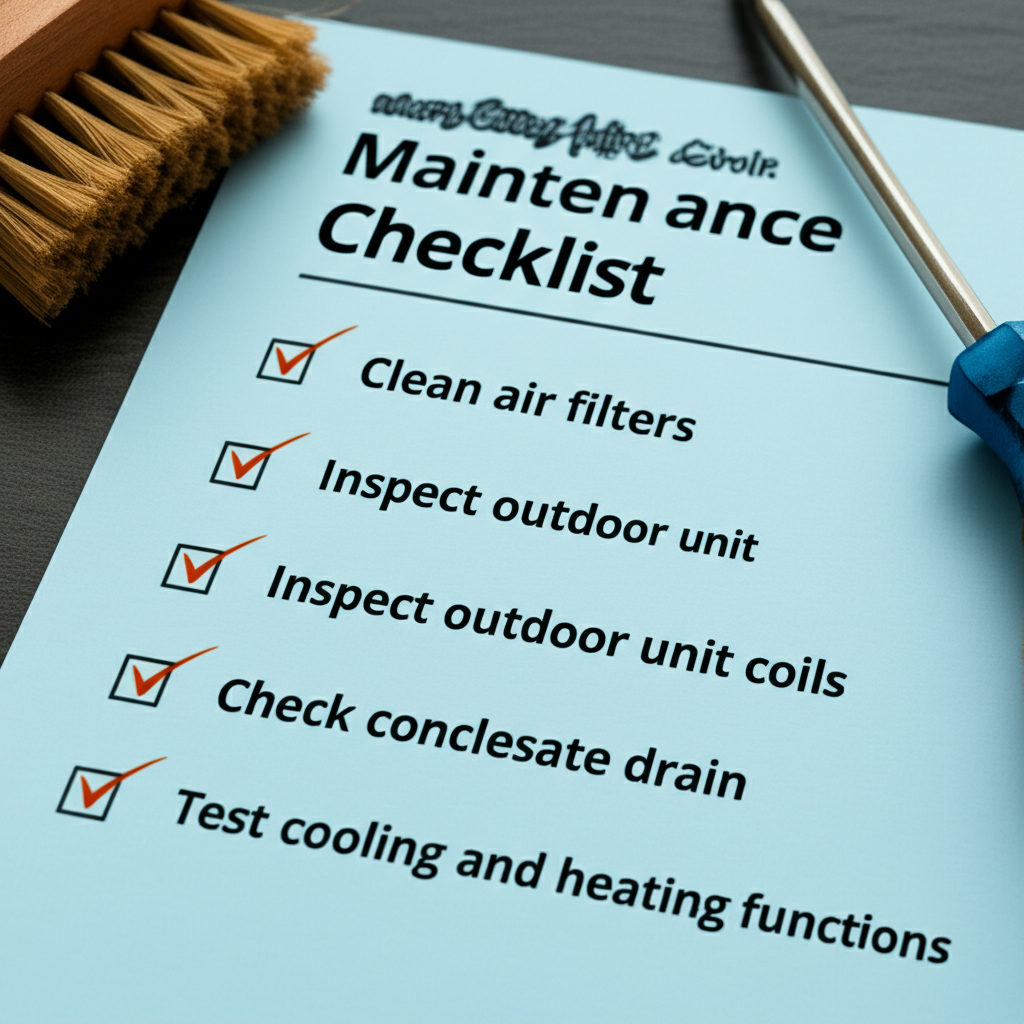
The Beginner’s Mini Split Maintenance Checklist
You do not need fancy tools for most jobs. Grab a soft cloth, a gentle brush, and maybe a vacuum cleaner. We will break this down into easy, quick tasks you can do yourself.
Monthly Must-Do: Cleaning the Air Filters
The air filters are the lungs of your indoor unit. They catch dust and pet hair. If they get clogged, air cannot flow well. This is the most important task you must do.
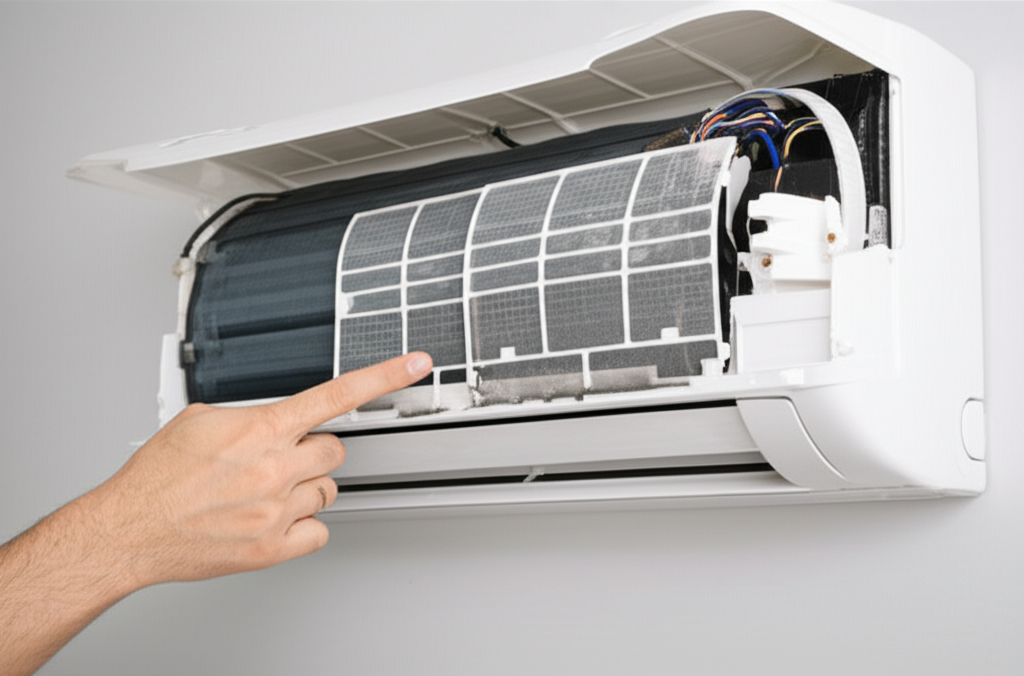
Here is how to clean those filters:
- Turn the power off to the unit at the breaker or remote. Safety first, always!
- Open the front cover of the indoor unit. It usually swings up easily.
- Gently slide out the mesh filters. They are often thin and rectangular.
- Take them to a sink or tub. Use warm water and maybe a tiny bit of mild soap.
- Rinse them gently until the water runs clear. Do not scrub hard.
- Let the filters air dry completely. Do not put them back wet.
- Slide the dry filters back in and close the cover.
Quarterly Check: Inspecting the Drain Line
Your AC pulls moisture (humidity) out of the air. This water drains away through a small pipe called the drain line. If this line clogs with algae or mold, water backs up inside your home. That means leaks and damage.
Check this every three months:
- Find where the outside unit connects to the wall. You will see a small plastic pipe running away from it.
- Make sure the end of this pipe is not blocked by dirt or debris outside.
- If you suspect a clog, you can try gently sucking on the end of the line (only if you are comfortable) or pouring a cup of distilled vinegar mixed with water down the interior access point to clear buildup.
Twice-a-Year Task: Cleaning the Outdoor Unit (Condenser)
The big unit outside needs airflow to release heat. If leaves, grass clippings, or dirt cover the fins, it struggles to breathe. Do this before cooling season starts in spring and again in fall.
Important safety note: ALWAYS turn off power to the outdoor unit at the electrical disconnect box before touching it.
Simple cleaning steps:
- Turn off the power at the outside disconnect box.
- Use a soft brush or a vacuum cleaner with a soft brush attachment. Gently brush away any surface dirt from the metal fins.
- If the fins are very dirty, you can use a garden hose on a gentle setting to spray water downward through the fins. Never use a strong pressure washer; it will bend the fins easily.
- Let everything dry before turning the power back on.
Understanding Your Unit’s Needs: When to Call a Pro
While you handle the basics, some things need a trained technician. This keeps your warranty valid and ensures complex parts are handled safely.
You must call a professional if you see these signs:
- You hear loud grinding, squealing, or banging noises from inside or outside.
- The unit is not cooling at all, even after checking the filters.
- You see ice forming on the copper lines near the outdoor unit.
- The refrigerant lines (the copper pipes) feel oily or wet.
- You need refrigerant added (this is called a “recharge,” and only licensed pros can do it).
For more detailed information on energy efficiency and system sizing, check out resources from the U.S. Department of Energy at Energy.gov.
Troubleshooting Common Beginner Issues
Sometimes, the problem is small, and you can fix it right now. Look at this chart before you panic about a service call.
| Symptom You See | Most Likely Cause (Beginner Fix) | Next Step |
|---|---|---|
| Unit is running but not cooling much | Dirty air filters blocking airflow. | Clean filters immediately. |
| Unit turns on and off too fast (short cycling) | Thermostat placed too close to a heat source, or system is oversized. | Move the thermostat or call a pro to check sizing. |
| Water dripping inside the house | Clogged drain line or frozen evaporator coil. | Check and clear the drain line. If it’s frozen, turn the unit off for 24 hours to thaw. |
| Unit won’t turn on at all | Blown fuse or tripped breaker, or dead remote batteries. | Check the breaker box and replace remote batteries. |
Mini Split Maintenance Schedule at a Glance
Consistency is the key to saving money. Put these tasks on your calendar so you don’t forget them. Think of it like scheduling your teeth cleanings.
| Frequency | Task | Who Does It? |
|---|---|---|
| Monthly (During Heavy Use) | Clean Indoor Air Filters | You (The Homeowner) |
| Quarterly (4 Times Per Year) | Inspect Drain Line Exit Point | You (The Homeowner) |
| Twice Yearly (Spring & Fall) | Clean Outdoor Condenser Unit Fins | You (The Homeowner) |
| Annually (Before Summer Heat) | Professional Tune-Up (Check refrigerant, electrical connections, coil cleaning) | HVAC Professional |
Frequently Asked Questions (FAQs) for New Mini Split Owners
Here are some quick answers to the questions I hear most often.
Q: How often do I really need to clean the filters?
A: If you have pets or allergies, clean them once a month. If the house stays clean, every six weeks is fine. Better to clean too often than too seldom!
Q: Can I use a harsh cleaner on the filters?
A: Nope! Stick to mild soap and water only. Harsh chemicals can damage the filter material.
Q: Why is my mini split running constantly?
A: Usually, this means the system is fighting a losing battle—either the filters are super clogged, or it’s too hot outside for the unit to keep up. Check those filters first!
Q: Is it okay to leave the fan running even when the AC isn’t cooling?
A: Yes, keeping the fan on “low” helps circulate air and can keep the indoor unit drier, preventing mold growth. It uses very little energy.
Q: Do mini splits need yearly professional service?
A: Absolutely. That annual check ensures the refrigerant levels are correct and the electrical parts are safe. It’s cheap insurance against big problems.
Q: What is the best temperature setting for efficiency?
A: For most people, setting it between 75°F and 78°F (24°C to 26°C) keeps you comfortable while saving the most energy.
Wrapping Up Your Simple Maintenance Plan
See? Caring for your mini split doesn’t require a technical degree. It just takes a little bit of time every month or so. By following this simple checklist—especially cleaning those filters—you are taking control of your cooling costs and comfort.
Stay consistent with these easy steps, and your mini split will reward you with years of quiet, efficient service. Happy cooling!