
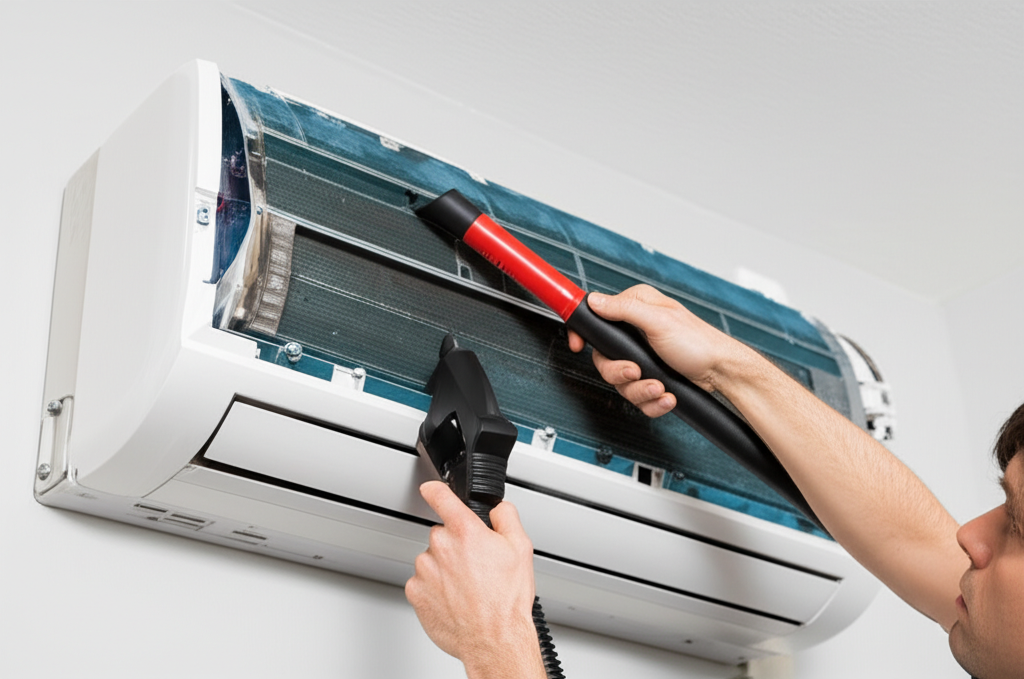
Vacuuming mini split lines removes air and moisture before you seal the refrigerant. This vital fix prevents ice, corrosion, and poor cooling, ensuring your new system runs perfectly for years. It’s easier than you think!
Is your new mini split unit giving you trouble? Maybe you worry about high energy bills or how to set it up right. Dealing with ACs can feel confusing. Lots of technical words make beginners nervous. Don’t sweat it! I’m Jack from ACReviewHub.com. I will walk you through every step simply.
Today, we are tackling a key part of installing a mini split: vacuuming the lines. This step is super important for long-term success. Follow along, and you will feel like an AC pro in no time.
Why You Must Vacuum Mini Split Lines: The Vital Fix Explained
When you connect the indoor and outdoor units of a mini split, air gets trapped inside those copper pipes. This trapped air is your enemy. It is not just air, though; it is also moisture.
Refrigerant, the stuff that actually cools your home, does not mix well with water or air. If they stay in the lines, bad things happen quickly. Think of it like trying to mix oil and water inside a very expensive machine.
The Two Big Dangers of Trapped Air and Moisture
When moisture freezes inside the tiny lines, it creates ice blocks. These blocks stop the cold refrigerant from moving. This means your unit blows warm air, and you pay for nothing.
The second danger is corrosion. Water reacts with the oils in the system. This creates acid. Acid eats away at the metal parts inside your expensive compressor. This leads to total system failure, which costs a lot of money to fix.
Vacuuming pulls out all that bad air and moisture. It creates a clean, dry environment for the refrigerant to do its job. This is not optional; it is a required step for a healthy mini split.
Gathering Your Tools: What You Need to Vacuum
Before you start, you need the right gear. You cannot just use a regular shop vacuum for this job. Refrigerant systems need a very deep, strong vacuum. Luckily, renting or buying these tools is quite easy today.
Here are the essentials you need on hand:
- Manifold Gauge Set: This tool lets you see the pressure inside the lines. You need one with low-pressure capability.
- Vacuum Pump: This is the heart of the operation. It must be rated for HVAC vacuum work.
- Micron Gauge: This is the best tool to tell you how deep your vacuum actually is. It measures in microns (super tiny units).
- Refrigerant Hoses: Good quality hoses to connect the pump to the system.
- Safety Glasses: Always protect your eyes when working with AC components.
Step-by-Step Guide: How To Vacuum Mini Split Lines Like a Pro
This process takes time, so set aside at least 45 minutes to an hour for the actual vacuum hold. Rushing this step is the number one mistake beginners make.
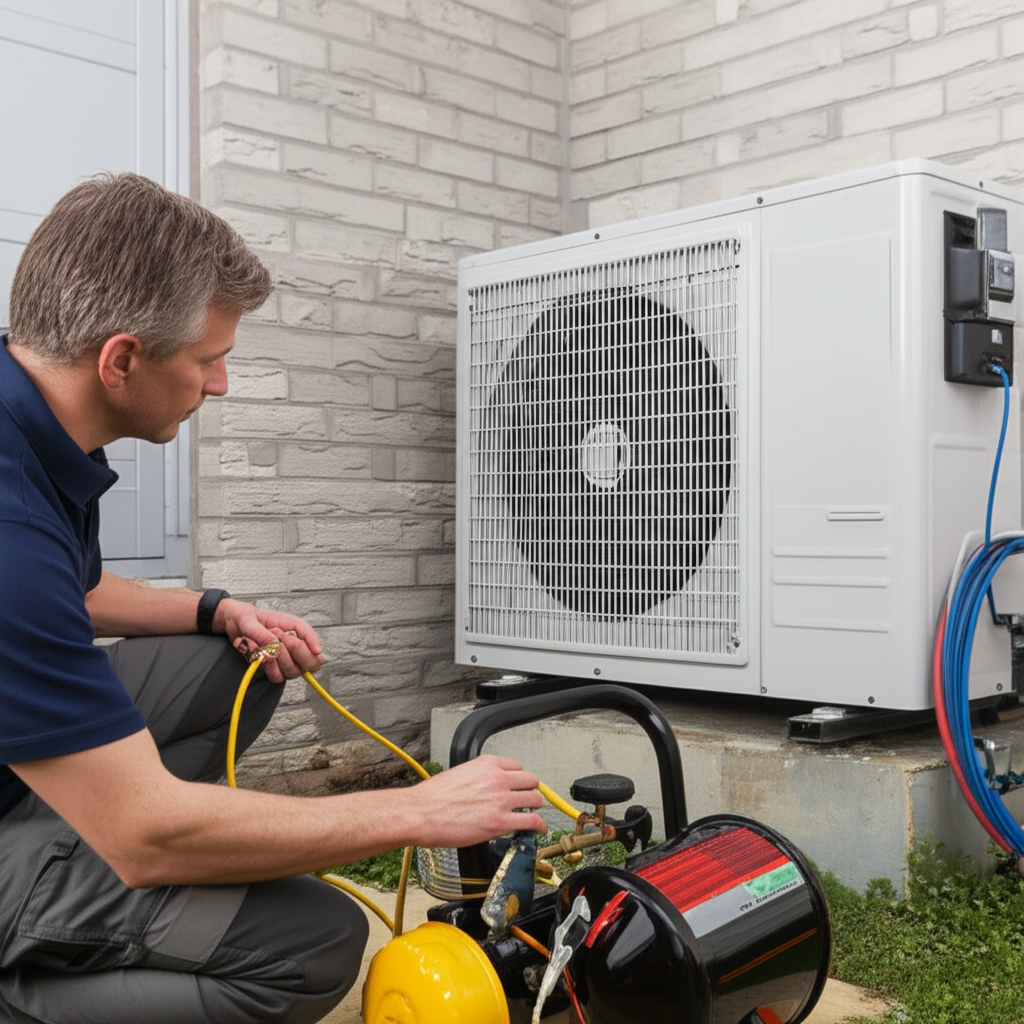
Step 1: Prepare the Lines and Connect the Gauges
Make sure your indoor and outdoor units are fully connected. The service valves on the outdoor unit should still be closed. You are connecting your tools to the service ports, usually marked with caps.
Attach the manifold gauge set to the service ports. The blue hose (low side) goes to the low-pressure service port. The red hose (high side) typically connects to the high-pressure port, but for vacuuming, we usually focus on the low side, depending on your specific setup and if the system has been charged with nitrogen previously.
Step 2: Connect the Vacuum Pump
Attach the vacuum pump to the open port on your manifold gauge set (usually the center yellow hose). Make sure all valves on the manifold gauge set are closed right now.
Step 3: Open the System and Start Pumping
Now you open the service valves on the outdoor unit. You must do this so the vacuum pump can suck the air out of the lines. You do this by turning the service valve stems counter-clockwise until they stop.
Turn on your vacuum pump. You will immediately see the pressure on your gauge start to drop. Watch the manifold gauge, but rely more on the micron gauge for accuracy.
Step 4: Reaching the Target Vacuum Level
For mini splits, we need a very deep vacuum. The goal is usually 500 microns or lower. Keep the pump running until the micron gauge stabilizes below that number.
This can take 20 to 30 minutes. If the pressure climbs up quickly after turning the pump off, you have a leak somewhere. You must find and fix the leak before proceeding.
Step 5: The Critical Vacuum Hold Test
This is the most important part! Once you hit your target (500 microns or less), turn off the vacuum pump. Then, close the service valves on the outdoor unit quickly. This seals the vacuum inside the lines.
Watch the micron gauge for at least 15 minutes. If the reading stays low, your lines are dry and sealed correctly. If the reading goes up (gets higher, closer to zero), you have a leak or moisture that did not fully boil off.
If the hold test passes, you are ready to move on to adding refrigerant. If it fails, you must re-vacuum the system.
Checking System Performance Before and After Vacuuming
It helps to see the difference a good vacuum makes. Before vacuuming, the system is full of air. After vacuuming, it is nearly empty of anything but pure refrigerant.
| System State | Typical Pressure Reading (Low Side) | Cooling Performance |
|---|---|---|
| Before Vacuum (Air Trapped) | Fluctuates wildly, may show high static pressure | Poor or non-existent cooling |
| After Proper Vacuum & Charge | Specific low pressure based on ambient temp (e.g., 60-80 PSI) | Excellent, efficient cooling |
A properly set up mini split will use energy well. You can check energy efficiency tips from trusted sources like Energy.gov.
Common Mistakes Beginners Make When Vacuuming
Don’t let these simple slips cost you a working AC. I see these mistakes all the time when folks try this for the first time.
- Not Using a Micron Gauge: Relying only on the manifold gauge is guessing. You need a micron gauge to know if you truly boiled off all the water.
- Rushing the Hold Test: Thinking 5 minutes is enough. You need 15 minutes or more to confirm the seal holds steady.
- Using the Wrong Pump: A regular shop vacuum cannot achieve the deep vacuum required for refrigerant systems.
- Forgetting to Open the Valves: If the service valves stay closed while the pump runs, you are only pulling a vacuum on the pump and the gauges, not the lines.
Frequently Asked Questions (FAQ) About Mini Split Vacuuming
Q1: Do I need to vacuum if I am just replacing the outside unit?
Yes, absolutely! If you are disconnecting and reconnecting any refrigerant line, you must vacuum it to remove air and moisture before charging it with new refrigerant.
Q2: Can I skip vacuuming if the lines are brand new?
No. Even factory-new lines contain dry nitrogen to keep them clean. You must evacuate that nitrogen and moisture before starting the system.
Q3: How long should the vacuum process take?
The pumping time varies based on line length and humidity, but expect the actual pulling time to be 20 minutes, plus the 15-minute hold test.
Q4: What if my micron gauge keeps climbing during the hold test?
This means you have a leak or residual moisture. Double-check all your connections. If connections are tight, you might need to run the pump longer to boil off stubborn moisture.
Q5: Should I use nitrogen to clean the lines first?
Yes, if you suspect the old lines are dirty or contaminated, you should first “nitrogen purge” them to blow out large debris before pulling a deep vacuum. This is called ‘brazing cleanup.’
Conclusion: Keeping Your Cool with Simple Steps
See? Vacuuming those mini split lines is not rocket science. It is just a process that needs patience and the right tools. By taking the time to pull a deep, steady vacuum, you are protecting your investment and guaranteeing efficient cooling for years to come.
Stay consistent with your maintenance, and your AC will reward you with low bills and reliable comfort. You’ve got this!