
Quick Summary: To use a portable AC in a sliding window, you must use the window kit provided. Slide the panel to fit the opening, seal any gaps with foam or tape, and ensure the exhaust hose is securely connected to vent hot air outside. It’s simpler than you think!
How To Use Portable AC In Sliding Window: Brilliant Guide
Are you feeling the heat right now? Maybe you just bought a portable air conditioner. Setting it up in a tricky sliding window can seem confusing. Don’t worry about complicated instructions. I’m Jack from ACReviewHub.com. I will show you the easy way to get your portable AC working perfectly in that window.
We will go step-by-step. You will learn exactly how to seal the window tight. This means you get the coolest air possible. Let’s turn that sweltering room into your cool oasis right now!
Why Sliding Windows Need Extra Care for Portable ACs
Portable ACs work by sucking in room air. They use some air to cool the coils. Then, they push the hot air out through a big hose. This hot air must go outside.
Sliding windows create a tall, narrow gap. Standard window kits often don’t fit this shape well. If you leave big gaps, hot air sneaks back in. This makes your AC work too hard and wastes money.
The main goal is sealing. We need a tight seal around that exhaust hose. Think of it like putting a lid on a pot. A good seal keeps the cool air in and the hot air out.
What You Need Before You Start Setting Up
Check your AC box first. You should have a few key pieces for window installation. Gather these items before you start moving things around.
- The Portable Air Conditioner unit.
- The Exhaust Hose (the big flexible tube).
- The Window Installation Kit (this usually has plastic or foam panels).
- Screws or locking tabs that came with the kit.
- Optional: Extra foam weather stripping or strong duct tape (just in case the kit isn’t perfect).
Make sure your AC is close enough to the window. You don’t want the hose to be too stretched out. A stretched hose lowers cooling power.
Step-by-Step: Installing Your Portable AC in a Sliding Window
This process is all about making the window panel fit snugly. Follow these simple steps, and you’ll be cooling in no time.
Step 1: Prepare the Window Opening
Open your sliding window. You need to decide how high or low the opening should be. Measure the gap the AC panel needs to cover. This is usually the height of the window when it is partially open.
Step 2: Assemble the Window Kit Panel
Most portable AC kits come with two or three sliding pieces. You need to join these pieces together. Slide them until they match the exact width or height of your opening. For a vertical sliding window, you will adjust the length of the panel.
Lock the pieces together using the provided screws or fasteners. You want the panel to be rigid and sturdy once assembled.
Step 3: Attach the Exhaust Hose Adapter
Look at the window panel you just assembled. There will be a hole or a connection point for the exhaust hose. Attach the adapter piece (it looks like a small frame) over this hole.
Twist or snap the exhaust hose firmly onto this adapter. Make sure it clicks or locks securely. This connection is very important for venting heat.
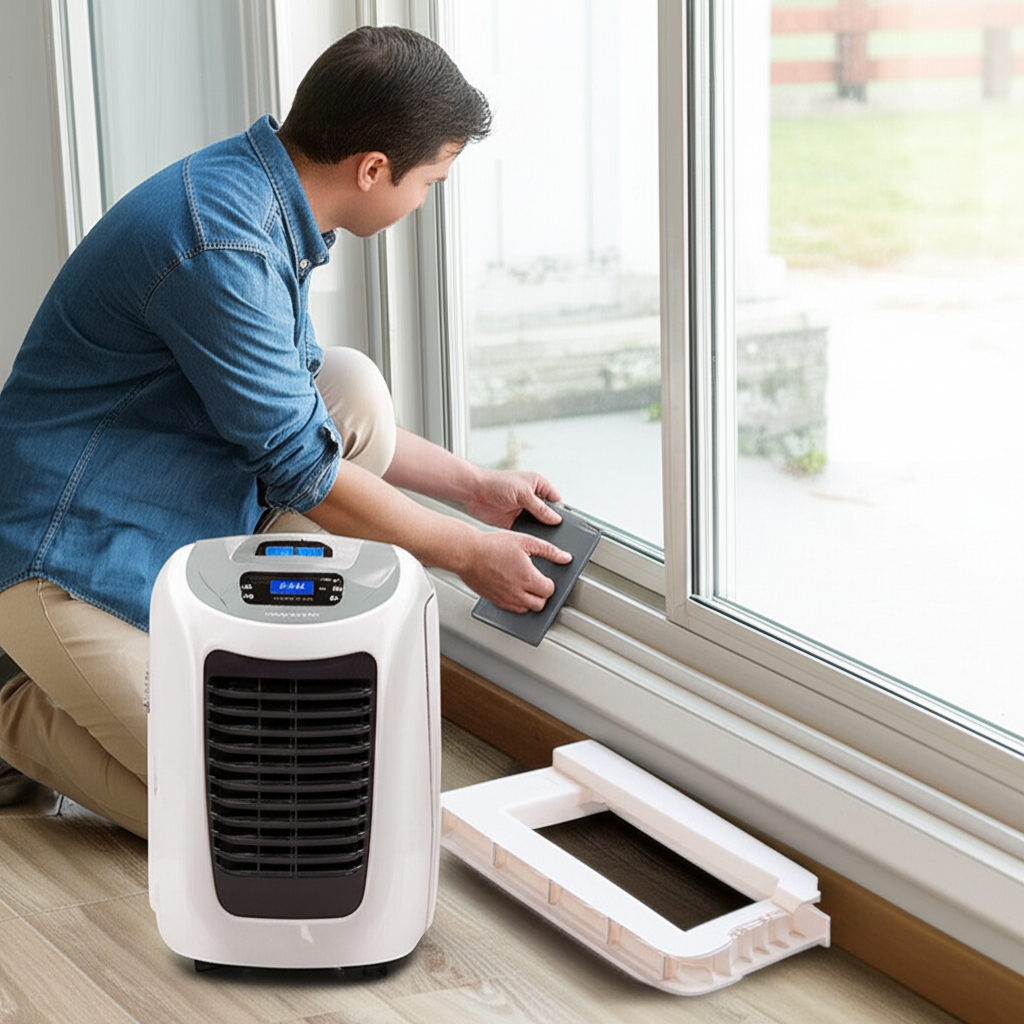
Step 4: Place the Panel in the Window Track
Carefully slide the assembled panel into the window track. It should fit snugly between the window frame and the bottom or top sill.
For a vertical sliding window, the panel goes into the vertical track. For a horizontal sliding window, it goes into the horizontal track.
Step 5: Secure the Window Shut Against the Panel
Slowly slide the actual glass window pane down (or across) until it rests firmly against the edge of the installed panel. You want the glass to press against the panel.
Use the locking mechanism provided in your kit. This often involves a small L-shaped bracket or a screw that anchors the window frame to the sliding panel. This stops the window from being pushed open by wind or accident.
Step 6: Seal Any Remaining Gaps (The Secret to Efficiency)
Even a great kit might leave tiny gaps near the top or bottom. Air leaks here mean less cool air for you.
Use the foam weather stripping or duct tape to cover any small cracks where the panel meets the frame or glass. Seal every little opening you see. This makes your setup much more effective.
Understanding Your AC Settings for Best Cooling
Now that the hardware is set, let’s talk about the controls. Don’t just set it to the lowest temperature and walk away.
Here are the main modes you will use:
- Cool Mode: This is what you use when you need to lower the room temperature.
- Fan Mode: This just circulates air without cooling. Use this on mild days to save energy.
- Dehumidify (Dry) Mode: This pulls moisture out of the air. Humid air feels warmer, so this mode can make you feel much cooler without dropping the temperature much.
Always use the thermostat setting. Set it to about 5 to 8 degrees lower than the current room temperature to start. The AC will cycle on and off automatically.
Portable AC Sizing Guide (BTU Basics)
Choosing the right size AC is crucial. If it’s too small, it runs constantly. If it’s too big, it cools too fast without removing humidity, leaving the room clammy.
BTUs (British Thermal Units) measure cooling power. Here is a simple chart to help you pick the right power for your space:
| Room Size (Sq. Feet) | Recommended BTU |
|---|---|
| 150 to 250 sq. ft. | 5,000 – 7,000 BTU |
| 250 to 400 sq. ft. | 8,000 – 10,000 BTU |
| 400 to 550 sq. ft. | 12,000 – 14,000 BTU |
If your room has high ceilings or gets lots of direct afternoon sun, always round up to the next higher BTU rating. You can find more detailed sizing information from the U.S. Department of Energy.
Simple Maintenance to Keep Your AC Happy
A happy AC is an efficient AC. You don’t need to be a mechanic for this. Just follow these quick checks:
- Clean the Filter Monthly: Pop out the reusable filter. Rinse it gently with water. Let it dry completely before putting it back. A clogged filter blocks airflow.
- Empty the Water Tank (If Needed): Many newer units evaporate most of the water. But some models collect condensate. Check your manual and empty the drain pan when the indicator light comes on.
- Check the Hose Connection Before Every Use: Give the hose a gentle tug. Make sure it hasn’t popped loose from the back of the unit or the window panel.
Common Mistakes Beginners Make with Sliding Window Setups
I see these slip-ups all the time. Avoiding them saves you headaches and money.
| Mistake | Why It’s Bad |
|---|---|
| Using a Non-Sliding Kit | Standard kits are flat. They won’t seal a vertical sliding gap properly. |
| Leaving the Hose Kinked | Kinks block hot air exhaust. The unit overheats and cools poorly. |
| Forgetting to Seal Gaps | You pay to cool your backyard! Hot air rushes back in through leaks. |
| Placing the Unit Too Far From the Window | Long hoses make the AC work harder to push hot air out. |
Troubleshooting Quick Fixes
Is your unit running but not getting cool? Here are fast checks.
| Symptom | Quick Fix |
|---|---|
| AC is blowing warm air. | Check the exhaust hose connection at both ends. |
| Unit cycles on and off too fast. | The room might be too small for the BTU size, or the filter is dirty. |
| Lots of noise or rattling. | The window panel might not be secured tightly in the track. |
If you want deeper technical advice on efficiency, the U.S. Department of Energy has great resources on choosing and using ACs wisely.
Frequently Asked Questions (Just for You!)
Here are the quick answers to the questions I hear most often:
Q: Can I run my portable AC without the window kit?
A: Nope! If you don’t vent the hot air out, it just blows it right back into the room. It won’t cool at all.
Q: Do I need to seal the gap between the hose and the panel?
A: Yes, always! Even a tiny bit of tape or foam makes a huge difference in performance.
Q: What if my sliding window is very tall?
A: You might need an extender kit or a flexible window seal kit specifically designed for taller openings. Check your AC manufacturer’s website.
Q: Can I leave the panel in all winter?
A: It is best to remove the entire setup when you stop using the AC. This prevents drafts and keeps your window tracks clean.
Q: Does the hose get hot? Should I insulate it?
A: The hose does get warm because it carries hot exhaust air. Insulating it slightly can help, but make sure you don’t block airflow or use materials that can melt.
Q: How long should it take to cool a room?
A: On a very hot day, expect a noticeable difference in about 30 minutes, but it might take an hour or two to reach your set temperature.
You’ve Got This!
See? Setting up your portable AC in that tricky sliding window is totally manageable. The key is making sure that exhaust hose has a clear path outside and that you seal up any sneaky little air gaps.
Stay consistent with that filter cleaning. A few minutes of prep work now means staying comfortable and saving energy all season long. Keep cool, friend, and enjoy the breeze!