
How To Prevent Rain Entering Portable AC Vent: Shocking Fixes
Quick Summary: To stop rain from entering your portable AC vent, the best fixes involve checking the window kit seal, using flexible duct tape to seal gaps around the exhaust hose, and ensuring the unit sits on a slightly sloped surface away from leaks. Simple steps keep the water out!
Is your portable air conditioner dripping water inside, or are you worried about a storm soaking your expensive machine? That is a frustrating problem, especially when you just want a cool, dry room. Many people get confused when setting up these vents. Don’t worry about confusing manuals or technical jargon. I am Jack from ACReviewHub.com, and I will make this super easy for you. We are going to walk through simple, real-world fixes to keep the rain outside where it belongs.
Why Does Rain Sneak Into My Portable AC Setup?
Portable AC units work by pushing hot air out through a hose, usually placed in a window. This setup creates a few weak spots where rain can sneak in. Water usually gets in through gaps you didn’t notice during setup. Sometimes, the window slider itself isn’t tight enough against the hose panel. Other times, heavy wind drives rain sideways right into the opening.
The main concern is water damage to the AC unit itself, which can cause rust or electrical shorts. We need to seal every possible entry point. Think of it like patching a small hole in a boat—a little water can cause big problems later on.
Step 1: Inspecting the Window Exhaust Kit (The Usual Suspect)
Your portable AC came with a plastic or foam window slider kit. This piece is supposed to fill the gap between the window frame and the hose adapter. This is the number one place water sneaks in.
Here is how to check if your kit is sealed right:
- Look closely at where the plastic panel meets the window frame (both top and bottom).
- Feel for any cool air or dampness coming through the edges when the AC is running.
- If you see daylight, rain will definitely follow that path.
Step 2: Shocking Fix 1 – The Duct Tape Defense Line
This is the easiest and most effective fix for small gaps. We are going to use specialized tape to create a waterproof barrier around the exhaust hose connection.
You will need weather-resistant duct tape or foil HVAC tape. Regular clear packing tape won’t last long outside.
- Disconnect the exhaust hose from the window panel temporarily.
- Wrap the tape securely around the connection point where the hose plugs into the plastic panel. Make sure it overlaps itself completely.
- Reattach the hose.
- Finally, apply long strips of tape around the entire edge of the plastic window panel where it touches the actual window glass and frame. Seal all four sides.
This creates a strong, water-resistant shield against wind-driven rain. It might not look fancy, but it works wonderfully!
Step 3: Shocking Fix 2 – Raising the Unit for Drainage
Sometimes, water doesn’t come in through the vent; it pools around the unit outside or inside and creeps in. Portable AC units should always sit on a level surface, but if you are on a balcony or ground floor patio, a slight slope away from the house helps immensely.
If you notice water sitting near the base of the unit (especially if it’s placed near a doorway or low window), try this:
- Get four small, sturdy plastic shims or small, non-metal blocks.
- Carefully lift the AC unit a tiny bit (less than an inch).
- Angle the unit so that if any water pools near it, it flows away from your house or window, not towards it.
Important Note: Never prop up the front or the exhaust side too high, as this can mess up the internal drain mechanics of the AC, which are designed for level operation.
Step 4: Shocking Fix 3 – Addressing Window Condensation Runoff
Sometimes, what looks like rain entering the vent is actually heavy condensation running down the outside of the window glass and dripping onto the floor or window sill, then splashing up near the AC panel.
If you live in a very humid area, check the glass outside the AC panel. If it is constantly dripping, you need to manage that moisture first.
Here is a quick energy-saving checklist related to moisture management:
| Area to Check | Action to Take | Why It Matters |
|---|---|---|
| Window Seal Tape | Apply new, high-quality foil tape. | Stops air and wind-driven rain entry. |
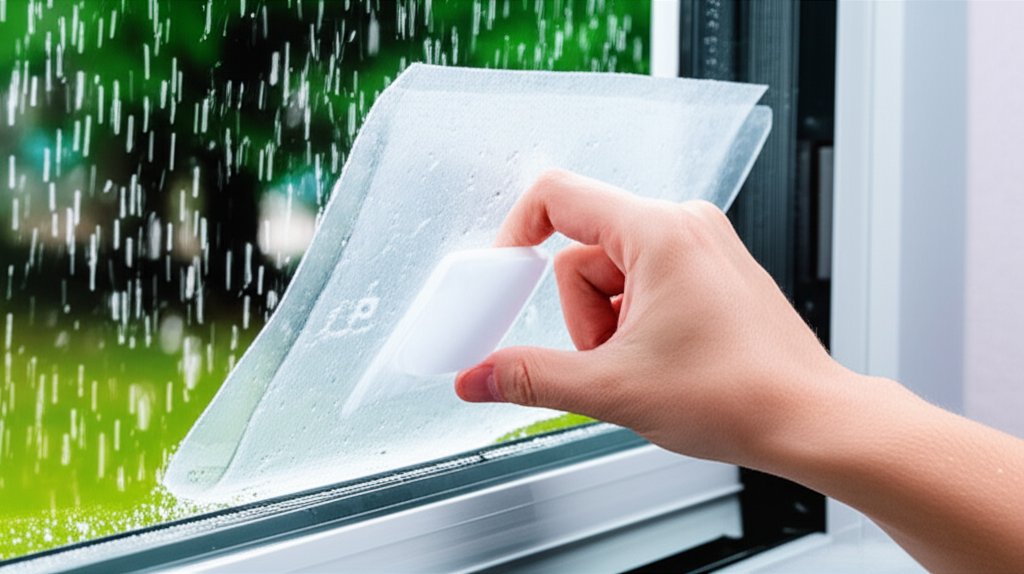
| Condensation on Glass | Use window film insulation kit. | Reduces extreme temperature differences causing heavy drips. |
| Exhaust Hose Angle | Ensure the hose slopes slightly downward outside. | Prevents rainwater trapped in the hose from backing up. |
For more detailed tips on how to keep your home energy efficient, you can check out resources from the Department of Energy, like Energy Saver Tips.
When to Upgrade Your Window Seal Kit
If your original kit is old, cracked, or made of thin foam, it might not be up to the job, especially during heavy storms. Think about upgrading to a solid plastic or aluminum sealing kit designed for portable ACs.
These aftermarket kits often include better locking mechanisms and thicker foam gaskets. They cost a little more but offer much better long-term protection against weather infiltration.
Troubleshooting: What If It’s Still Leaking?
If you have sealed everything perfectly and you still see drips, the problem might be internal or related to the weather being unusually severe. Here is a quick guide:
| Symptom | Likely Cause | Quick Fix to Try |
|---|---|---|
| Water dripping from the AC unit base (inside) | Clogged internal drain pan or hose. | Check the manual for how to manually drain the reservoir. |
| Strong wind blowing water through the seams | Tape job is not tight enough, or panel is loose. | Reapply tape, ensuring you press it firmly into corners. |
| Water seems to be coming from the top of the window frame | Window frame itself is leaking, not the AC panel. | Use exterior-grade caulk around the outside of the window frame. |
Remember, if you are dealing with very high winds and horizontal rain, no temporary seal is perfect. In extreme weather, it is always safest to disconnect the hose and bring the portable AC indoors until the storm passes. You can find great advice on AC maintenance from organizations like Consumer Reports.
Frequently Asked Questions About Portable AC Vents
Here are some common questions I hear from folks just starting out with these units:
Q: Can I just leave the hose hanging out the window without the plastic panel?
A: Please don’t! That leaves a huge hole for rain, insects, and heat to rush right back into your cool room. Always use the slider panel.
Q: Do I need to seal the hose connection if I use a brand-new AC?
A: Yes, absolutely. Even factory-new parts can have slight manufacturing gaps. Better safe than sorry when water is involved!
Q: How often should I check my seals?
A: Check them once at the beginning of the cooling season and then give them a quick finger-poke test before any major storm.
Q: Is it bad if the exhaust hose gets wet on the outside?
A: No, most hoses are designed to handle normal rain. Just make sure water isn’t pooling inside the hose or leaking from the connection points.
Q: What if my unit doesn’t have a drain hose option?
A: Most modern units evaporate most of the condensation. If yours collects water, you must empty the internal bucket regularly to prevent overflow, which can mimic a leak.
Q: Will sealing the vent hurt my AC’s performance?
A: Sealing it correctly will actually improve performance because you stop hot outside air from leaking back in!
Final Thoughts on Keeping Your AC Dry
Seeing rain sneak into your AC setup can be worrying, but as you see, the fixes are usually very straightforward. It comes down to sealing gaps with good tape and making sure your window panel fits snugly. Don’t let a little bit of rain ruin your cool comfort.
By taking just a few minutes to apply that duct tape shield and check your setup, you save yourself from potential water damage and keep your unit running efficiently all summer long. You’ve got this!