
Quick Summary: To remove mold from your mini split, turn off power, carefully open the front cover, remove and soak the washable filters, then spray the coil and fan fins with a specialized AC coil cleaner, wipe clean, and let everything dry completely before reassembling.
Hey there! I’m Jack from ACReviewHub.com. Are you noticing a musty smell when you turn on your mini split? That funky odor is usually mold or mildew growing inside. It can make your home feel less fresh and even affect your comfort. Don’t worry about that confusing technical jargon you read online. I’m here to break this down into simple steps.
We are going to tackle this mold problem head-on, the “brutal fix” way—meaning we get it really clean, but safely. By the end of this guide, you will feel confident cleaning your unit and breathing cleaner, cooler air.

Why Mold Loves Your Mini Split (And Why It Matters)
Your mini split is a wonderful machine for cooling. It pulls warm, moist air across cold coils to make the air cool. That cold coil creates condensation—water droplets.
Where there is moisture, warmth, and darkness, mold loves to set up a tiny home. This usually happens on the air filters or deep inside the unit around the evaporator coil.
Mold isn’t just gross; it can smell bad. It can also blow those tiny spores right back into your living room. We need to stop that right now!
Safety First: What You Need Before You Start
Safety is rule number one around any electrical appliance. Never work on your AC while it has power running to it. We need a few simple tools for this job.
Gather these items before you touch the unit:
- A Phillips head screwdriver (sometimes needed for securing panels).
- Soft cloths or sponges (non-abrasive).
- A mild dish soap solution or distilled white vinegar.
- A specialized AC coil cleaner spray (recommended for deep cleaning).
- A vacuum cleaner with a brush attachment.
- A stepladder, if needed to reach the indoor unit safely.
Step 1: Power Down and Prepare the Area
This is the most important safety step. Go to your main circuit breaker box for your home. Find the breaker labeled for your mini split or the room it is in.
Flip that breaker to the OFF position. You want zero electricity going to the indoor unit. Give the unit a few minutes to ensure all residual power is gone.
Lay down a towel or a plastic sheet directly under the indoor unit. Mold cleaning can sometimes drip a little water or cleaner onto your floor or wall. Better safe than sorry!
Step 2: Accessing the Dirty Inside Parts
Look at the indoor unit mounted high on your wall. This is called the air handler. Gently lift the front cover or door. Most models have small clips or hinges that let it swing up easily, like lifting the hood of a car.
Once the cover is open, you will see the air filters. These are usually thin, rectangular screens that slide into a track.
Carefully slide or lift the filters out. Be gentle; they are often plastic and can crack easily.
Cleaning the Air Filters (The Easiest Part)
Filters catch dust, and dust feeds mold. Cleaning these often prevents deeper problems.
- Take the filters to a sink or tub.
- Rinse them under warm running water to get the big dust chunks off.
- Use a very mild soap solution or a mix of half water and half white vinegar. Gently scrub with a soft cloth if they look slimy.
- Rinse thoroughly until all soap is gone.
- Let the filters air dry completely. Do not put them back wet!
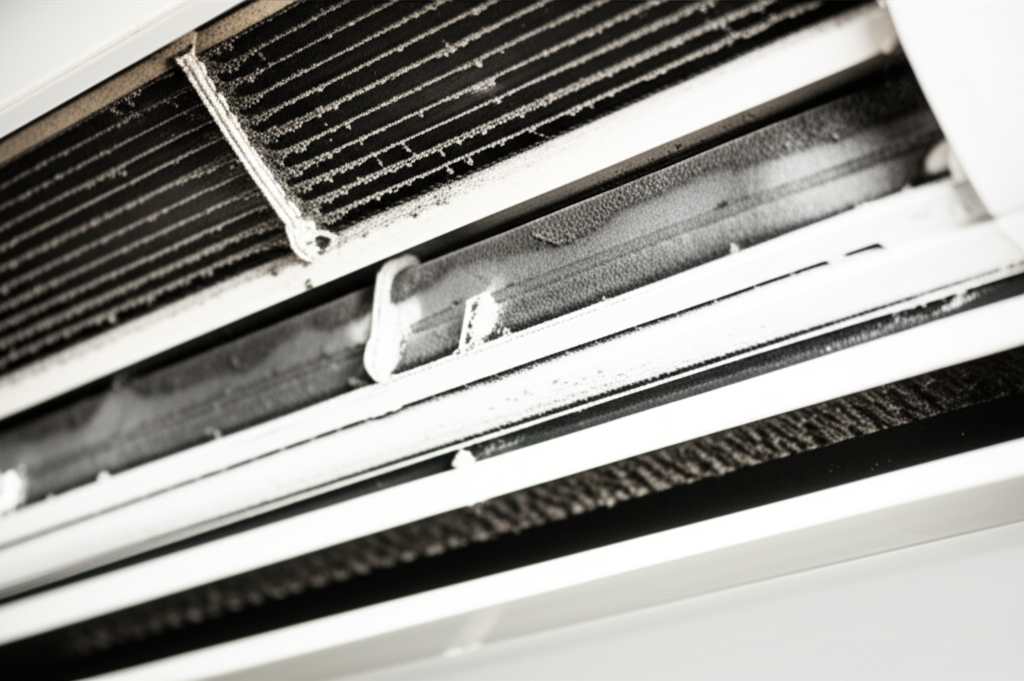
Step 3: The Brutal Clean—Tackling the Coil and Fins
Now for the area where mold really likes to hide: the evaporator coil. This looks like a dense set of thin metal fins right behind where the filters sat.
Use your vacuum with the soft brush attachment. Very gently vacuum the surface of the coil to remove loose dust and debris. Move the vacuum in the direction of the fins, not against them, so you don’t bend those delicate metal parts.
Next, we use the specialized cleaner. Get an aerosol can of “No-Rinse Evaporator Coil Cleaner.” These cleaners foam up, clean the mold, and then simply drip away as condensate.
Spray the coil evenly until it looks wet. Follow the instructions on your specific can for dwell time (how long it needs to sit).
If you see visible black spots (heavy mold), you might need a second, targeted spray or use a soft, clean paintbrush dipped in a vinegar/water mix to gently agitate the spot before spraying the main cleaner.
What About the Blower Wheel? (The Fan)
The blower wheel is a cylinder fan behind the coil. This often gets very dirty and can hold mold. Cleaning it is tricky because it’s hard to reach.
If you can safely reach the wheel without damaging anything, spray the coil cleaner directly onto the wheel blades as well. Let gravity and the cleaner do the heavy lifting.
Pro Tip: If your unit is very old or the mold is severe deep in the blower wheel, you might need a professional HVAC technician for a deep chemical wash. For most beginners, cleaning the coil surface and filters solves 90% of the odor issue.
Step 4: Drying and Reassembly
Give the inside of the unit at least 30 minutes to air dry after cleaning. Mold cannot grow without moisture.
Once the filters are totally dry, slide them back into their slots. Gently close the front cover until it clicks securely.
Go back to your breaker box and flip the power switch back to the ON position. Test the unit to make sure it powers up correctly.
How Often Should I Clean My Mini Split?
Consistency is the secret to keeping mold away. Think of it like brushing your teeth for your AC!
| Maintenance Task | Recommended Frequency | Jack’s Expert Tip |
|---|---|---|
| Clean Air Filters | Every 2–4 weeks (More if you have pets) | Visual check monthly, clean when visibly dusty. |
| Coil and Fins Cleaning | Twice per cooling season | Do one deep clean before summer starts. |
| Outdoor Unit Check | Twice per year | Ensure leaves and dirt aren’t blocking airflow outside. |
When to Call the Pros
While this guide covers the “brutal fix” for common issues, some things need an expert touch. If you see water leaking from the unit, or if the smell comes back strongly just a few days after cleaning, it’s time to call a certified technician.
Professionals have stronger chemicals and specialized tools to safely clean the hidden areas, especially that blower wheel.
For more reliable energy usage information, check out the tips from the U.S. Department of Energy on efficient cooling: Energy.gov Savings Tips.
Frequently Asked Questions (Just Like You Asked Me!)
Q: Can I use bleach to clean the mold?
A: No, please avoid bleach! Bleach residue can damage the delicate aluminum fins on the coil and can also create harsh fumes when the AC runs. Stick to vinegar or approved coil cleaner.
Q: My unit still smells a little musty after cleaning. What now?
A: Run the unit on fan-only mode for an hour with the windows open. This helps blow out any lingering cleaner smells and ensures the inside dries perfectly.
Q: Is mold in my mini split dangerous?
A: For most healthy people, mild mold isn’t an emergency, but it can irritate allergies and asthma. It’s best to eliminate it for better indoor air quality.
Q: How do I prevent mold from coming back so quickly?
A: The best prevention is regular filter cleaning. Also, avoid setting the temperature too low, as colder coils sweat more, creating more moisture.
Q: Can I clean the outdoor unit too?
A: Yes! Always turn off power first. You can gently hose down the outside fins from the inside out to clear debris. Just don’t spray water directly into the electrical components.
Q: Why did my new mini split get mold?
A: Even new units can grow mold if they run a lot in high humidity, or if they are turned off abruptly while still damp inside. Always run the fan for 15 minutes after heavy cooling to help dry it out.
Final Thoughts on Keeping Cool and Clean
See? You handled that like a pro! Taking care of your mini split doesn’t require a degree in engineering. It just takes a little time and the right simple approach.
By cleaning those filters regularly and giving the coil a yearly scrub down, you are protecting your health and keeping that cool air flowing efficiently all summer long. Keep up these simple maintenance habits, and your AC will thank you with years of reliable service.
Happy cooling—Jack.