
Quick Summary: Venting your portable AC through a wall is possible using a dedicated window exhaust kit adapter and some simple DIY steps. It offers a much cleaner, more permanent look than using a window, keeping your cool air locked in!
Are you tired of your portable air conditioner looking temporary? Maybe you hate blocking that nice window view. Dealing with AC setup can feel confusing sometimes. We all want to save money on those high summer energy bills. Don’t worry about complicated diagrams or confusing parts. I’m Jack from ACReviewHub.com, and I promise to make this easy.
This guide will show you, step-by-step, how to securely vent your portable AC right through your home’s exterior wall. You will learn exactly what tools you need and how to make sure the job is done safely and correctly. Let’s get your space looking cleaner and cooling better!
How to Vent Portable AC Through Wall: The Amazing Fix for Clean Cooling
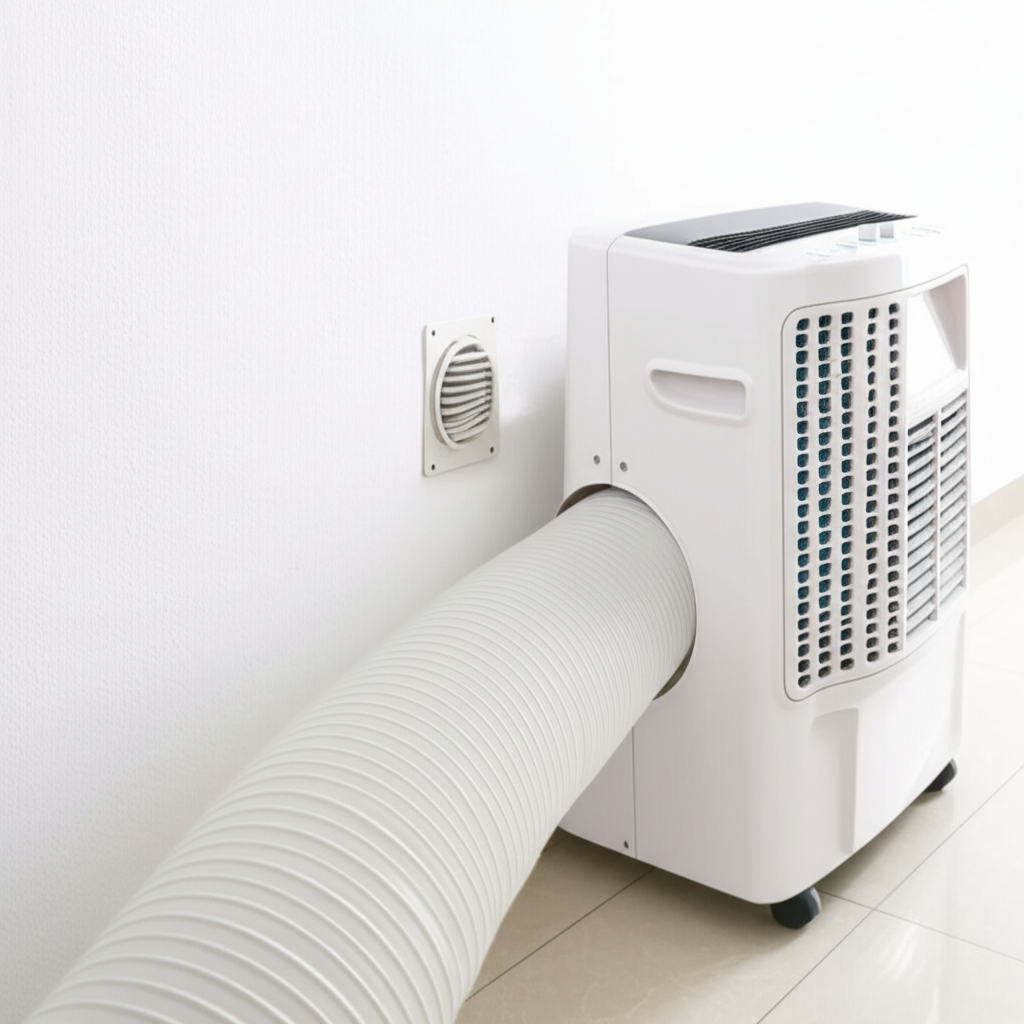
Portable air conditioners are great because you can move them around. But that long, clunky hose hanging out the window is never ideal. Venting it through the wall gives you a much cleaner, almost permanent look. It also stops hot air from sneaking back in around the window seal.
This job is usually beginner-friendly, but it does involve making a hole in your wall. Take your time, and always prioritize safety. We are moving from a temporary setup to a semi-permanent, super-efficient setup.
Step 1: Check Your Portable AC Exhaust Requirements
Not all portable ACs are the same. Most use a single hose, but some powerful ones use two hoses (one for intake, one for exhaust). You must know which kind you have.
Single Hose vs. Dual Hose Systems
- Single Hose AC: This unit pulls air from the room to cool the condenser coils, and then blows the hot air out. It creates negative pressure, which can pull unconditioned air into the house.
- Dual Hose AC: This is better for wall venting. One hose brings outside air in to cool the machine, and the second hose exhausts the hot air out. This maintains better room pressure.
For wall venting, a dual-hose unit is generally easier and more efficient. If you have a single-hose unit, you can still do it, but you might need to seal the intake area very carefully.
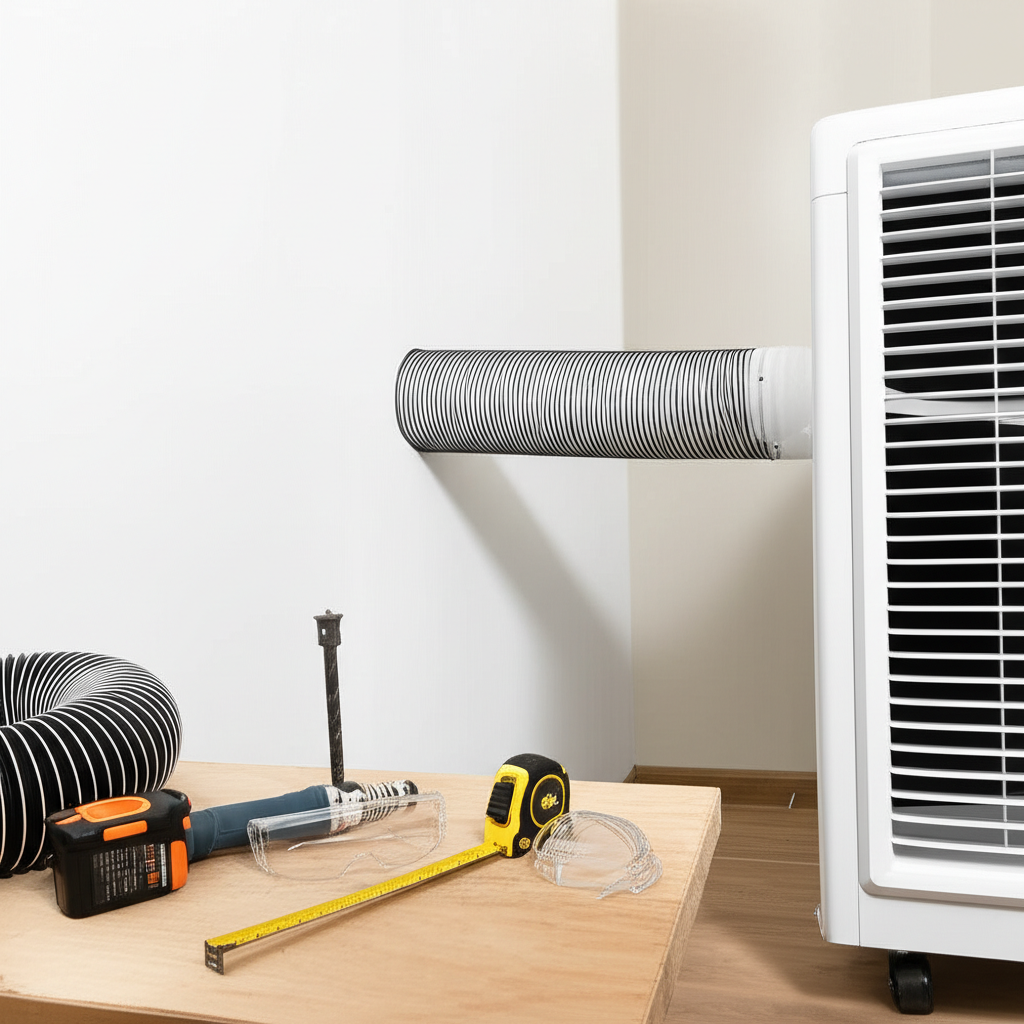
Step 2: Gather Your Tools and Materials
Before you start drilling, make sure everything is on hand. Running back to the store halfway through is never fun. Think of this like getting your tools ready for a big cooking project.
Essential Materials List
- Your Portable AC Exhaust Kit (Check the Manual!)
- Appropriate Diameter Hole Saw or Rotary Tool (like a Dremel)
- PVC Pipe or Dryer Vent Duct (sized to match your AC hose)
- Wall Plate/Flange Kit (Often sold separately for permanent venting)
- Caulk (Exterior grade, silicone recommended)
- Screwdriver and Drill
- Safety Gear (Safety glasses and gloves)
Pro Tip from Jack: The hardest part is matching the size. Measure the diameter of your AC exhaust hose exactly. Buy a flange or vent cap that matches that measurement perfectly. A snug fit means less air leakage.
Step 3: Choosing the Perfect Vent Location
Where you put the hole matters a lot for cooling performance and safety.
Location Considerations
- Keep it Short: The shorter the distance the hot air has to travel out, the better the AC works. Keep the hole close to where the AC unit sits.
- Avoid Wires and Pipes: This is crucial! Before drilling, check the wall cavity from the inside and outside. Use a stud finder that detects wiring if you have one.
- Exterior Access: Make sure you can easily access the outside area where the vent will terminate.
Step 4: Making the Hole Through the Wall (The Big Step!)
If you are venting through wood siding or drywall, this is straightforward. If you have brick or concrete, you will likely need a professional masonry drill.
Drilling Process for Drywall/Siding
- Mark the Center: From the inside, mark where the center of your hole should be. Hold the flange or adapter plate against the wall to trace the correct size if possible.
- Drill a Pilot Hole: Drill a very small pilot hole straight through the wall. Go slowly. This helps you confirm the location from the outside.
- Cut the Main Hole: Using your hole saw or rotary tool, carefully cut the hole to the exact diameter needed for your venting system. Cut from the outside if possible for a cleaner finish on the exterior siding.
- Clear Debris: Vacuum up all dust and debris from inside the wall cavity.
Step 5: Installing the Wall Vent Flange and Sealing
This step locks the system in place and keeps the weather out. We need a tight seal!
- Insert the Flange: Push your exterior vent flange or adapter piece through the hole you just cut. It should fit snugly.
- Secure It: Use exterior screws to secure the flange to the siding or sheathing. Do not overtighten, especially on plastic parts.
- Caulk Everything: Apply a generous bead of exterior-grade caulk all around the outside edge of the flange where it meets the wall. Smooth it out with a putty knife or your finger. This prevents water leaks and air infiltration.
- Seal Inside (If Necessary): If you used a two-part venting kit, secure the interior mounting plate and seal it with caulk as well.
Step 6: Connecting the Hose and Testing
Now for the satisfying part—connecting your AC unit!
- Connect the exhaust hose firmly to the back of the portable AC unit.
- Connect the other end of the hose to the newly installed wall flange. Use the provided clamps or locking mechanisms.
- Turn the AC on and run it for 15 minutes. Feel around the interior connection point. Is it cold? Is air leaking?
- If you feel any air escaping inside, turn the unit off and apply a little more caulk or weather stripping to close the gap.
Understanding BTU and Room Size
Choosing the right capacity AC for your space is key to efficient wall venting. If the unit is too small, it runs constantly, wasting energy.
| Room Size (Square Feet) | Required Cooling Capacity (BTUs per hour) |
|---|---|
| 150 to 250 | 5,000 to 6,000 |
| 250 to 350 | 7,000 to 8,000 |
| 350 to 450 | 9,000 to 10,000 |
| 450 to 550 | 12,000 |
Common Mistakes to Avoid When Wall Venting
As your friendly AC expert, I see people make the same few mistakes. Avoid these to save yourself headaches!
- Forgetting the Seal: The number one mistake is not using enough exterior caulk. A poor seal lets hot air back in, making your AC work overtime.
- Using Too Long a Hose: Keep the exhaust hose as short and straight as possible. Long, kinked hoses reduce cooling efficiency drastically.
- Drilling Without Checking: Never drill before confirming there are no hidden electrical wires or plumbing pipes in that spot. Safety first!
- Not Matching the Flange Size: If the flange is too big, you have too much gap to seal. If it’s too small, you choke the exhaust, which strains the compressor.
For more details on general AC efficiency and installation guidelines, you can always check out resources from the U.S. Department of Energy: Energy.gov.
Frequently Asked Questions (FAQ)
Q1: Can I use a standard dryer vent kit for my portable AC?
A: Yes, often you can! Dryer vents are usually the right diameter (4 inches). Just make sure the outside cap has louvers that open easily when the fan runs, but close when it’s off.
Q2: Will this void my portable AC warranty?
A: Modifying the wall is usually fine, but check your manual. If you damage the AC unit itself during the process, that part of the warranty might be voided. Proceed carefully!
Q3: What if my AC is a single hose unit? Will this still work?
A: It will work, but you must seal the inside connection perfectly. Since the unit creates negative pressure, any gap inside will pull warm air from your attic or crawlspace in.
Q4: How far can the hose realistically run through the wall?
A: Keep the hose length under 6 feet if possible, and try to keep it straight. Every foot of hose adds resistance and reduces cooling power.
Q5: Is drilling a hole bad for my home’s insulation?
A: A small hole is okay, but you must seal it well. The main thing is to insulate the gap between the hose and the wall opening using foam tape or caulk.
Q6: Do I need a professional for this?
A: If you are comfortable using a drill and cutting a clean circle in siding/drywall, you can do this. If your wall is brick or concrete, call a handyman to save your drill bits!
Conclusion
See? Venting your portable AC through the wall is totally achievable, even if you’re new to home projects. By taking it slow, measuring twice, and sealing everything tightly, you get a much cleaner look and better cooling performance.
Remember, consistent small efforts keep your AC running like a champ all summer long. Stay cool, stay comfortable, and enjoy that newly streamlined space!