
Quick Summary: Mini split thermostats are usually brand-specific. If you must change them, look for “universal” models or check the manufacturer’s specific cross-reference list. Compatibility is key for correct cooling and energy savings!
Is your mini split thermostat acting up? Maybe it won’t connect, or it just won’t cool right. Dealing with new electronics can feel confusing. We know you want to stay cool without spending hours reading confusing manuals. Don’t worry one bit. I’m Jack, and I’m here to make this simple. We will break down exactly what you need to know about mini split thermostat compatibility today.
Why Your Mini Split Thermostat Must Match
Your thermostat is the brain of your mini split system. It tells the indoor unit (the head) when to turn on and off. It also tells the outdoor unit (the compressor) when to work hard. If the brain doesn’t talk right to the body, things go wrong.
Mini splits are often different from old central AC systems. They use special, proprietary communication wires. This means a Honeywell thermostat might not talk to your Mitsubishi unit. This is the biggest hurdle for compatibility.
The Compatibility Problem: Brand Loyalty is Real
Most mini split manufacturers make their own thermostats. They do this because the wiring signals are unique to their brand. Think of it like a specific phone charger. One brand’s plug won’t fit another brand’s phone.
If you mix brands, the system might turn on but do the wrong thing. It might run constantly, or it might not run at all. This wastes electricity and makes you uncomfortable.
- Proprietary Wiring: Each brand uses different codes for telling the unit to cool or heat.
- System Specifics: Some advanced features (like humidity control) only work with the original thermostat.
- Warranty Issues: Swapping out parts can sometimes void your manufacturer warranty.
Urgent Fix 1: Identifying Your Current Thermostat Type
Before you buy anything new, look closely at what you have now. This helps you know if you need a direct replacement or a specialized solution.
Check the Name on the Wall Unit
Look directly at the indoor wall unit itself. The brand name should be clearly visible. Is it Daikin, Fujitsu, LG, or something else? Write this name down clearly.
Next, check the screen of your current thermostat. Does it have a brand logo? Sometimes the remote control is the only place the brand name appears clearly.
Finding the Model Number
If you need a replacement, the model number is gold. You can usually find this number by gently opening the faceplate of the thermostat. Be careful not to break any clips.
Search online using the brand name and the model number. You are looking for the owner’s manual or a replacement guide. This confirms if you need an exact match.
Urgent Fix 2: When You MUST Replace the Thermostat
Sometimes you need an upgrade, or the old one is broken beyond repair. Here are the two main paths for replacement.
Option A: Sticking with the Original Manufacturer (The Safest Bet)
This is always the easiest and most reliable path. Contacting the manufacturer or an authorized dealer guarantees a perfect match.
Steps for Direct Replacement:
- Note the brand and the model number of the old thermostat.
- Call an authorized dealer for that brand.
- Ask them to order the exact replacement part number.
- Installation is usually plug-and-play if you replace like-for-like.
Option B: Trying a Universal or Smart Thermostat (Requires Caution)
Some third-party companies make thermostats designed to work with many brands. These are often called “universal” thermostats. They are great for saving energy if you want smart features.
Warning: These only work if your mini split system has a standard, open communication protocol. Many newer, high-end units do not.
Always check the compatibility list for the universal thermostat first. Does your mini split brand and model number appear on their approved list?
If you are installing a smart thermostat like Ecobee or Nest, you usually need a special interface adapter (sometimes called a communication bridge) sold by the mini split manufacturer. Do not skip this bridge piece!
Compatibility Chart Example: Common Brands
This chart shows why mixing brands is tricky for beginners:
| Mini Split Brand | Likely Compatible Thermostat | Compatibility Risk Level |
|---|---|---|
| Mitsubishi | Mitsubishi Kumo Cloud or specific wired controllers | Low (if using brand parts) |
| Fujitsu Halcyon | Fujitsu wired or wireless controllers | Low (if using brand parts) |
| LG | LG Therma-V or specific communicating thermostats | Medium |
| Generic/Unknown | Requires professional assessment | High |
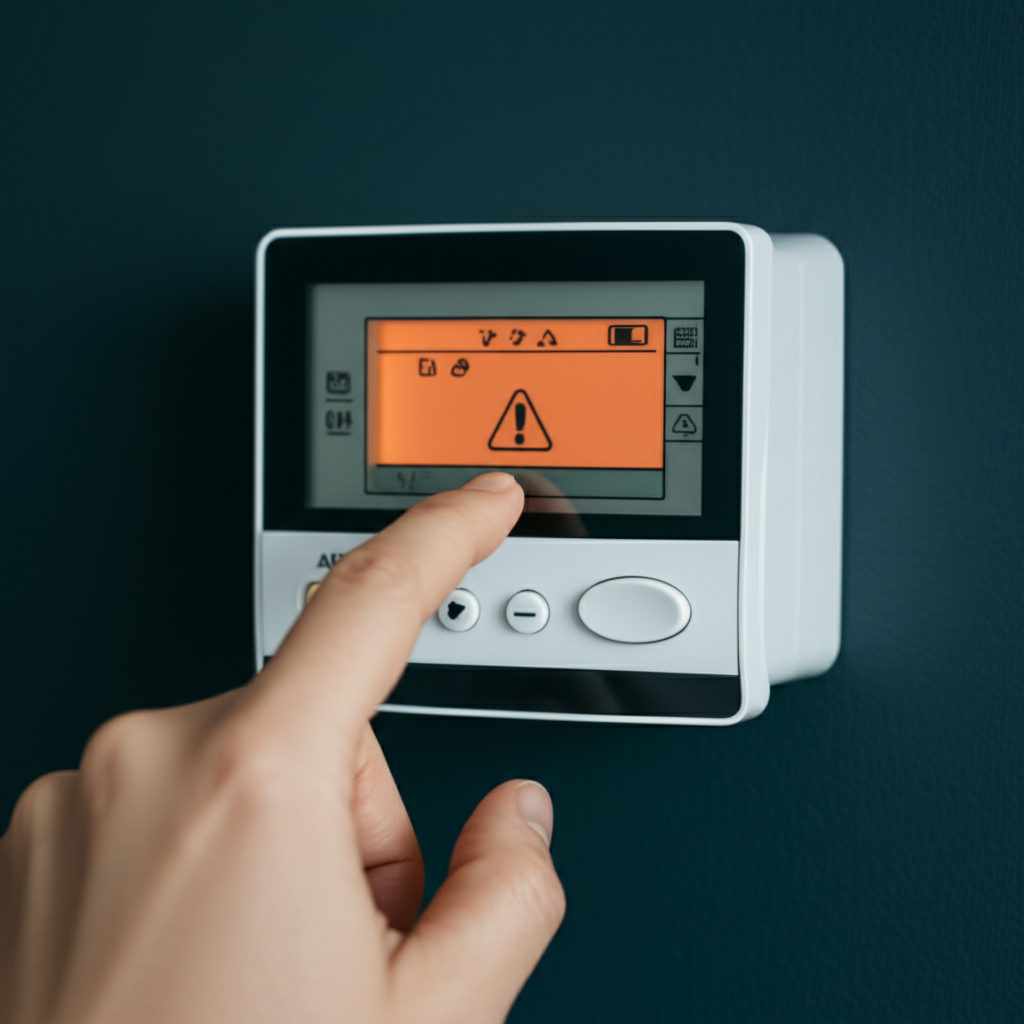
Urgent Fix 3: Troubleshooting Communication Errors
If your new or old thermostat is flashing an error code, it often means communication has failed. Don’t panic; this is often a simple wiring issue.
Check the Wiring Connections
Even if you didn’t touch the wires, sometimes they wiggle loose. Always turn off the power at the breaker before touching wires inside the wall box.
Most mini splits use low-voltage wires. Look for common terminal labels like R, Y, G, W, or specific letters like S1, S2, or CN1.
If you are using a universal thermostat, make sure you used the correct adapter harness provided by the universal thermostat maker. This harness translates the signals.
Power Cycling the System
Sometimes the system just needs a fresh start. This is like rebooting a computer.
How to Power Cycle:
- Turn the thermostat off.
- Go to your main electrical panel (breaker box).
- Find the breaker labeled for your AC unit and switch it OFF.
- Wait a full five minutes. This lets all the internal circuits fully drain.
- Switch the breaker back ON.
- Turn the thermostat back on and test the settings.
If the error persists after a proper power cycle, the issue is likely physical wiring or the communication board inside the outdoor unit.
Where to Find Reliable HVAC Information
For technical specifications and safety guidelines, always check trusted industry sources:
- Visit Energy.gov for HVAC efficiency tips.
- Consult ASHRAE standards for installation best practices (for advanced users or pros).
Common Beginner Mistakes with Mini Split Thermostats
We all make mistakes when setting up new gear. Here are the top three things beginners often do wrong when dealing with mini split controls.
| Mistake | Why It Happens | Simple Fix |
|---|---|---|
| Assuming it works like a standard thermostat. | Mini splits use complex digital signals, not simple on/off relays. | Always check the manual for brand-specific wiring. |
| Not using the correct adapter. | Trying to connect a smart thermostat directly to the main board wires. | Purchase the required communication bridge/adapter from the mini split maker. |
| Ignoring the breaker switch. | Thinking simply turning the unit off on the wall is enough before wiring. | Always kill power at the main electrical panel first. Safety first! |
Remember, mini splits are sensitive. They like precise instructions. If you try to force a universal part where it doesn’t belong, you might damage the expensive main control board.
When to Call the Professional AC Tech
If you have checked the wiring, power cycled the unit, and confirmed you have the correct replacement, but it still won’t communicate, it is time to call in an expert.
This usually means the problem is deeper. It could be a failed sensor inside the indoor unit, or the main control board itself has failed. These are not beginner fixes.
A technician has special diagnostic tools to “listen” to the digital communication signals. They can quickly confirm if the thermostat is bad or if the main system unit is the culprit.
Taking the guesswork out of these complex electronics saves you time and potential repair costs down the road.
Taking good care of your AC doesn’t have to be a headache. By understanding that mini splits need specific parts, you are already ahead of the game. Stay calm, check those brand names twice, and always prioritize safety when dealing with wiring. You’ve got this, and staying cool will be easy!