
Quick Summary: If your mini split isn’t cooling, the fix is usually simple: check the thermostat setting, clean the filters, ensure the outdoor unit isn’t blocked, or look for frozen coils. We’ll walk through these easy checks step-by-step.
Is your mini split blowing warm air when you desperately need cool air? It is frustrating when your home feels like a sauna, especially when that new AC unit should be working perfectly. Dealing with AC issues can feel confusing, like you need an engineering degree just to turn the fan on. Don’t worry about confusing jargon or expensive service calls right away.
I’m Jack from ACReviewHub.com, and I’ve seen every weird AC problem imaginable. Today, we are going to demystify why your mini split stopped cooling. We’ll start with the absolute easiest things you can check right now. Get ready to feel confident taking control of your comfort!

Why Mini Split Not Cooling: Shocking Fixes You Can Do Today
A mini split system is just a small, efficient version of a central AC. It has two main parts: the indoor unit (the head) and the outdoor unit (the condenser). When cooling stops, the problem usually lies with airflow, power, or a simple setting mistake.
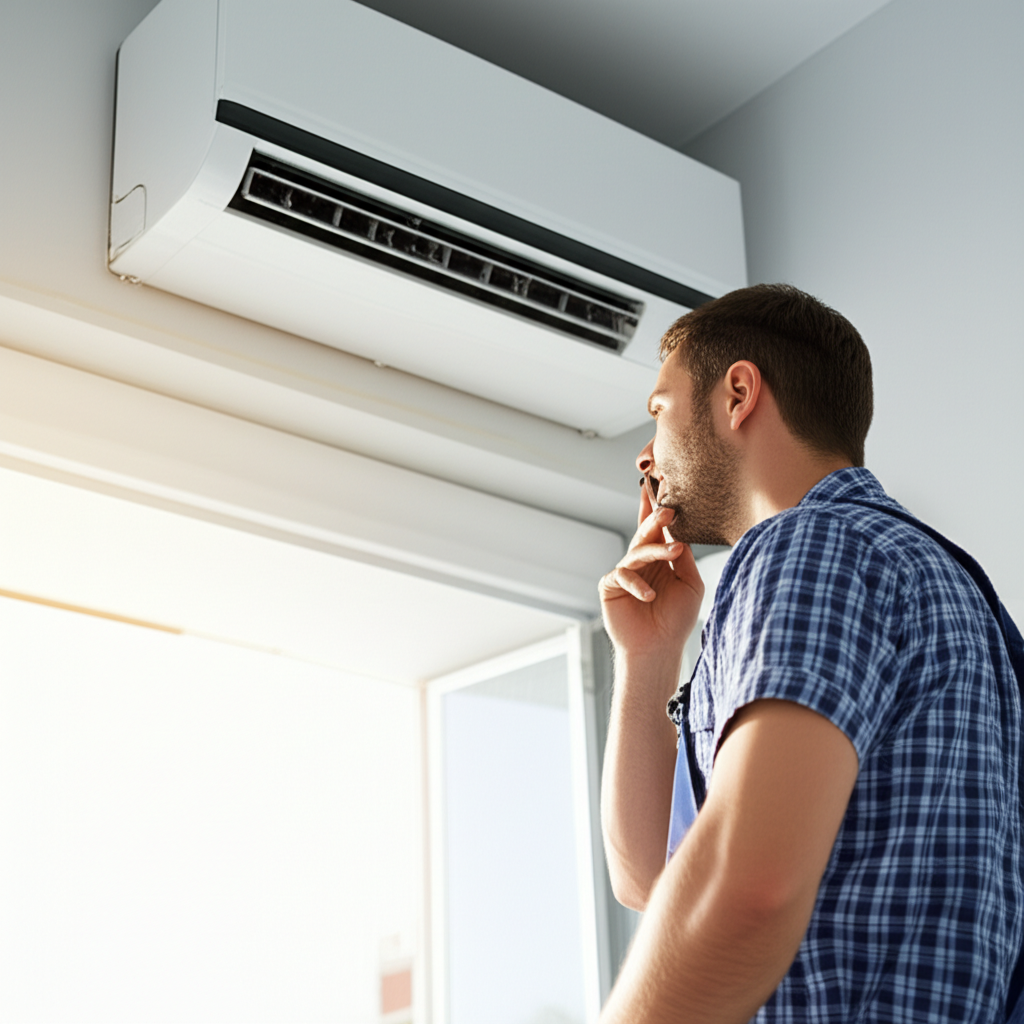
Step 1: Check the Basics—Thermostat and Settings
Before we touch anything physical, let’s make sure the brain of the system is telling it to work correctly. This is the most common, and easiest, fix.
Quick Thermostat Troubleshooting
- Is it set to “Cool”? Sometimes the remote gets accidentally switched to “Heat” or “Fan Only” mode, especially after a power flicker.
- Check the Temperature Setting: Make sure the set temperature is at least 5 to 8 degrees lower than the current room temperature. If it’s 80°F and you set it to 78°F, it won’t turn on immediately.
- Verify Battery Life: Weak batteries in the remote can cause erratic behavior or prevent commands from reaching the unit. Replace them if you haven’t in a while.
Step 2: The Filter Fiasco—Airflow is King
The single biggest reason any AC unit struggles to cool is dirty filters. Filters catch dust and debris. When they get clogged, air can’t move across the cooling coils easily. This starves the unit of airflow, making it ineffective.
How to Clean Your Mini Split Filters (Every 30 Days!)
- Turn the power off to the unit at the breaker or unplug it if safe.
- Gently open the front cover of the indoor head unit (it usually swings up).
- Slide out the mesh filters—they look like flat screens.
- Rinse them gently under warm running water or vacuum them if they are only slightly dusty.
- Let them air dry completely before sliding them back in.
- Close the cover and restore power.
If your filters were completely choked with dust, cleaning them might bring your cooling back instantly. This simple maintenance saves money and prevents bigger problems down the road.
Step 3: Inspecting the Outdoor Unit (The Condenser)
The outdoor unit is responsible for pushing the heat out of your house. If it can’t breathe, your indoor air won’t get cool.
Clear the Air Around the Condenser
Walk outside and look at the metal box with the fan. Is anything blocking it? We need at least two feet of clear space around the entire unit.
- Remove any weeds, tall grass, or shrubs growing too close.
- Check for leaves, plastic bags, or debris piled up against the sides.
- If you see heavy dirt or grime coating the metal fins, you may need to gently rinse them with a garden hose (make sure the power is OFF first!).
- Switch the system immediately from “Cool” mode to “Fan Only” mode.
- Let the unit run on Fan Only for several hours to fully melt all the ice.
- Once completely dry, check the filters again.
- Switch back to “Cool” mode. If the ice returns within an hour or two, it’s time to call a technician, as you likely have a refrigerant leak.
- Go to your main electrical panel (breaker box).
- Look for the breaker labeled for your AC or mini split.
- If it’s tripped (in the middle or off position), firmly flip it completely OFF, and then flip it firmly back to the ON position.
- Refrigerant Leak: The system is low on the fluid that actually does the cooling.
- Compressor Failure: The main pump in the outdoor unit has died.
- Electrical Component Failure: A capacitor or relay switch has failed inside the outdoor unit.
Step 4: The Shocking Problem—Ice on the Coils
If you see ice forming on the indoor unit lines or the coil inside the indoor unit, you have a serious cooling issue. Ice blocks airflow, which makes the coil even colder, causing more ice—it’s a vicious cycle.
Ice usually means one of two things: restricted airflow (dirty filters!) or low refrigerant (a job for a pro). But you can try fixing the airflow first.
What to Do When You See Ice
Step 5: Checking Power and Breakers
Sometimes the system simply loses power. This can stop the compressor outside from turning on, resulting in no cooling.
If the breaker trips again immediately, do not keep resetting it; this indicates a serious electrical short, and you must call an electrician or HVAC pro.
Understanding Mini Split Sizing (Why It Might Never Cool Well)
Sometimes the unit isn’t broken—it’s just undersized for the room. A unit that is too small will run constantly and still fail to reach the target temperature on hot days. Mini splits are rated in BTUs (British Thermal Units).
Here is a simple guide to help you see if your unit is powerful enough for the space. Remember, more windows and poor insulation mean you need a higher BTU.
| Approximate Room Size (Square Feet) | Recommended BTU Capacity |
|---|---|
| 150 – 250 sq ft | 5,000 – 6,000 BTU |
| 250 – 350 sq ft | 7,000 – 8,000 BTU |
| 350 – 550 sq ft | 9,000 – 12,000 BTU |
| 550 – 1000 sq ft | 14,000 – 18,000 BTU |
For more detailed guidance on choosing the right size, the Department of Energy offers great tips on home cooling efficiency (Energy.gov).
When to Call the AC Expert
If you have checked the filters, thermostat, outdoor clearance, and reset the breaker, but the unit still isn’t cooling, it’s time to call a certified technician. These issues usually require specialized tools:
Knowing when to stop troubleshooting is just as important as knowing how to start. Don’t risk damaging components by digging deeper than you are comfortable with.
Frequently Asked Questions About Mini Split Cooling
Q1: My mini split is running constantly but never gets cold. What gives?
A: This usually means the unit is struggling. Check your filters first! If they are clean, the outdoor unit might be struggling to push heat away because it’s dirty, or it’s simply too small for the space.
Q2: How long should it take for my mini split to cool a room down?
A: On a mild day, you should notice a temperature drop within 15–30 minutes. If it’s 100°F outside, it might take an hour or two to significantly drop the temperature by 10 degrees, depending on your unit’s size.
Q3: Can I run my mini split if the outdoor unit is wet from rain?
A: Yes, absolutely! Modern mini splits are designed to handle rain, snow, and harsh weather. Just make sure the area isn’t flooded.
Q4: Why is my indoor unit dripping water?
A: A little condensation is normal, but dripping usually means the drain line is clogged with algae or sludge, or the unit is running so cold (due to icing) that water is leaking out before it can drain properly.
Q5: Should I leave the fan running all night?
A: If you are comfortable with the temperature, set the thermostat to maintain a comfortable setting (like 75°F). Leaving it on “Auto” or “Cool” with a set temp is more efficient than running it on “Fan Only” all night.
Conclusion
See? Most mini split cooling problems aren’t scary at all. They usually come down to simple things like dirty filters or a switch set wrong on the remote. By checking the basics—airflow, settings, and clear space—you can solve a huge chunk of cooling issues yourself and keep more money in your pocket.
Stay consistent with those quick monthly filter cleanings, and your mini split will keep you cool and happy all season long. Happy cooling!