
Quick Summary: To winterize your mini split AC, turn it off, set the breaker switch, clean the filters, cover the outdoor unit to shield it from snow and debris, and ensure no ice forms around it. This keeps it safe until spring.
Hey there! I’m Jack from ACReviewHub.com. Are you worried about your mini split AC unit surviving the cold winter months? It is normal to feel a little nervous when it comes to putting expensive equipment away for the season. High energy bills and confusing settings can make AC ownership tricky. Don’t worry about that today. We are going to walk through the simple steps to get your mini split ready for winter. You will feel totally confident caring for your system year-round.
Why You Must Winterize Your Mini Split AC
Your mini split is tough, but winter is harsh. Leaving it running or just turning it off at the remote is not enough. Winterizing protects your investment from the elements. Snow, ice, and dirt can cause big problems later. If you skip this, you might face costly repairs when spring arrives. A quick winter prep saves you money and headaches later on.
Step 1: Shut Down the System Properly (The Right Way)
Do not just use the remote control to turn the unit off. That is only a temporary sleep mode. You need to cut the main power supply. This stops the system from trying to turn on during a cold snap. It also prevents damage to the compressor.
Here is how to safely power down your mini split:
- Turn the unit off using the remote control first. Set it to the “Off” mode.
- Locate your main electrical breaker box for your home.
- Find the breaker switch specifically labeled for your mini split unit (indoor and outdoor).
- Flip that breaker switch to the “Off” position. This completely cuts the power.
- For extra safety, some people use a dedicated outdoor disconnect switch near the outdoor unit if they have one. Turn that off too.
Step 2: Clean Those Filters and Coils
Dirty filters make your unit work too hard, even when cooling isn’t needed. Cleaning them before storage is key. This stops dust and mold from settling in for the winter.
Follow these easy cleaning steps for the indoor unit:
- Gently open the front panel of the indoor unit.
- Carefully slide out the mesh filters.
- Wash them using warm, soapy water. Rinse them well.
- Let the filters dry completely. They must be bone dry before putting them back in.
- Wipe down the unit’s exterior casing with a soft, damp cloth.
While you are at it, take a look at the outdoor unit (the condenser). If you see heavy dirt or leaves stuck to the fins, gently brush them off. Be very careful not to bend the thin metal fins.
Step 3: Protecting the Outdoor Unit (The Condenser)
The outdoor unit takes the brunt of the weather. Protecting it from snow, ice, and falling debris is crucial. This is where most winter damage happens.
Should I Cover My Mini Split?
Yes, covering the outdoor unit is highly recommended. However, you must cover it correctly. A tight plastic tarp can trap moisture underneath. This trapped moisture causes rust and corrosion. We want protection from snow, not a sealed sauna!
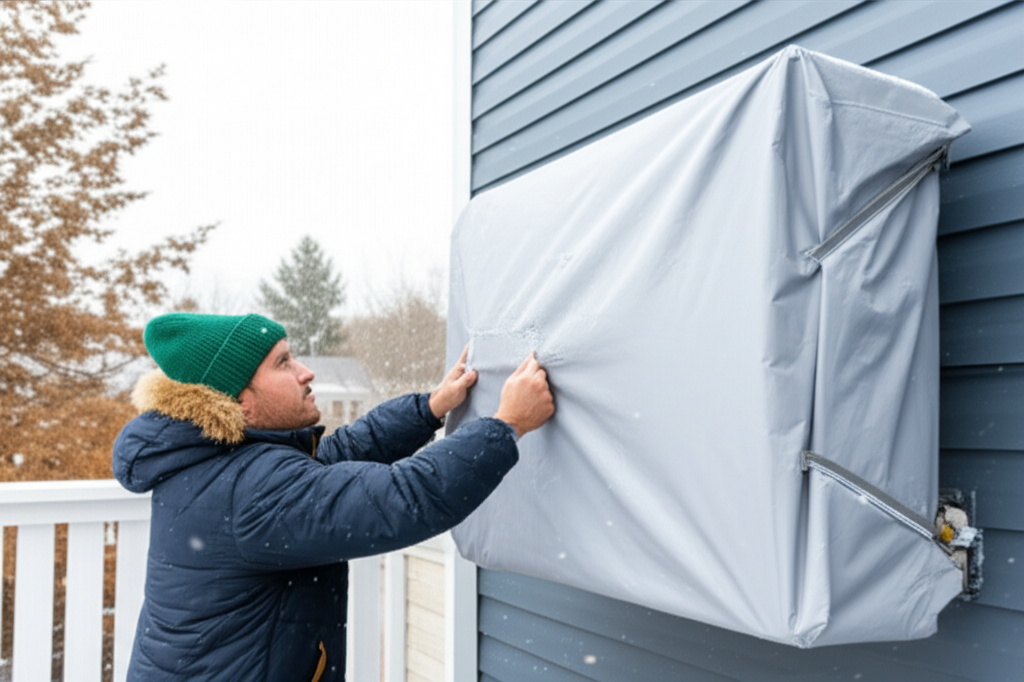
Here is the best way to cover the outdoor unit:
- Use a breathable, weather-resistant cover designed for AC units.
- Make sure the cover only goes over the top and sides.
- Leave the bottom open so air can still flow around the base.
- Do not let the cover touch the fan or electrical components inside. You need a few inches of space.
We need to keep moisture out, but also let air move. Check out the great tips on protecting outdoor HVAC units from Energy.gov for more details on moisture control. Visit Energy.gov for Home Energy Tips.
Step 4: Dealing with Drains and Refrigerant Lines
The small copper lines that run between your indoor and outdoor units need attention too. You should not disconnect them, as the refrigerant needs to stay sealed inside. However, check the drain line.
The drain line removes condensation during the cooling season. If water is left inside this pipe, it can freeze. When it freezes, it can crack the line. Simply check that the end of the drain tube outside is not clogged with debris.
If you live in a very snowy area, consider placing a small, non-metal barrier (like a sturdy piece of plywood) standing up near the unit. This acts as a snow fence to deflect deep drifts away from the unit’s sides.
What NOT to Do When Winterizing (Common Mistakes)
Sometimes, what you avoid doing is as important as what you do. Beginners often make these simple mistakes. Don’t let that be you!
| Mistake to Avoid | Why It’s Bad |
|---|---|
| Using a completely sealed plastic bag or tarp. | Traps humidity, leading to rust and mold growth. |
| Covering the unit while it’s still hot. | Can cause condensation buildup inside the cover as it cools. |
| Leaving the main breaker ON. | The unit might try to start in freezing temperatures, damaging the compressor. |
| Forgetting to clean the filters completely. | Dust and mildew bake onto the components over winter. |
When to Call a Professional for Winter Prep
For most standard mini splits, the steps above are enough. However, if you have a very old unit, or if you notice issues like low refrigerant or strange noises during the fall, it might be time to call in an expert.
A professional can perform a deeper check, sometimes called a “deep clean” or “winter inspection.” They ensure the seals are good and the electrical connections are tight before the deep freeze sets in.
| Symptom Noticed Before Winter | Likely Cause |
|---|---|
| Unit is blowing lukewarm air. | Low refrigerant or dirty coils (needs professional check). |
| Strange buzzing sound from the outdoor unit. | Loose fan motor or debris stuck inside. |
| Outdoor unit seems excessively icy. | Potential drain issue or refrigerant imbalance. |
If you are unsure about accessing the breaker box or handling the cleaning, please don’t hesitate to call your local HVAC tech. Safety first, always!
Preparing for Spring Startup
When the weather starts warming up, you must reverse the process. Don’t just flip the breaker and hit “Cool” immediately. Give the system time to adjust.
Simple steps for spring startup:
- Remove the winter cover completely.
- Check the outdoor unit for any debris that might have blown under it.
- Clean the filters again—they might have gathered dust while sitting idle.
- Go to the breaker box and turn the main power switch back ON.
- Wait about 30 minutes for the unit to equalize before turning it on with the remote.
- Run the unit on “Fan Only” mode for a little while before switching to cooling.
Frequently Asked Questions for New Mini Split Owners
I know you might still have a few questions rattling around. Here are quick answers to the most common things folks ask me.
Q: Can I use my mini split for heat in the winter?
A: Many mini splits are “heat pumps” and can heat! If yours is, you can use the heat setting, but always check the manufacturer’s manual for the lowest safe operating temperature.
Q: How long should the cover stay on the outdoor unit?
A: Keep the cover on until the threat of freezing temperatures and heavy snow has passed in your area, usually late March or April.
Q: Is it okay if the fan on the outdoor unit spins a little in the wind?
A: A little wobble from strong wind is usually fine, but if you hear loud banging or grinding, turn the breaker off immediately until you can inspect it.
Q: Do I need to drain the indoor unit?
A: No, the indoor unit drains naturally through the drain line when it runs. Just make sure that exterior drain opening isn’t blocked before winter hits.
Q: Will turning off the breaker really save energy?
A: Yes, it stops “phantom power draw.” Even when off, electronics can sip a tiny bit of electricity. Cutting the breaker stops that completely.
Q: What if I see ice on the outdoor unit in winter?
A: If you are using the heat setting and see light frost, that’s normal—the unit will auto-defrost. If you see heavy, thick ice buildup when the unit is off, check your cover to make sure it isn’t trapping moisture.
Final Thoughts on AC Care
See? Winterizing your mini split isn’t a scary, technical job. It is just a few simple chores to protect your system. Think of it like tucking your AC in for a long, safe nap. Consistency is your best friend here. A little effort now means smooth, efficient cooling when that first hot day arrives next year.
Keep up these easy maintenance habits, and your mini split will serve you well for many years to come. Happy to help you keep things running cool!