
Installing a portable AC window kit is easier than you think! This guide walks you through every step—from measuring your window to sealing gaps for maximum efficiency. You’ll avoid leaks, boost cooling power, and keep cool without permanent installation. Whether you’re renting or just want flexibility, a window kit gives you powerful AC performance in minutes.
Have you ever struggled with a portable air conditioner that just won’t cool your room properly? Maybe it runs constantly but still leaves you sweating. The problem isn’t always the unit itself—it could be that warm air keeps sneaking back into the room through your window. That’s where a portable AC window kit comes in. These kits create a sealed path for hot air to escape, turning your portable cooler into a true climate control solution.
Installing a window kit might sound intimidating, but with the right tools and a few simple steps, it’s totally doable—even if you’re not handy. In this guide, we’ll walk you through everything from unpacking the kit to making sure your AC works at peak performance. By the end, you’ll know exactly how to install portable AC window kit systems like a pro, no contractor required.
Before we dive in, let’s talk about why this matters. Portable ACs are great because they’re mobile and don’t require professional installation. But without a proper vent, much of their cooling power gets wasted. A well-fitted window kit can improve efficiency by up to 30%, saving you money on electricity and keeping your space comfortably cool. Plus, it reduces noise since the unit doesn’t have to work as hard.
Now, let’s get started.
Key Takeaways
- Measure your window precisely: Accurate measurements prevent air leaks and ensure the kit fits snugly.
- Choose the right kit size: Match the kit dimensions to your portable AC’s exhaust hose for optimal airflow.
- Seal gaps with weatherstripping: Use foam tape or vinyl strips to block cold air from sneaking back inside.
- Install the vent securely: Mount the window panel tightly to avoid vibration noise and maintain efficiency.
- Test before finalizing: Run the AC briefly to check for drafts or hose misalignment before sealing completely.
- Safety first: Always unplug the unit during adjustments and avoid over-tightening screws.
Quick Answers to Common Questions
Can I install a portable AC window kit myself?
Yes! Most kits are designed for DIY installation. With basic tools and clear instructions, anyone can set one up in under an hour.
Do I need special tools to install the window kit?
Nope. A screwdriver, measuring tape, and scissors are usually enough. Optional items like a drill or level can make things easier but aren’t essential.
Will the window kit work on any window type?
It depends on size and shape. Measure your opening carefully and choose a kit rated for similar dimensions. Sliding, casement, and double-hung windows all work with the right kit.
How do I stop condensation from forming on the window?
Use insulation around the panel and ensure good airflow. If condensation persists, lower the thermostat slightly or run a dehumidifier nearby.
Can I reuse the window kit next year?
Absolutely. Store it in a dry place after cleaning. Reuse annually—just reseal if foam tape loses its stickiness.
📑 Table of Contents
Gathering Your Tools and Materials
Before you open that box, make sure you have everything you need. Most window kits come with basic components, but having extra supplies on hand makes the job smoother. Here’s what you’ll typically need:
– The portable AC window kit (usually includes a plastic panel, adjustable brackets, screws, and foam insulation)
– Measuring tape
– Screwdriver or drill
– Scissors or utility knife
– Weather stripping or foam tape (optional but recommended)
– Level (to ensure even fit)
– Marker or pencil
If your window has screens, you might also need a screen removal tool or pliers. Some kits include a hose adapter—double-check that it matches your AC model. For example, if your portable AC uses a 5-inch diameter hose, ensure the window kit supports that size. You can find detailed specs in your AC manual or on the manufacturer’s website.
Also, pick a sunny afternoon to work—this gives you time to troubleshoot if needed. Avoid installing in rain or extreme heat, as moisture can damage materials and reduce effectiveness.
Measuring Your Window Correctly
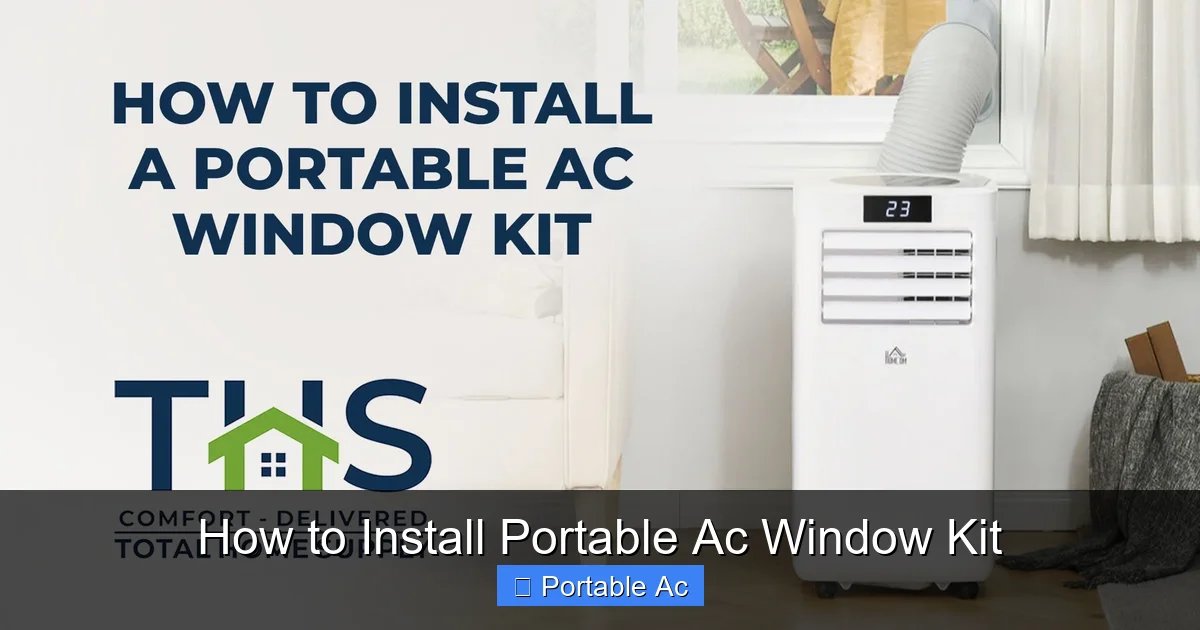
Visual guide about How to Install Portable Ac Window Kit
Image source: blog.totalhomesupply.com
This step is crucial. If the window panel doesn’t fit tightly, cold air will escape, and hot air will enter—defeating the whole purpose. Start by measuring the width and height of your window opening. Don’t forget to note the depth from the interior wall outward. Some windows slope inward or outward, so measure at multiple points to find the widest part.
Next, compare those numbers to the kit’s specifications. Most kits list minimum and maximum sizes. If your window is slightly larger, you can trim the panel carefully using a utility knife. Never force it—a tight seal beats a perfect fit every time.
For sliding windows, measure both the fixed and movable sections. You may need to adjust the bracket placement to accommodate movement. If you’re unsure, refer to our article on how to use portable AC in sliding window for tips.
Preparing the Window Opening
Visual guide about How to Install Portable Ac Window Kit
Image source: m.media-amazon.com
Clean the area around the window thoroughly. Dust, dirt, or old caulk can interfere with adhesion and fit. Remove any loose paint or debris, then wipe the surface with a damp cloth and let it dry. This ensures the window kit seals properly.
Check for drafts by holding a lit candle near the edges. If the flame flickers, there’s a gap. Seal large openings temporarily with duct tape or foam board while installing the kit. Later, replace them with weatherstripping for long-term protection.
If your window has screens, decide whether to remove them permanently or leave them in place. Removing screens gives better clearance but exposes the glass to condensation. Alternatively, cut small holes in the screen for ventilation. Just remember to cover those holes afterward with mesh or tape to keep bugs out.
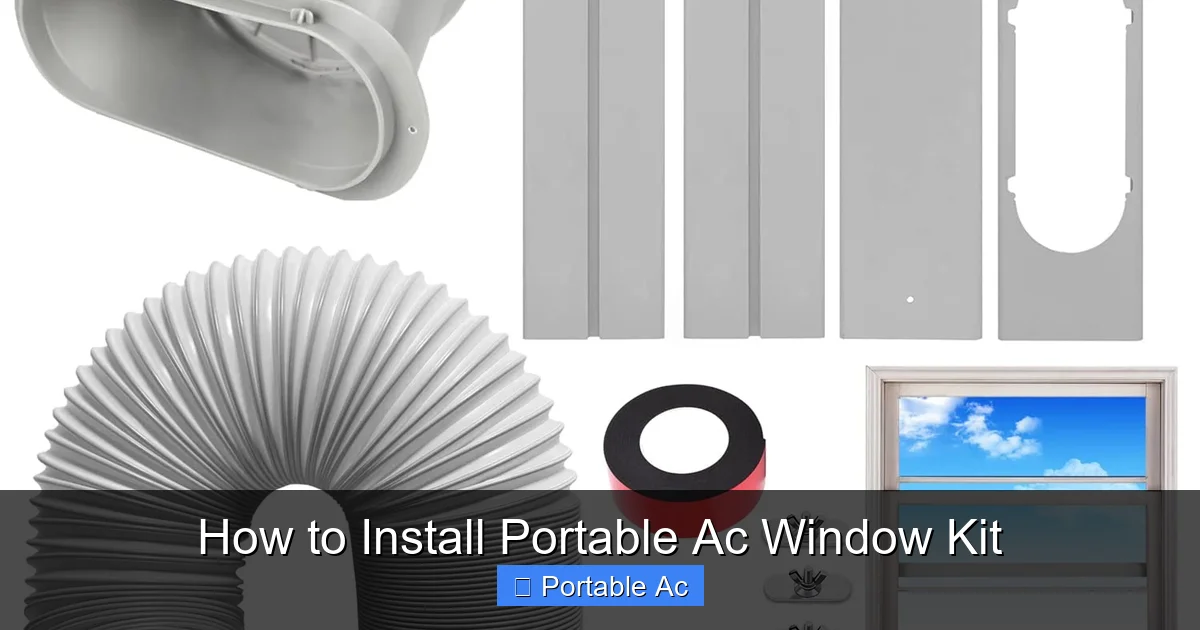
Assembling the Window Kit Panel
Visual guide about How to Install Portable Ac Window Kit
Image source: img.lazcdn.com
Most kits come partially assembled. Lay out all parts and read the instructions—yes, really. It saves headaches later. Connect the side panels to the main vent panel using the provided clips or screws. Make sure the exhaust hose opening aligns with your AC’s port.
Adjust the width and height of the panel according to your window size. Many kits feature sliding rails or telescoping arms that lock in place. Tighten only enough to hold firm—over-tightening can warp plastic parts.
If your kit includes insulation flaps, attach them now. These help deflect heat away from the window and reduce condensation buildup. For added efficiency, consider insulating the hose itself using foam pipe wrap, as covered in our guide on how to insulate portable AC hose.
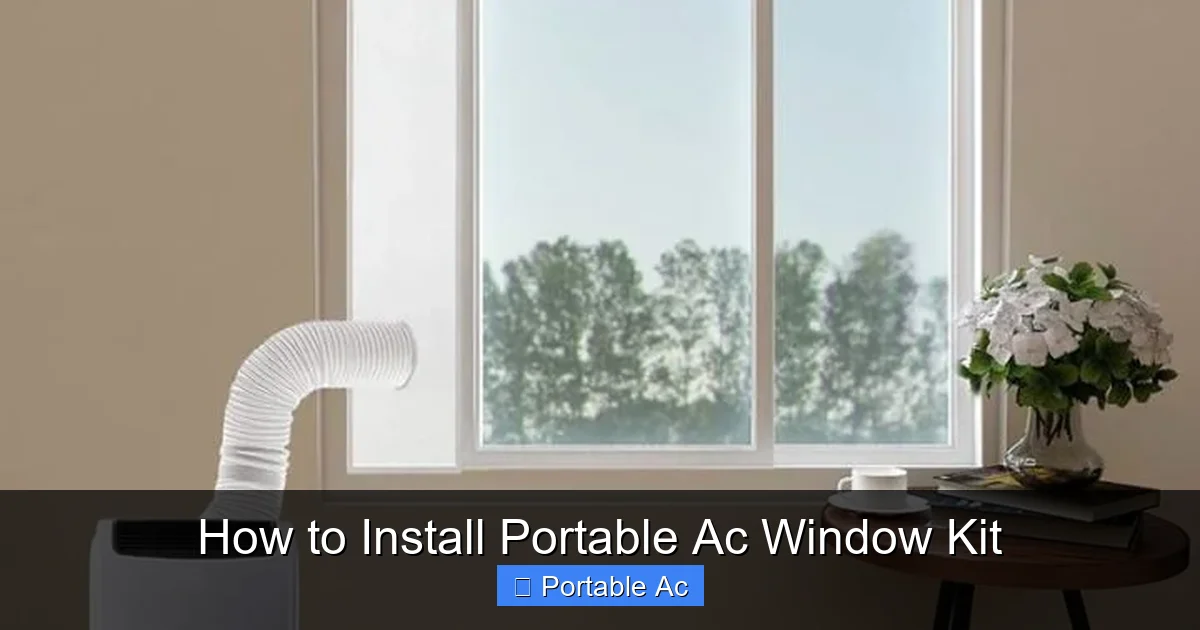
Mounting the Kit to the Window
Position the assembled panel into the window opening. Use a level to ensure it’s straight—tilted panels create gaps. Slide the brackets outward until they contact the window frame on both sides. Secure them with screws, but don’t overtighten. Plastic parts can crack under excessive pressure.
For sliding windows, test the movement first. Open and close the sash gently to confirm the kit doesn’t interfere. If it does, loosen the brackets slightly or reposition them.
Once mounted, insert the exhaust hose into the vent opening. It should slide in smoothly. If it feels too tight, double-check compatibility between your AC and the kit. Some units require adapters, which may be included.
Finally, secure the hose with zip ties or Velcro straps near the AC unit to prevent sagging. A drooping hose creates resistance, forcing the compressor to work harder and increasing energy use.
Sealing Gaps and Testing the System
This is where most people skip steps—but sealing gaps makes or breaks your cooling success. Apply weatherstripping along the top and sides of the panel. Cut foam tape to length and press firmly into place. For extra insurance, add a bead of silicone caulk at the base, especially if you’re dealing with older windows prone to drafts.
Run your portable AC for 10–15 minutes on low speed. Feel around the edges for cold spots (good!) or warmth (not good). Hold your hand near the vent—you should feel strong cool air blowing out. If not, recheck hose connections and panel alignment.
Listen for unusual noises. Vibration often means the panel isn’t seated evenly. Tighten brackets or add rubber pads underneath for cushioning.
Once satisfied, plug the AC back in and enjoy. You’ve successfully installed your portable AC window kit!
Frequently Asked Questions
What happens if my window kit doesn’t fit perfectly?
You can trim excess plastic carefully with a utility knife. Focus on achieving a tight seal rather than a pixel-perfect fit. Small gaps are better handled with weatherstripping.
Is it safe to leave the window kit installed overnight?
Yes, as long as it’s sealed properly. Just ensure the exhaust hose isn’t kinked and the unit is plugged into a grounded outlet.
Can I use tape instead of weatherstripping?
Duct tape works in a pinch, but it’s less durable and may peel off over time. Weatherstripping or foam tape lasts longer and provides a cleaner seal.
Will the window kit affect natural light?
A little, yes—especially if the panel is large. Consider translucent or frosted inserts if daylight is important to you.
How often should I clean the window kit?
Wipe down the panel monthly and deep-clean quarterly. Remove dust buildup to maintain airflow and prevent mold.
Can I install multiple portable ACs with one window kit?
Not recommended. Each unit needs dedicated ventilation to avoid short-cycling and reduced efficiency. Use separate kits for each AC.