
Setting up a portable AC continuous drain means you never have to empty the water tank again—perfect for 24/7 use. This smart setup routes condensation straight to a floor drain or sump pump using gravity and simple tubing. With the right hose and proper placement, your portable AC continuous drain setup runs quietly and efficiently without constant maintenance.
If you’re tired of constantly stopping your portable AC to dump water, a portable AC continuous drain setup might be the solution you’ve been looking for. These systems allow your unit to run nonstop—even during long summer days or overnight—without interrupting its cooling cycle. Whether you’re using it in a basement, rental apartment, or home office, this kind of setup saves time, reduces mess, and ensures consistent comfort.
Unlike traditional portable air conditioners that collect condensation in an internal tank, a continuous drain system routes that moisture away automatically. This is especially useful in humid environments where your AC produces more than 3–4 quarts of water per day. Instead of checking the tank every few hours, you can install a simple hose that leads straight to a floor drain, sink, or outdoor area. It’s like having your AC work silently in the background—cooling your space while quietly managing its own waste.
What makes this setup so appealing is its balance between simplicity and effectiveness. You don’t need special tools or professional help. Just a compatible hose, some basic measurements, and a clear path to a drain. In this guide, we’ll walk you through everything from choosing the right components to troubleshooting common issues. By the end, you’ll know exactly how to create a reliable portable AC continuous drain setup that works day and night.
Key Takeaways
- Continuous drainage eliminates manual tank emptying: A properly installed portable AC continuous drain setup removes the need to monitor and empty the internal water collection tank.
- Gravity-fed systems are most reliable: The simplest method uses a standard drain hose connected directly to the unit’s exhaust port, relying on gravity to move condensate to a distant drain.
- Proper hose length and slope are critical: For optimal flow, the drain hose should be at least 6 feet long and slope downward at a minimum 1-inch drop per foot toward the drain point.
- Use only approved drain hoses: Not all flexible tubes work—stick with thick-walled, vinyl or silicone hoses that won’t kink or collapse under pressure.
- Prevent air leaks in the connection: Seal the drain hose tightly at the AC’s outlet to avoid warm air mixing with cool air, which reduces efficiency.
- Consider backup options for power outages: Some setups include a secondary reservoir or battery-powered pump for emergency situations.
- Regular cleaning prevents clogs: Even with continuous draining, sediment can build up—clean the drain line annually to maintain performance.
Quick Answers to Common Questions
Can I use any hose for continuous drainage?
No—only thick, crush-resistant hoses designed for water flow. Thin or flimsy tubes will kink or collapse, blocking drainage and causing leaks.
Do I need a pump for continuous draining?
Most setups rely on gravity alone. A pump is only necessary if routing water uphill or over long vertical distances. Otherwise, it adds cost, noise, and energy use.
Will continuous draining void my warranty?
Modifying your AC yourself rarely voids warranties unless it causes damage. Always consult your manufacturer’s guidelines before making changes.
How far can the drain hose be?
In theory, as far as you want—but practical limits apply. Beyond 15 feet, friction slows water flow, and mineral buildup becomes more likely. Stick to 6–10 feet for best results.
What if my AC doesn’t have a visible drain port?
Some models hide the port behind a removable panel. Check the owner’s manual or contact customer support. If none exists, your unit isn’t designed for external drainage.
📑 Table of Contents
Why Choose a Continuous Drain Setup?
Portable air conditioners remove heat and humidity by cooling indoor air and condensing moisture. That process creates water—sometimes quite a lot of it. Most models come with a built-in collection tank that holds about 1–2 gallons. While convenient at first, relying solely on that tank has drawbacks:
- Frequent interruptions: You must stop the unit to empty the tank, disrupting your cooling schedule.
- Risk of overflow: If forgotten, the tank can fill up and cause leaks, damaging floors or electronics.
- Limited runtime: On high-humidity days, even full tanks may not last a full night.
A continuous drain setup solves these problems by redirecting excess water away from the unit. Think of it as upgrading from a bucket to a plumbing system. The result? Your AC runs longer, stays safer, and requires less attention. Plus, it’s ideal for unattended use—great for vacation homes, server rooms, or anyone who wants peace of mind during hot spells.
How Does a Portable AC Continuous Drain Work?
At its core, the process relies on two principles: condensation and gravity. When your AC cools the air inside, moisture in the air turns into liquid and collects on the evaporator coils. This water drips into a tray at the bottom of the unit. From there, it flows into the drain pan and exits through a small opening—usually near the back or side.
In a standard setup, this exit connects to a short rubber hose that either sits in a bucket or leads to a drain. But for continuous operation, you extend that hose much further—often 6 to 10 feet—and route it downhill to a floor drain, utility sink, or even outdoors. As long as the hose slopes downward consistently, gravity pulls the water along smoothly.
Some advanced models include a built-in pump that actively pushes water uphill or over obstacles. However, most DIY continuous drain setups use passive gravity flow because it’s cheaper, quieter, and energy-efficient. Just remember: no pump means no electricity needed for drainage—just clean, straight lines and correct angles.
Choosing the Right Components
Not all hoses or connectors will work for a portable AC continuous drain setup. Here’s what to look for:
Drain Hose Specifications
The ideal hose is thick, flexible, and crush-resistant. Avoid thin plastic tubing that bends easily or collapses under its own weight. Instead, choose a rigid PVC or silicone tube with a diameter matching your AC’s drain outlet (typically 3/8 inch or 1/2 inch). Thick-walled vinyl hoses designed for aquarium or irrigation use often fit the bill perfectly.
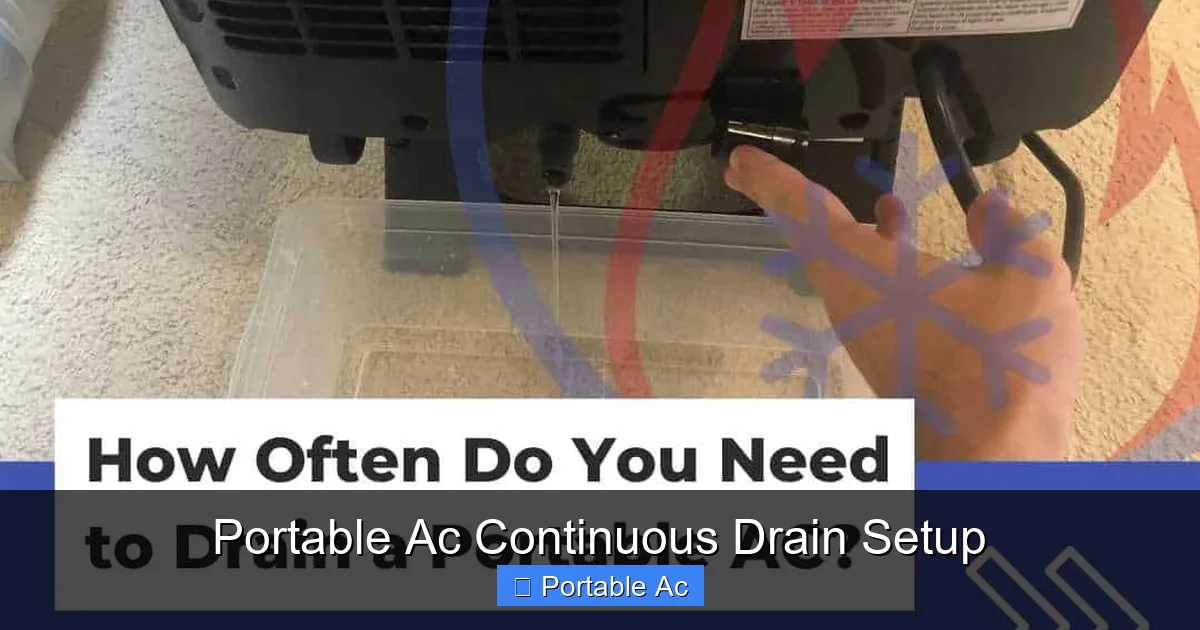
Visual guide about Portable Ac Continuous Drain Setup
Image source: hvactrainingshop.com
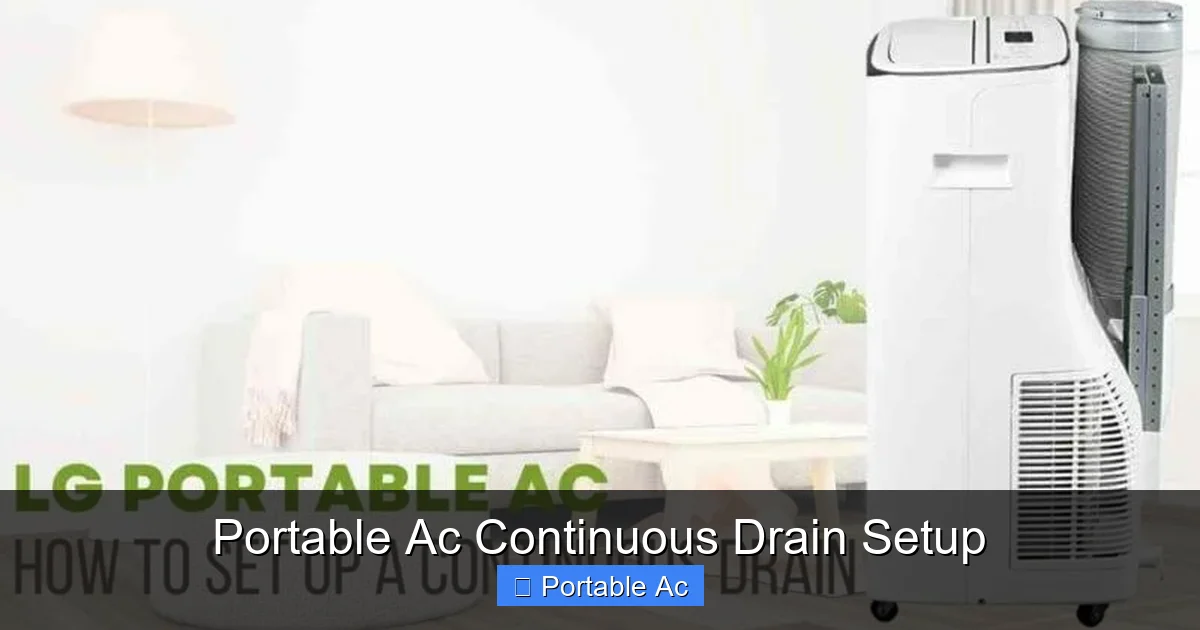
Visual guide about Portable Ac Continuous Drain Setup
Image source: bestdehumidifierchoice.com
Connectors and Seals
You’ll need a secure clamp or compression fitting to attach the hose to your AC’s drain port. Waterproof silicone sealant helps prevent leaks around the connection. Make sure the joint is tight—any gap lets warm room air seep in, reducing cooling efficiency and potentially causing frost on the coils.
Length and Slope Requirements
For best results, the hose should be at least 6 feet long. Longer hoses give you more flexibility in positioning. The key is maintaining a steady downward slope—at least 1 inch of drop for every foot of horizontal distance. For example, if you’re running the hose horizontally for 6 feet, the lowest end should sit at least 6 inches below the AC outlet.
Drain Destination Options
- Floor drains: Common in basements, garages, or utility rooms—ideal for permanent installations.
- Utility sinks: Great if you have one nearby; just ensure the sink basin can handle occasional overflow.
- Outdoor spigots: Use only if local codes allow it; avoid directing water onto concrete slabs where runoff could damage landscaping.
Step-by-Step Installation Guide
Ready to set yours up? Follow these steps carefully for a safe, leak-free system:
1. Turn Off and Unplug the Unit
Always disconnect power before working inside or near electrical components. Safety first!
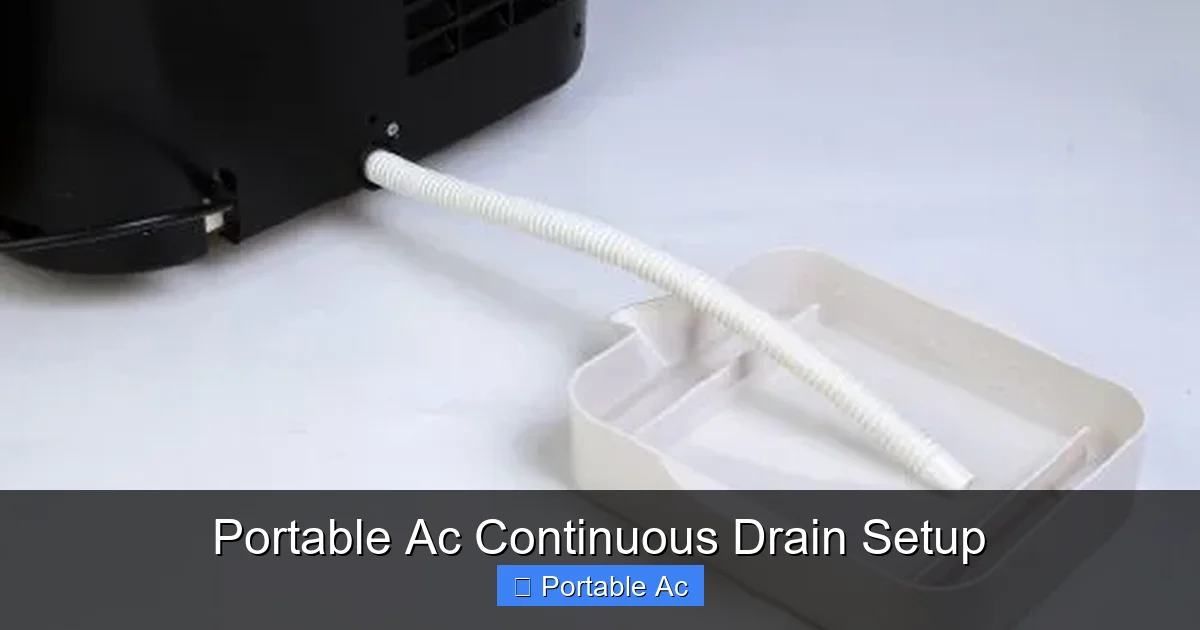
Visual guide about Portable Ac Continuous Drain Setup
Image source: coolandportable.com
2. Locate the Drain Port
Check your user manual—most portable ACs have a labeled drain outlet near the rear panel. It’s usually covered by a small cap or flap.
3. Measure and Cut the Hose
Run a tape measure from the drain port to your chosen drain location. Add extra length (about 2 feet) for slack. Cut the hose to size using sharp scissors or a utility knife.
4. Attach the Hose Securely
Slide the connector onto the hose end, then firmly push it into the AC’s drain port. Use a hose clamp tightened with pliers to prevent slippage. Apply silicone sealant around the base for extra protection.
5. Test the Slope
Place the other end of the hose at the drain site. Adjust height until you achieve that crucial 1-inch-per-foot gradient. Mark the spot with tape so you don’t lose alignment later.
6. Power On and Monitor
Plug the unit back in and turn it on. Watch for leaks during the first hour. If water pools instead of flowing smoothly, double-check connections and re-slope the hose.
Pro tip: Keep the hose elevated slightly above ground level near the drain to prevent siphoning when the AC shuts off. This avoids backflow into the unit.
Troubleshooting Common Issues
Even with perfect planning, things sometimes go wrong. Here’s how to fix typical drainage problems:
Water Stops Flowing After a Few Hours
This usually indicates a partial blockage. Condensate contains minerals that can leave scale inside the hose over time. Flush the line with vinegar or use a bent wire to clear debris.
Air Leaks Around the Connection
If warm air enters the system, your AC will lose efficiency and may freeze up. Re-tighten the clamp or reapply sealant around the joint.
Hose Kinks or Collapses
Rigid objects or tight corners can pinch the hose. Replace it with a softer, wider-gauge tube or reroute to avoid sharp bends.
Overflow Despite Continuous Drain
Your AC might be producing more water than expected due to extreme humidity. Consider adding a secondary catch basin or upgrading to a model with higher drainage capacity. For reference, see our guide on best portable ACs for 24-hour use.
Maintenance Tips for Long-Term Reliability
Once installed, your portable AC continuous drain setup needs minimal care—but regular checks keep it running smoothly:
- Inspect monthly: Look for cracks, soft spots, or mineral buildup in the hose.
- Flush quarterly: Run vinegar through the line to dissolve deposits.
- Clean the filter: A dirty filter restricts airflow, increasing condensation and drainage demand.
- Check alignment: Seasonal temperature changes can shift furniture or flooring—reverify slope if needed.
Also, consider placing a small float switch near the drain outlet. This device automatically shuts off the AC if the drain backs up, preventing water damage. While optional, it adds an extra layer of safety for unattended operation.
When to Upgrade Your Portable AC
If your current model lacks a drain port or uses a proprietary hose system, a universal portable AC continuous drain setup may not be compatible. In such cases, it’s worth investing in a newer unit designed for easy drainage. Modern models often feature dual-hose systems, auto-evaporation technology, or integrated pumps—all aimed at reducing maintenance.
For instance, units with auto-evaporation recycle most of the condensed water back into the refrigerant cycle, minimizing drainage altogether. Others include washable filters and remote monitoring apps. If you’re shopping now, check out our picks for best portable ACs with easy setup or affordable options under $400.
Frequently Asked Questions
Is a continuous drain setup safe for my AC?
Yes, as long as you follow installation guidelines. Proper slope and sealed connections prevent water backflow and protect internal components.
Can I connect multiple portable ACs to one drain?
Technically yes, but it increases clog risk. Each unit produces different mineral levels, so combined flow can accelerate scaling in the line.
What happens if the drain hose gets blocked?
Water will pool inside the unit, eventually overflowing the tank and leaking onto the floor. Install a float switch or schedule regular inspections to avoid this.
Does continuous draining affect cooling performance?
Only if there’s an air leak at the hose connection. Tight seals preserve efficiency. Always verify your joints are secure.
Can I use this setup outdoors?
Not recommended. Outdoor units aren’t rated for indoor condensation control, and exposure to rain or dust compromises safety and longevity.
How often should I clean the drain line?
At least once per year, or every 3–4 months in hard-water areas. Use white vinegar or commercial drain cleaners to dissolve mineral deposits.