
Your AC thermostat is acting up? No sweat! Replacing it yourself is easier than you think. Follow these simple steps, and you’ll have your home feeling just right again in no time.
Is your air conditioner acting a little… strange? Maybe it’s not turning on, or perhaps it’s making your home too hot or too cold. Often, the culprit is a simple thermostat. Don’t worry, you don’t need to be an AC wizard to fix it!
Here at ACReviewHub.com, we believe keeping your home comfortable shouldn’t be confusing or expensive. We’re here to break down AC stuff into easy-to-understand tips. This guide will walk you through replacing your air conditioner thermostat step-by-step, so you can get back to enjoying a perfectly cooled home.
Why You Might Need a New AC Thermostat
Your thermostat is the brain of your AC system. It tells your air conditioner when to turn on and off. If it’s not working right, your AC won’t work right either.
Sometimes, thermostats just get old and stop responding. Other times, they might be giving your AC the wrong signals. This can lead to uncomfortable temperatures or even higher energy bills.
If you’re noticing these signs, it’s a good hint that a new thermostat might be the fix.
Signs Your Thermostat Needs Replacing
Here are a few common signs that your thermostat might be ready for an upgrade:
- Your AC is not turning on or off at the set temperature.
- The thermostat display is blank or flickering.
- You’re experiencing much warmer or colder temperatures than you set.
- The thermostat seems unresponsive to your touch or button presses.
- Your energy bills have suddenly gone up for no clear reason.
Choosing the Right Replacement Thermostat
Picking a new thermostat is exciting! There are many types, but for beginners, we recommend these:
- Programmable Thermostats: These let you set schedules for different times of the day and week. You can save energy by having your AC run less when you’re asleep or away.
- Smart Thermostats: These connect to your Wi-Fi. You can control them from your phone, and they learn your habits to save even more energy. They are a bit more advanced but offer great savings.
When buying, make sure the new thermostat is compatible with your existing AC system. Most modern thermostats work with most systems, but it’s always good to check the box or ask a store associate.
What You’ll Need for the Job
Gathering your tools beforehand makes the job smooth. You won’t need much!
- Your new thermostat and its mounting hardware.
- A small screwdriver (usually a Phillips head).
- Pliers (optional, for wire manipulation if needed).
- A phone or camera to take pictures of the wiring.
- A pen and paper to label wires.
- Painter’s tape (optional, for labeling).
Step-by-Step: Easy AC Thermostat Replacement
Let’s get this done! Follow these steps carefully.
Step 1: Turn Off Power to Your AC System
This is the most important step for safety. Find the breaker switch for your air conditioner in your home’s electrical panel. Flip it to the “OFF” position. If you’re not sure which breaker it is, you can turn off the main breaker for your house, but be careful as this will turn off everything.
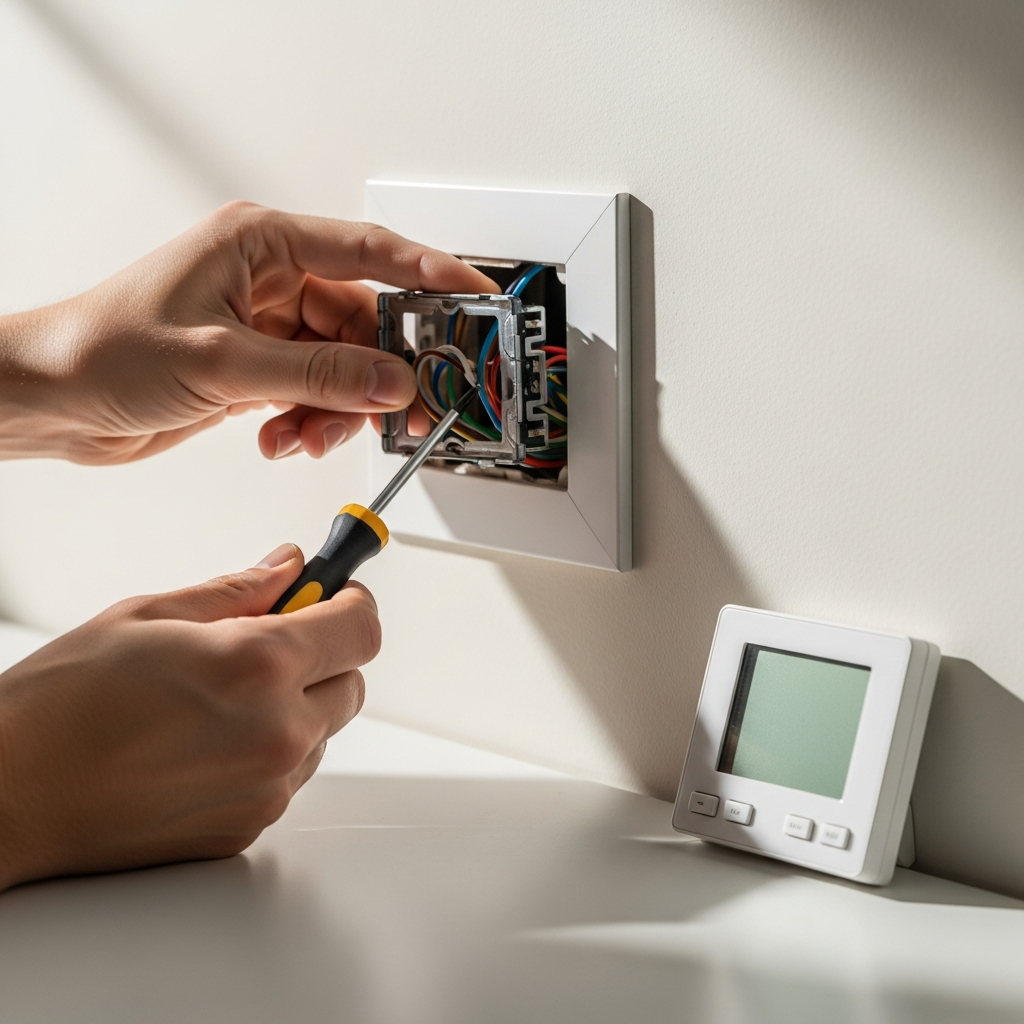
Step 2: Remove the Old Thermostat Cover
Most thermostat covers just pull off or have a small latch. Gently pull the cover away from the wall. Some older thermostats might have screws holding them in place, so look for those.
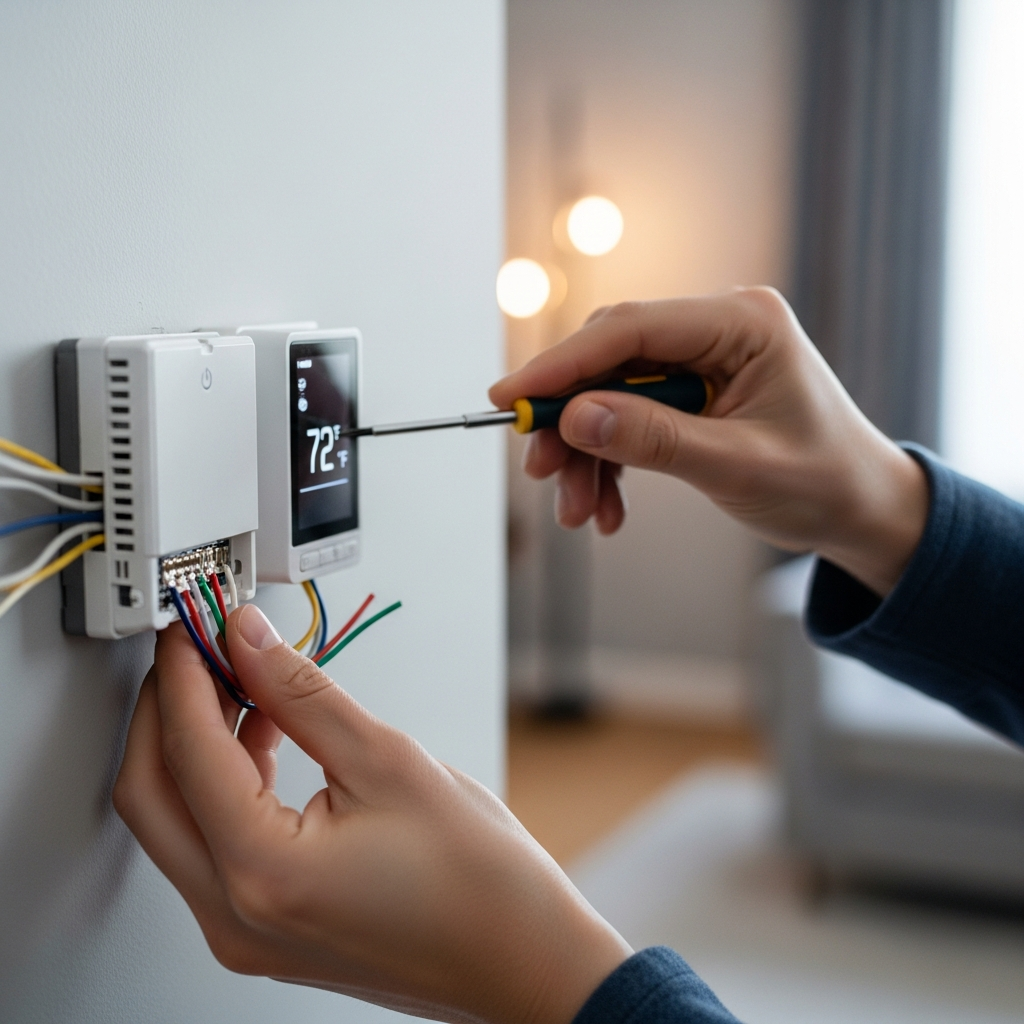
Step 3: Take Pictures of the Wiring!
Before you touch any wires, grab your phone and take clear pictures of how the wires are connected to the terminals. Make sure you can see the labels on the terminals (like R, G, W, Y, C). This is your best guide!
Step 4: Label the Wires
Use the pen and paper or painter’s tape to label each wire according to the terminal it’s connected to. For example, if a wire is connected to the “R” terminal, label that wire “R.” If your old thermostat had a C wire, make sure to label it.
Step 5: Disconnect the Wires and Remove the Old Thermostat
Once you’ve labeled everything, carefully disconnect the wires from their terminals. You might need to loosen small screws. Then, unscrew the old thermostat base from the wall.
Step 6: Mount the New Thermostat Base
Feed the wires through the opening in your new thermostat’s base. Use the screws provided with your new thermostat to attach the base to the wall. Make sure it’s level!
Step 7: Connect the Wires to the New Thermostat
This is where your pictures and labels are super helpful! Match each labeled wire to its corresponding terminal on the new thermostat. Push the wire into the terminal until it’s secure. If you have a C wire, connect it to the C terminal.
What if I don’t have a C wire? Some newer thermostats need a C wire for continuous power. If yours does and you don’t have one, you might need to hire an electrician or see if your new thermostat has an adapter kit.
Step 8: Attach the New Thermostat Cover
Once all the wires are connected, gently push the new thermostat cover onto the base. It should click into place.
Step 9: Turn Power Back On
Go back to your electrical panel and flip the AC breaker back to the “ON” position. Your new thermostat should power up.
Step 10: Test Your New Thermostat
Follow the instructions that came with your new thermostat to set it up. Test both your heating and cooling by setting the temperature a few degrees higher and lower than the current room temperature. Make sure your AC and heater turn on and off as expected.
Common Thermostat Wire Colors and What They Mean
Knowing your wires helps a lot. Here’s a common guide, but always double-check with your system and the labels!
| Terminal Label | Wire Color (Common) | Function |
|---|---|---|
| R (or Rh/Rc) | Red | 24V power (Heat or Cool) |
| G | Green | Fan |
| W | White | Heat |
| Y | Yellow | Cool |
| C | Blue or Black | Common (for continuous power) |
Troubleshooting Common Issues
Even with a new thermostat, things can sometimes go wrong. Here’s what to check:
- Thermostat not powering on: Double-check the breaker. Make sure the C wire is connected if your thermostat needs it. Ensure the cover is seated properly.
- AC won’t cool: Verify the Y wire is connected. Check that the thermostat is set to “Cool” mode and the temperature is set lower than the room.
- Heating won’t work: Verify the W wire is connected. Ensure the thermostat is in “Heat” mode and the temperature is set higher than the room.
If you’re still having trouble, don’t hesitate to check out resources like Energy.gov’s guide on thermostats for more in-depth information.
Frequently Asked Questions
Q: Do I really need to turn off the power?
A: Absolutely! Safety first. Always turn off the power at the breaker before touching any wires.
Q: My new thermostat has extra wires. What do I do?
A: Don’t connect wires that aren’t present on your old thermostat unless the new thermostat’s manual specifically tells you to. Just match the wires you have.
Q: How often should I change my thermostat?
A: Thermostats can last 10-15 years or more. You usually replace them when they stop working correctly or if you want to upgrade to a more energy-efficient model.
Q: Can I use any thermostat with any AC unit?
A: Most of the time, yes, but it’s crucial to check for compatibility. Look for labels like “low voltage” or “24V” systems.
Q: What is a “C” wire for?
A: The “C” wire provides continuous 24V power to the thermostat, which is needed for digital displays and smart features.
Conclusion
See? Replacing your AC thermostat doesn’t have to be a big, scary project. With a little patience and this guide, you can tackle it yourself and enjoy a comfortable home again. Keeping up with simple maintenance like this saves you money and hassle.
You’ve got this! Stay cool and comfortable!