
Inspect AC Wiring: Easy Guide
Hey there! Inspecting your AC wiring doesn’t have to be scary. This guide breaks it down so you can do a quick check and know if things look okay.
Is your air conditioner acting up, or are you just curious about what makes it tick? It’s easy to feel a little lost with all the technical stuff. But don’t worry, I’m here to help you understand your AC better. We’ll make learning about it simple and even a little fun. Let’s dive into keeping your home cool and comfortable!
Why Checking Your AC Wires Matters
Think of the wiring as the AC’s nervous system. It sends power and signals to all the important parts. If the wires aren’t in good shape, your AC might not work right, or worse, it could be a safety risk. Regular checks help you catch small issues before they become big, expensive problems.
Safety First: What You Need to Know
Before you even look at your AC’s wiring, safety is super important. Electricity is powerful, and we don’t want any surprises. Always make sure the power to your AC unit is completely turned off at the breaker box. This is the most crucial step! If you’re ever unsure or uncomfortable, it’s always best to call a qualified electrician or HVAC technician.
Where to Find Your AC’s Wiring
Your AC system usually has two main parts: the indoor unit (often part of your furnace or an air handler) and the outdoor unit (the big box with the fan).
Indoor Unit Wiring
Your indoor unit has wiring connected to your thermostat and the main power supply. You’ll typically find this panel accessible on the unit itself.

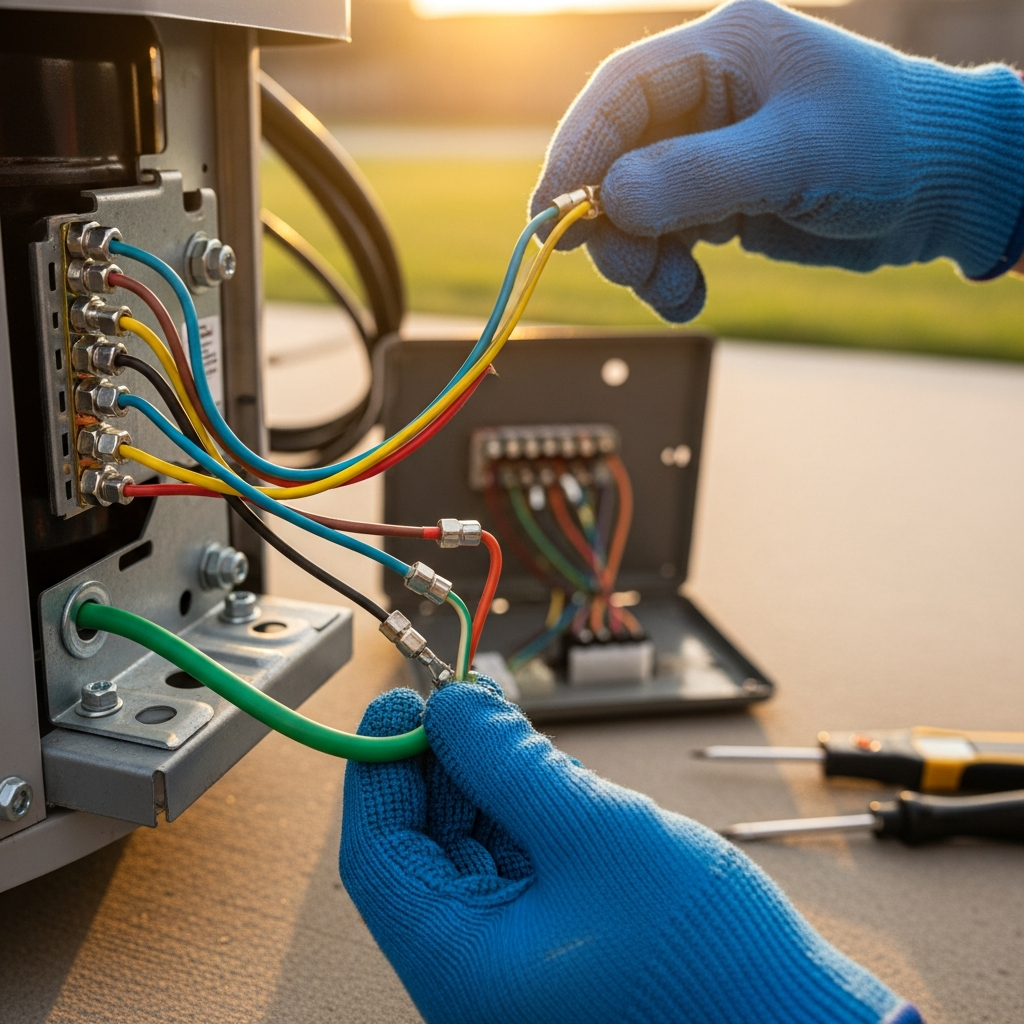
Outdoor Unit Wiring
The outdoor unit has a control panel, often covered by a metal panel. This is where the main power comes in and connects to the unit’s components.
What to Look For: A Simple Checklist
When you’re ready to take a peek (with the power OFF, remember!), here’s what you should be looking for. Keep it simple – we’re not doing a deep electrical diagnosis here.
- Loose Connections: Wires should be snug in their terminals. Wiggle them gently to see if they move.
- Frayed or Damaged Wires: Look for any signs of the wire’s outer coating being cracked, cut, or melted.
- Corrosion: Check for any greenish or whitish buildup on the wire terminals. This can happen with moisture.
- Signs of Overheating: Discolored wires or plastic near connections can indicate a problem.
- Proper Wire Gauge: While harder for beginners, ensure wires look appropriately sized for the job. If a wire looks super thin or like it’s straining, that’s a flag.
Tools You Might Need (Keep it Simple!)
You don’t need a whole toolbox for a basic visual inspection.
- Screwdriver: To open access panels if needed.
- Flashlight: To see into dark corners.
- Camera (optional): To take pictures of how things were before you touch anything, especially if you’re unsure.
When to Call a Professional
Sometimes, what you see might be a bit more than you can handle, and that’s totally okay! It’s smart to call in an expert if you notice:
- Any signs of burning or melting.
- Wires that are completely broken or disconnected.
- Persistent strange smells coming from the unit.
- If your AC is not working at all after checking the obvious.
- You’re just not feeling confident about what you’re seeing.
Understanding Basic AC Electrical Components
Let’s demystify a couple of things you might see.
The Contactor
This is like a big electrical switch. It’s controlled by your thermostat and turns the outdoor unit’s compressor and fan on and off. You’ll see terminals where wires connect to it.
Capacitor
This little can-shaped component helps give the motor a boost to start. It stores electrical energy.
Wiring Diagram
You might find a sticker inside your unit’s access panel with a wiring diagram. It shows how everything is supposed to be connected. It’s helpful to glance at, but don’t stress if it looks complicated.
DIY vs. Professional: What’s the Difference?
A visual inspection is a great DIY task. You’re looking for obvious issues. Anything involving testing voltages, replacing components, or dealing with complex wiring is best left to a professional HVAC technician or electrician. They have the tools and expertise to do it safely and correctly.
A Quick Look at AC Maintenance Schedules
Keeping your AC in top shape involves more than just wiring checks. Here’s a simple maintenance idea.
| Task | Frequency | Notes |
|---|---|---|
| Change Air Filter | Monthly | Crucial for airflow and efficiency. |
| Clear Debris Around Outdoor Unit | Monthly | Ensure good airflow. |
| Visual Wire Inspection | Seasonally (Spring/Fall) | As outlined in this guide. |
| Check Condensate Drain Line | Monthly (during cooling season) | Prevent water backup. |
Frequently Asked Questions
Got more questions? I’ve got answers!
Q: How often should I inspect my AC wiring?
A: A quick visual check a couple of times a year, like in the spring and fall, is usually enough for beginners.
Q: Can I fix loose AC wires myself?
A: If the wire is simply loose at a terminal and you’re comfortable, you can try to tighten it after the power is off. If there’s any damage, call a pro.
Q: What if my AC smells like burning wires?
A: Turn off your AC immediately at the breaker and call a qualified HVAC technician right away. This is a serious safety concern.
Q: Do I need to disconnect wires to inspect them?
A: No, for a basic visual inspection, you don’t need to disconnect anything. Just look carefully with the power OFF at the breaker.
Q: Is it safe to touch AC wires?
A: Never touch AC wires when the power is on. Even when it’s off, be cautious and only do visual checks unless you’re trained.
Q: Where can I learn more about AC energy efficiency?
A: The U.S. Department of Energy’s Energy Star program has great tips for saving energy with your air conditioner: Energy Star AC Info.
Taking a few moments to check your AC’s wiring can give you peace of mind and help catch potential issues early. Remember, safety always comes first, and when in doubt, call a professional. Keeping up with these simple steps will help your AC run efficiently and keep you cool and comfortable. Happy cooling!