
Testing your AC pressure switch is vital if your unit won’t start or is running poorly. This simple check helps you confirm if the switch is failing, which is often a cheap and easy fix that brings your cool air back fast.
Is your air conditioner suddenly acting grumpy? Maybe it won’t turn on at all, or perhaps it blows warm air when you really need the chill. It is frustrating when your AC stops working right, especially when the sun is shining hot outside. Many people think these problems mean a huge repair bill, but sometimes the issue is small and easy to check yourself.
Don’t worry; we are going to walk through this together. I’m Jack from ACReviewHub.com, and I promise to explain exactly what the pressure switch is and how you can test it safely. By the end of this guide, you will feel confident knowing if this small part is causing your big cooling problem.
What is the AC Pressure Switch and Why Does It Matter?
Think of the pressure switch like a safety guard for your AC unit. It watches the refrigerant pressure inside the system very closely. Refrigerant is the special liquid that makes the cooling happen.
If the pressure gets too high or too low, it means something is wrong—maybe a leak or a blockage. The pressure switch tells the compressor (the main engine of your AC) to shut off. This stops the system from getting damaged by running under bad conditions.
There are usually two main switches involved:
- High-Pressure Switch: This trips if the pressure goes too high, often because of a dirty condenser coil or a bad fan.
- Low-Pressure Switch: This trips if the pressure drops too low, usually because the system has lost some refrigerant (a leak).
When Should You Test Your AC Pressure Switch?
You should only start testing the pressure switch if you notice specific symptoms. Don’t just test it for fun; test it when your AC is clearly having trouble doing its job.
Here are the common signs that the pressure switch might be the culprit:
- The AC unit turns on for a few seconds and then immediately shuts off.
- The outside unit hums but the fan never starts spinning.
- The unit runs constantly but never seems to cool the house down properly.
- Your AC unit shows an error code related to high or low pressure.
Safety First: Preparing to Test Your AC System
Working with any part of your AC involves electricity and pressurized gas. We must be safe. Never skip these first steps, even if you are in a hurry to get cool air back.
Here are the crucial safety steps before touching any wires:
- Turn Off the Power: Go to your main electrical panel (breaker box) and switch off the breaker labeled for your outdoor AC unit (the condenser). Double-check that the unit is completely dead.
- Disconnect Power at the Unit: Open the access panel on the outside unit. You will see a disconnect box. Pull the handle or switch to completely cut power right at the unit itself. This prevents accidental shocks.
- Locate the Switch: The pressure switch is usually a small, round or square component connected by thin wires near the compressor. It will have small copper tubes running into it if it is a very old system, but modern ones often connect directly to the refrigerant lines.
How To Test AC Pressure Switch: Step-by-Step Guide
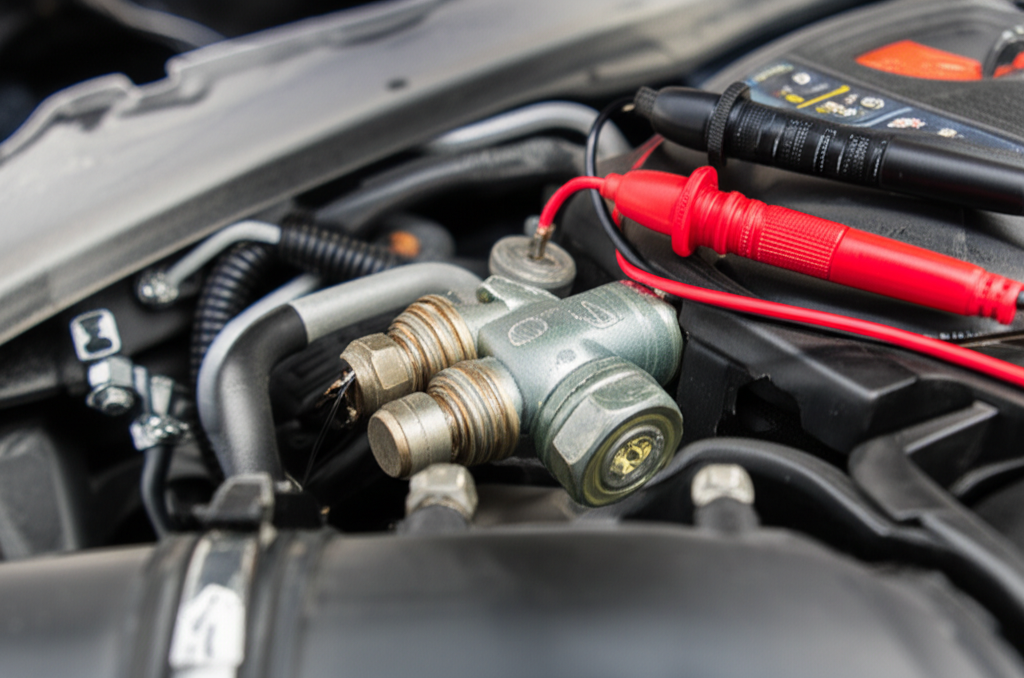
To test the switch itself, we need a multimeter. This is a tool that measures electricity. You can usually find one at any hardware store. This test checks if the switch is completing the circuit (telling the AC to run) when it should.
Step 1: Setting Up Your Multimeter
Turn your multimeter dial to the setting for continuity testing. This setting often looks like a sound wave or a small speaker symbol. When the two metal probes touch each other, the meter should beep.
Step 2: Checking Continuity (Closed Switch)
With the power safely off, carefully remove the wires connected to the pressure switch terminals. You might want to take a quick photo with your phone first so you remember where they go back!
Touch one probe to each terminal on the switch. If the switch is working correctly (closed), your meter should beep or show a reading close to zero ohms. This means electricity can pass through.
Step 3: Forcing the Switch to Open (Testing High Pressure)
To test the high-pressure switch, you need to simulate high pressure. This is tricky and usually requires a professional with gauges, but for a quick check, we can sometimes see if it’s stuck.
Important Note: For beginners, the easiest test is checking if the switch has failed mechanically—is it stuck open when it should be closed? If you have zero continuity (no beep) when the system is off, the switch is likely faulty and needs replacing immediately.
Step 4: Checking the Low-Pressure Switch
If your AC has a low-pressure switch and the system has lost refrigerant (low charge), the switch will stay open. If you test the low-pressure switch and get no continuity when the system should be running, it strongly suggests low refrigerant, not necessarily a bad switch.
The key takeaway for beginners: If you test the switch while the system is disconnected and you get no continuity (no beep), the switch is bad and needs to be replaced.
Understanding Pressure Switch Readings
It helps to know what normal operation looks like versus a failure. This table helps simplify what you might see on your meter or what the system is telling you.
| Symptom | Pressure Switch Status (Ideal) | What This Likely Means |
|---|---|---|
| AC is running fine | Closed (Continuity) | Normal operation. |
| AC cycles on/off quickly | Opening and closing rapidly | Pressure fluctuation, possibly low charge or blockage. |
| AC won’t start, switch tested | Open (No Continuity) | Switch is tripped (too high/low pressure) or the switch itself is broken. |
Crucial Fixes: When to Replace the Switch
If your testing confirms the switch is not allowing current through when it should (i.e., it shows ‘Open’ when it should be ‘Closed’ at room temperature/pressure), it needs replacement. This is usually a straightforward swap.
Here are the basic steps for replacing a switch (always consult your unit’s manual first):
- Ensure all power is off (double-check the breaker!).
- Carefully disconnect the wires from the old switch.
- Unscrew or unclip the old pressure switch from the refrigerant line.
- Screw in the brand-new, exact replacement switch.
- Reconnect the wires exactly as they were before.
- Restore power and test the system.
If the switch was tripped because the pressure was actually too high or too low, replacing the switch alone will not fix the root problem. You must address the underlying issue, like cleaning coils or finding a refrigerant leak.
For detailed information on system pressures and safe handling of refrigerants, always refer to industry standards. You can check out resources from Energy.gov for more on HVAC efficiency.
Simple AC Troubleshooting Checklist
If the pressure switch test doesn’t solve your problem, here are a few other simple things you can check before calling a pro. These often cause pressure issues.
- Check the outside unit fan: Is it spinning freely? If not, the fan motor might be bad.
- Clean the outdoor coils: Are they covered in dirt, leaves, or grass clippings? Dirty coils cause high head pressure.
- Check the air filter: A clogged filter causes low airflow, which can sometimes trick the low-pressure switch.
- Look for ice: Is there ice buildup on the copper lines near the indoor unit? This means airflow is restricted or the refrigerant is low.
Frequently Asked Questions (Beginner Edition)
- Q: Can I just bypass the pressure switch to see if the AC works?
- A: Absolutely not! That switch is there to prevent expensive damage to your compressor. Never bypass it.
- Q: How much does a replacement pressure switch cost?
- A: Usually, the switch itself is inexpensive, often between $20 and $50. The labor to install it is the bigger cost if you hire someone.
- Q: My switch keeps tripping. Does that mean I have a huge leak?
- A: Not always. It could be something simple like a very dirty coil blocking air movement outside. Check the simple stuff first.
- Q: What is the difference between the high and low switches?
- A: The high switch protects against overheating (too much pressure), and the low switch protects against running when there isn’t enough refrigerant.
- Q: Do I need a special gauge to test the switch?
- A: To test if the switch is tripping at the correct PSI (pounds per square inch), yes, you need gauges. But to test if the switch itself is broken internally, a simple multimeter continuity test is enough.
Taking a little time to understand these safety components saves you headaches and money. The pressure switch is a simple but powerful part of keeping your air conditioner healthy.
By knowing how to check continuity and understanding what the symptoms mean, you are already ahead of most homeowners. Stay consistent with your simple maintenance, and your AC will thank you with reliable, cool air all summer long. Happy cooling!