
Replacing your AC blower wheel is easier than you think. This guide walks you through the simple steps: safely turn off power, remove the old wheel, and install the new one. You’ll stop that awful rattling noise and get your AC cooling efficiently again in just an hour or two. You’ve got this!
How to Replace AC Blower Wheel: Easy, Ultimate Guide
Is your air conditioner making a terrible rattling noise? Does it sound like something is rubbing inside your furnace or air handler? Chances are, your blower wheel (sometimes called a squirrel cage fan) is the problem. A broken or dirty blower wheel can destroy your AC efficiency and cause major headaches.
Don’t worry, this isn’t a repair that requires an expensive HVAC technician. Replacing the blower wheel is a totally manageable DIY project, even if you’re new to AC maintenance. I’m Jack from ACReviewHub, and I’m going to walk you through every step. We’ll make sure you get back to quiet, cool comfort quickly!
Why Does the Blower Wheel Need Replacing?
The blower wheel is crucial because it moves the cooled or heated air throughout your home’s ductwork. It sucks air in and blows it out. It’s essentially the lungs of your HVAC system.
Over time, these wheels can collect dirt, become unbalanced, or even crack. When they are unbalanced, they wobble and cause that loud noise you hear. If they crack, they can’t move air correctly, meaning poor cooling and high energy bills. Fixing this saves you money and restores quiet operation.
Essential Safety Check: Power Down First!
Before you even think about touching the inside of your AC system, we need to talk safety. This step is non-negotiable. You are dealing with high voltage electricity.
Find the main power switch for your air handler or furnace. It is usually a light switch located near the unit. Flip it to the “Off” position. Next, go to your main electrical panel (breaker box) and turn off the breaker labeled for your furnace or air handler. Double-check that the power is totally off before proceeding.
Tools and Parts Checklist
Having the right tools ready makes the job fast and frustration-free. Grab these items before you start:
- New Blower Wheel: Make sure you buy the exact replacement part. Check the diameter and width of your old wheel, and note the size of the motor shaft hole.
- Nut Drivers or Socket Set: For removing the screws and bolts holding the blower assembly.
- Screwdrivers: Phillips and flathead.
- Wire Brush or Vacuum: To clean the area while you have it open.
- Penetrating Oil (like WD-40): Crucial for loosening the set screw on the old wheel.
- Safety Glasses and Gloves: Protect your eyes and hands.
Step-by-Step Guide: Replacing the Blower Wheel
This process might look complicated, but we’re just taking things apart and putting them back together. Follow these steps calmly, and you’ll be fine.
Step 1: Locate and Access the Blower Housing
Your air handler (the indoor unit) usually has two panels. One covers the filter area, and the other covers the blower motor and wheel. Use your nut driver to remove the screws holding the blower access panel in place. Set the screws aside somewhere safe.
The blower assembly often slides out on rails or is held in place by a few mounting bolts. If it slides out, gently pull the whole assembly forward. If it’s bolted, remove the bolts holding the housing in place.
Step 2: Disconnect the Motor Wiring
The blower motor is attached to the wheel. Before you can fully remove the assembly, you need to disconnect the wires. Take a photo of the wiring connections before you unplug anything! This is your cheat sheet for putting it back together.
Carefully disconnect the wires leading to the motor. Sometimes they are connected by a plug harness; other times they are individual spade connectors. Make sure no wires get pulled or damaged.
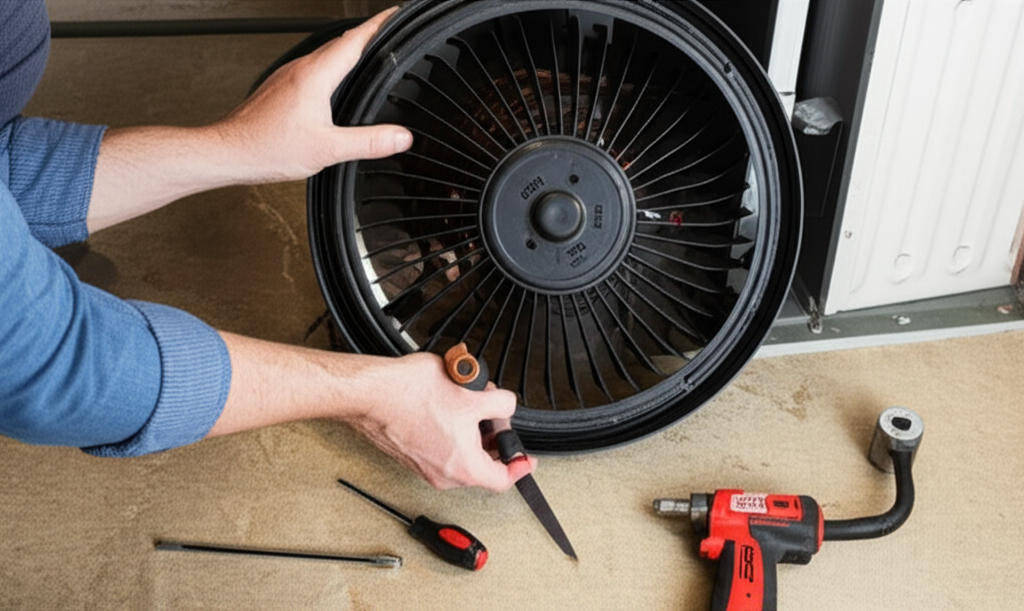
Step 3: Remove the Old Blower Wheel
Now for the trickiest part: separating the wheel from the motor shaft. The blower wheel is held onto the motor shaft by a small locking mechanism called a “set screw.”
- Locate the set screw on the hub of the blower wheel.
- Spray a little penetrating oil directly onto the set screw and let it sit for 5–10 minutes. This helps break up any rust or corrosion.
- Use the correct size hex wrench or socket to loosen and remove the set screw completely.
- Gently pull the wheel off the motor shaft. It might be stuck! If it is, wiggle it back and forth gently, or use a rubber mallet to tap the shaft (not the wheel) to help free it.
Expert Tip: When removing the old wheel, pay attention to how far the wheel was positioned on the motor shaft. The distance from the end of the shaft to the wheel hub needs to be the same when installing the new one. A slightly misplaced wheel can cause new vibration or noise.
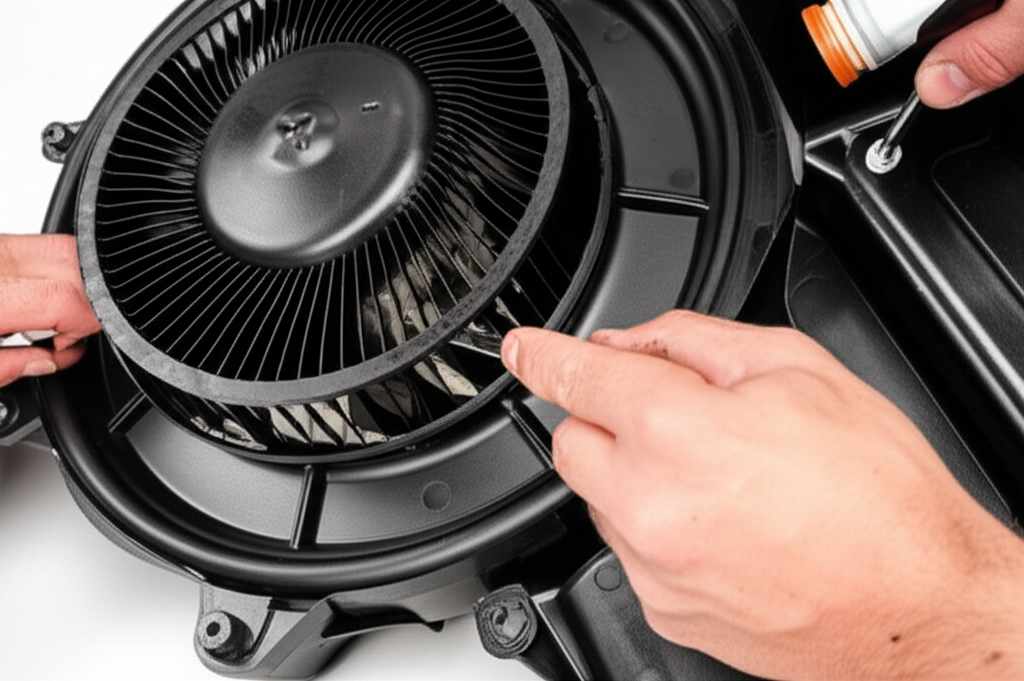
Step 4: Clean the Housing and Install the New Wheel
Take advantage of having the housing open. Use a vacuum or wire brush to clean out the blower housing. Dust, pet hair, and debris drastically reduce airflow and efficiency. You only get this chance every few years, so make it count!
Slide the new blower wheel onto the motor shaft. Line up the new wheel’s hub exactly where the old one sat. You want the new wheel centered perfectly inside the housing.
Once positioned, tighten the set screw firmly. It needs to be tight enough to hold the wheel securely, but don’t overtighten and strip the threads.
Step 5: Reassemble and Test
You’re on the home stretch!
- Reinstall the blower assembly back into the air handler. Slide it back onto the rails or secure the mounting bolts.
- Reconnect the motor wiring exactly as it was in your photo.
- Replace the access panel and tighten all the screws.
- Go back to your breaker box and flip the breaker back on.
- Turn the main power switch back on.
- Turn your thermostat to ‘Cool’ and set the temperature low to activate the AC.
Listen carefully! You should hear the blower kick on smoothly and quietly. If you hear a grinding noise, immediately turn the power off and check the alignment of the blower wheel inside the housing.
Troubleshooting: Common Blower Wheel Issues
Sometimes things don’t go perfectly the first time. Here’s a quick troubleshooting table if you run into problems after installation:
| Symptom After Replacement | Possible Cause | Easy Fix |
|---|---|---|
| Loud rattle/vibration | Wheel is unbalanced or rubbing against the housing. | Turn off power. Check the set screw alignment. Adjust the wheel position slightly on the shaft to center it. |
| Motor won’t turn on | Wiring is incorrect or loose. | Check your wiring connections against the photo you took in Step 2. Ensure all plugs are secure. |
| Low airflow (AC runs but barely blows) | Wheel is spinning backward (if the motor has variable speed connections). | Ensure the motor is connected correctly. If the wheel is a directional design, ensure it is installed the correct way. |
| Squeaking noise | Motor bearings need lubrication (less common with modern motors). | Check the motor shaft for lubricant ports. If none exist, the motor may need replacement soon. |
Remember, if you ever feel unsure, it is always okay to pause and call a professional. But for most folks, replacing the blower wheel is a satisfying, money-saving DIY fix.
For more detailed information on motor types and lubrication, check out this guide from the U.S. Department of Energy (DOE) regarding HVAC maintenance.
FAQ: AC Blower Wheel Questions
Is it better to clean or replace the blower wheel?
If the wheel is just dirty and intact, cleaning is usually enough. However, if the wheel is cracked, warped, or significantly damaged, you must replace it. An unbalanced wheel cannot be fixed by cleaning alone.
How long does a blower wheel usually last?
A quality blower wheel can easily last 10 to 15 years, often the life of the unit. Failure is usually due to heavy dirt buildup, moisture corrosion, or physical damage from debris pulled into the system.
Can I run the AC without a blower wheel?
Absolutely not! The blower wheel moves the air over the cooling coils. Running the AC without it will cause the coil to freeze solid very quickly, potentially damaging your compressor and the unit itself. Always ensure the blower is working before running the AC.
How much does a new blower wheel cost?
The price varies based on your unit size, but most residential blower wheels cost between $75 and $200 for the part itself. This is much cheaper than the $300–$600 you might pay a technician for the same job.
How do I know the correct size to buy?
You need to measure the diameter (D) and the width (W) of the old wheel. You also need the diameter of the motor shaft hole (bore size). Always buy the exact match for your unit’s make and model number, if possible.
Final Thoughts From Jack
See? That wasn’t so bad! You took on a complex AC repair, and you nailed it. Getting your blower wheel replaced not only stops that irritating noise but also ensures your AC is using energy efficiently. Better cooling, lower bills, and quiet operation—that’s a triple win!
Keep up with simple maintenance like changing filters regularly, and your AC will keep humming along smoothly for years. Stay cool, and remember: small steps lead to big savings!