
Choosing a mini split AC is easy once you know the basics: match the BTU size to your room, decide on single vs. multi-zone, and look for high SEER ratings to save money on cooling. We make it simple!
Are you tired of hot spots in your home? Maybe that old window unit just isn’t cutting it anymore. Picking a new air conditioner can feel overwhelming. There are so many technical terms like BTU and SEER that just make your head spin.
Don’t worry one bit. I’m Jack from ACReviewHub.com, and I’ve helped hundreds of folks just like you choose the perfect system. We are going to break down the mini split choice step-by-step. By the end of this guide, you will know exactly what to buy with total confidence.
What Makes a Mini Split AC So Brilliant?
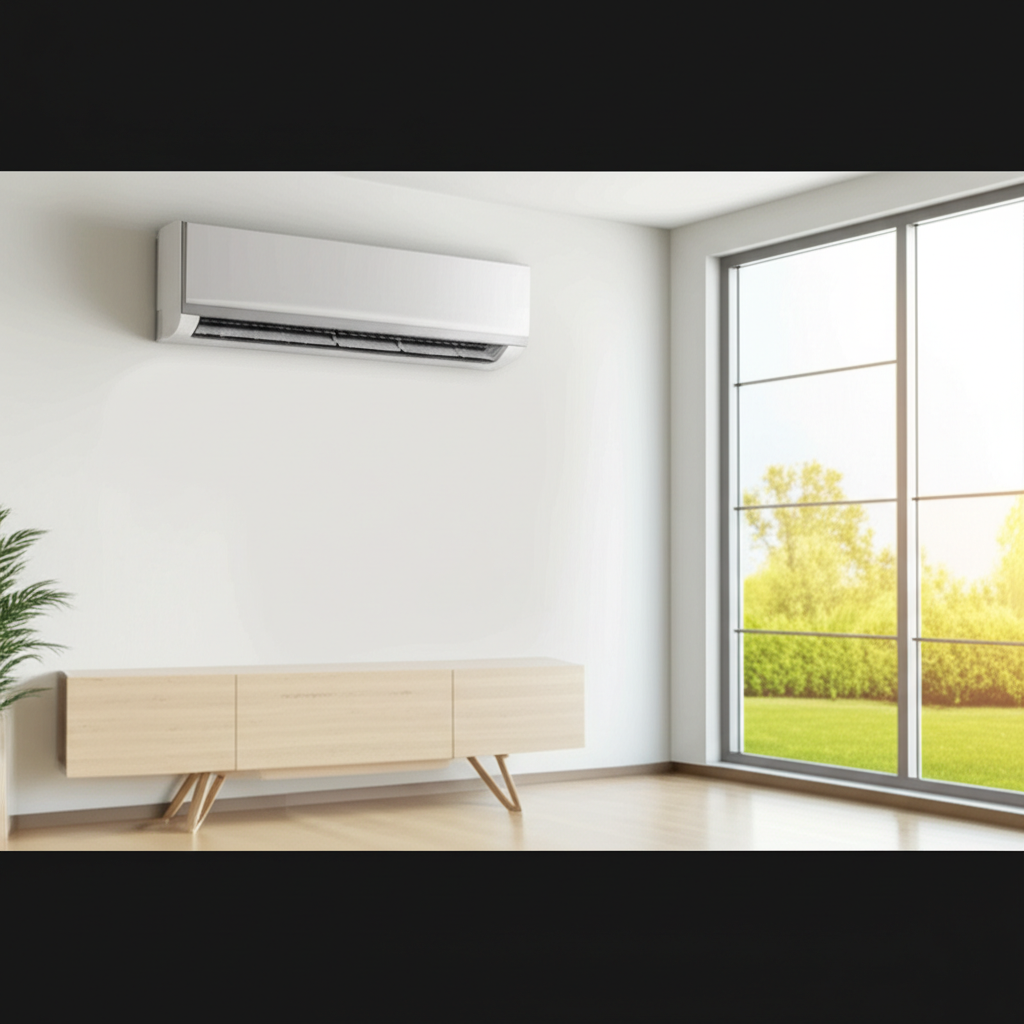
Mini splits are fantastic because they are ductless. This means no messy, expensive ductwork is needed to move the cool air around.
They consist of two main parts: the outdoor unit (the compressor) and the indoor unit (the air handler). These two parts connect through a small hole in the wall, usually about three inches wide.
This design makes them super flexible. You can cool just one room or several rooms easily. Plus, they are much quieter than those noisy window shakers you might be used to.
Understanding the Key Numbers: BTU and SEER
When you shop, you will see two main ratings that matter most for performance and saving cash.
1. BTU: Sizing Up Your Cooling Power
BTU stands for British Thermal Unit. Think of it as the measure of cooling strength. Too low a BTU, and your unit will run constantly and never get cool. Too high, and it wastes energy and leaves your room feeling clammy.
Here is a simple chart to help you estimate what size room needs what power. Always aim for the higher end if your room gets lots of sun or has high ceilings.
| Room Size (Square Feet) | Required Cooling Capacity (BTUs) |
|---|---|
| 150 – 250 sq. ft. | 6,000 – 8,000 BTUs |
| 250 – 350 sq. ft. | 9,000 – 10,000 BTUs |
| 350 – 550 sq. ft. | 12,000 BTUs |
| 550 – 1,000 sq. ft. | 18,000 BTUs |
2. SEER: Your Energy Savings Score
SEER stands for Seasonal Energy Efficiency Ratio. This is how much money you save on your electric bill. The higher the SEER number, the more efficient the unit is at cooling.
The government requires a minimum SEER rating, but going higher saves you money long-term. I always tell people to look for 18 SEER or higher if they plan to use the AC often.
Single Zone vs. Multi-Zone: Cooling One Room or Many
This is the next big decision you have to make. How many areas do you need to cool?
Single Zone Systems
This is the simplest setup. You have one outdoor unit connected to only one indoor unit. This is perfect for cooling a garage, a sunroom, or maybe just the master bedroom.
Multi-Zone Systems
This is where mini splits really shine. One large outdoor unit can connect to two, three, or even up to eight indoor units throughout your home. Each indoor unit can be set to a different temperature. It’s great for zoned comfort!
For example, you can keep the living room cool at 72°F while the guest room is warmer at 76°F, all from the same outdoor machine.
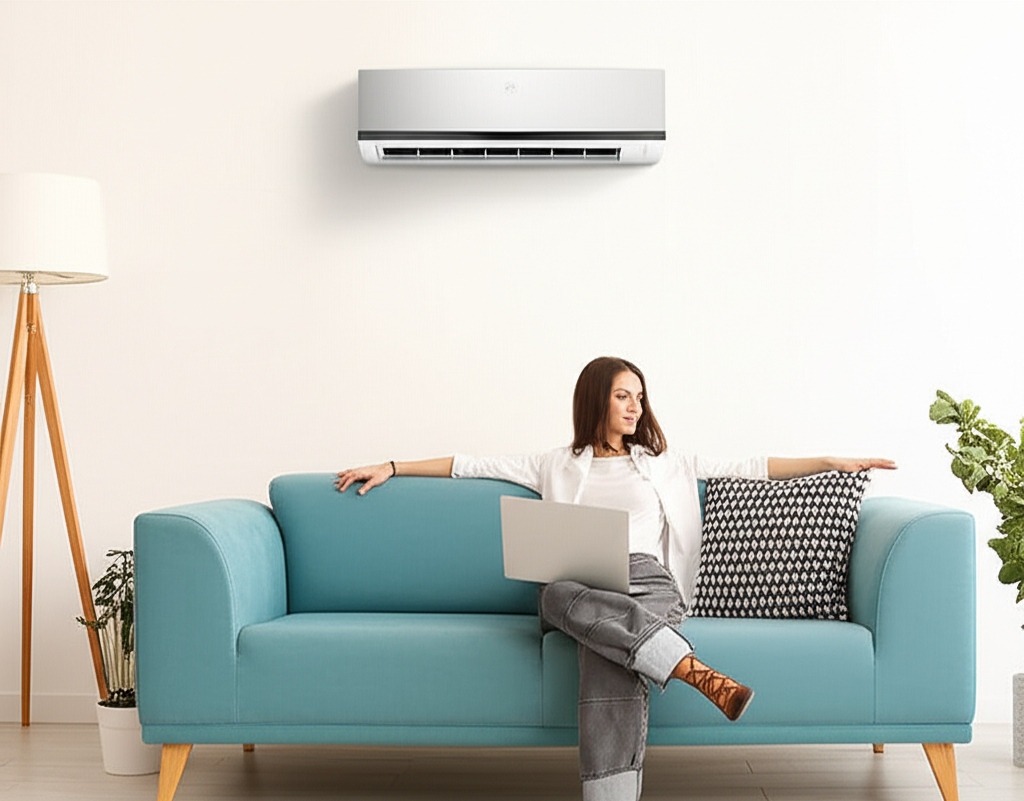
Choosing the Right Type of Indoor Unit
The indoor part of the system sits on your wall, but they come in different styles. Pick one that fits your room’s look and layout.
- Wall-Mounted: These are the most common. They hang high on the wall and look sleek.
- Ceiling Cassette: These are installed right into the ceiling tiles, making them almost invisible. Great for offices or modern looks.
- Floor/Ceiling Mounted: These sit low on the wall or floor and blow air upward. Good for rooms with sloped ceilings or limited wall space.
Step-by-Step: How to Buy Your Mini Split System
Don’t just click “buy” on the first thing you see. Follow these simple steps for a smooth purchase.
- Measure Your Space: Get the exact square footage of every room you want to cool.
- Determine BTU Needs: Use the chart above, or better yet, consult an HVAC professional for exact sizing.
- Decide on Zones: Do you need one unit or several working together?
- Set Your SEER Goal: Decide how much you want to spend upfront versus how much you want to save on energy bills later.
- Check Rebates: Many utility companies offer rebates for high-SEER systems. Check your local energy provider’s website, like those found on the Energy.gov site for good starting points.
- Choose a Trusted Brand: Stick to established brands known for good warranty support and readily available parts.
Common Mini Split Mistakes Beginners Make
I’ve seen these slip-ups happen a lot. Avoiding them will save you headaches down the road.
| Mistake | The Fix |
|---|---|
| Buying Too Small (Undersized) | Always size up slightly for very hot climates or poorly insulated rooms. |
| Ignoring SEER Rating | A lower upfront cost often means much higher monthly bills. Aim for 18 SEER+. |
| DIY Installation (For Complex Systems) | Professional installation is crucial for multi-zone systems to ensure efficiency and maintain the warranty. |
| Placing the Indoor Unit Poorly | Don’t put the unit where furniture blocks airflow or directly above heat sources. |
Quick Troubleshooting: When Things Seem Off
Sometimes your new system might act a little strange. Here are a few quick checks you can do yourself before calling a technician.
- Symptom: Not Cooling Well
- Check the air filter—is it clogged with dust? Clean or replace it immediately.
- Make sure the outdoor unit (condenser) isn’t blocked by leaves or overgrown bushes.
- Symptom: Unit Icing Up
- This usually means the air filter is dirty, restricting airflow.
- It could also mean the refrigerant level is low, which needs a pro to check.
- Symptom: Strange Noises
- A gentle hum is normal. Loud rattling or buzzing means you need to check if a panel is loose or if debris is hitting the fan.
Frequently Asked Questions (FAQ)
Here are the things I hear most often when people are first looking at mini splits.
Q: Do mini splits work for heating too?
A: Most modern mini splits are “heat pumps,” meaning they heat your home in the winter and cool it in the summer. They are very efficient heaters!
Q: How much does a professional installation usually cost?
A: Installation costs vary a lot by location and system complexity, but for a single zone, expect to budget between $1,500 and $3,000 for labor and materials.
Q: How often do I need to clean the filters?
A: For a busy unit, check them monthly and clean them at least every three months. It’s the easiest way to keep your energy bill low.
Q: Are mini splits expensive to run compared to central air?
A: Generally, no. Because they don’t use ducts (which leak up to 30% of air), they are usually much cheaper to operate, especially if you only cool the rooms you are using.
Q: What warranty should I look for?
A: Look for at least a 5-year warranty on parts and ideally a 10-year warranty on the compressor (the outdoor unit). Longer is always better!
Q: Can I use a mini split in a very cold climate?
A: Yes, modern cold-climate heat pumps are designed to work efficiently well below freezing. Just make sure the model you choose is rated for your local winter lows.
Choosing the right mini split might seem like a big task, but remember, it boils down to sizing your BTUs correctly and picking a high SEER rating for savings.
Take your time, measure twice, and buy once. Staying cool comfortably all year is totally achievable when you follow these simple steps. Happy cooling!