
Quick Summary: To safely remove a window AC, turn it off, unplug it, secure the window locks, remove the interior accordion panels, and gently lift the unit straight out, supporting its weight from below. Always work with a helper when removing heavy units.
How To Remove Window AC Safely: Urgent Fix
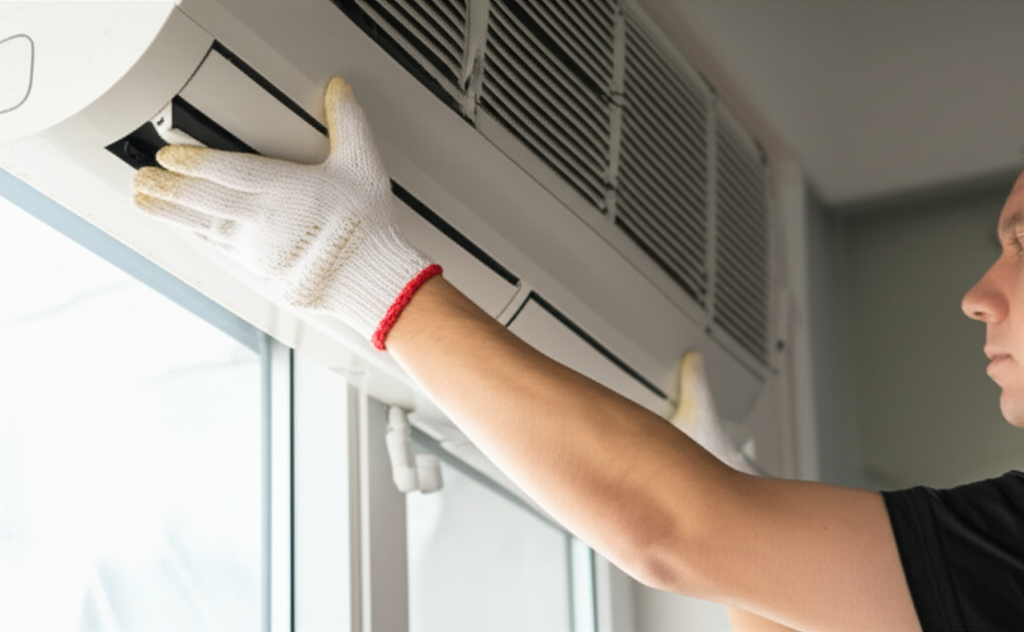
Is your window AC unit acting up, or maybe you need to store it for the season? Dealing with a heavy appliance in a tight window space can feel a little scary. Don’t worry about wrestling with it or damaging your window frame. I’m Jack from ACReviewHub.com, and I’m here to walk you through every single step.
We are going to make this process smooth, safe, and super easy to handle, even if you’ve never touched an AC before. By the end of this guide, you’ll know exactly how to get that unit out without any drama or surprise repair bills.
Prep Work: Safety First, Always!
Safety is the number one rule when dealing with anything plugged into the wall, especially something that moves. We need to make sure the power is completely off before we touch anything metal or heavy.
Step 1: Cut the Power Supply
Never just pull the plug while the unit is running. That’s asking for trouble. You need to fully power it down.
- Turn the AC unit off using its controls. Wait about five minutes to let the internal components settle down.
- Go to your home’s main breaker box. Find the circuit breaker labeled for the room or outlet your AC is plugged into.
- Flip that breaker to the “OFF” position. This ensures zero electricity is flowing to the unit.
Step 2: Gather Your Essential Tools
Having the right gear ready means less time fumbling around near the window.
Here are the basics you’ll need for a smooth removal:
- A sturdy helper (Window ACs are heavy!).
- Screwdriver (Phillips or flathead, depending on your specific model’s brackets).
- Work gloves for a good grip.
- A blanket or towel to set the unit on once it’s out.
- Possibly a putty knife, just in case the unit is sealed tightly with paint or grime.
Unlocking the Unit: Dealing with the Window Mount
Most window AC units are held in place by screws and internal accordion panels that press against the window frame. We need to undo these connections carefully.
Step 3: Remove the Front Casing (If Necessary)
Some newer or larger models require you to take off the outer decorative panel first. Check your owner’s manual if you aren’t sure. For most standard units, you can skip this, but if you see obvious screws on the front grill, take them out and set the cover aside.
Step 4: Loosen the Mounting Screws
Look on the sides of the unit, where the metal sleeve meets the window frame. You will usually see one or two long screws going through the side bracket into the window sash or frame.
Use your screwdriver to remove these mounting screws. Keep these screws safe! You will need them when you reinstall the AC later.
Step 5: Retract the Accordion Side Panels
These plastic or metal wings slide in and out to seal the gap between the AC sleeve and the window frame. They are usually locked in place by screws driven through the frame into the side of the sleeve.
- Locate the screws fixing the accordion panels to the window frame.
- Remove these screws carefully.
- Gently slide the accordion panels completely back into the main AC unit sleeve. This frees the unit from the sides of the window opening.
Lifting Out the Heavy Lifter
This is the part where having a helper is crucial. Window ACs are top-heavy and awkward. Never try to yank them out suddenly.
Step 6: Release the Window Sash Lock
The top part of the window sash (the sliding part) often has a small lever or screw that locks the AC sleeve firmly in place against the bottom of the sash. This prevents the unit from falling out.
Release this lock, usually by turning a small thumbscrew or flipping a latch. If you can’t find one, gently try to lift the window sash slightly. If the sash lifts up easily, you might not have a lock, or it’s already loose.
Step 7: The Final Lift and Support
Now, it’s time for teamwork. Ask your helper to stand outside if possible, or both of you stand inside facing the unit.
One person should support the bottom of the unit from underneath. The other person should grip the front frame securely.
Slowly and steadily, lift the unit straight up just an inch or two. This lifts it off the sill.
Gently tilt the unit slightly backward (into the room) while pulling it toward you. You are aiming to clear the bottom edge of the window frame.
Step 8: Move and Store
Once the front is clear, lower the unit carefully onto your waiting blanket or dolly. Do not set it on its coils or fins.
Store the unit in a dry, safe place, ideally upright or slightly tilted, to prevent any residual refrigerant oil from moving where it shouldn’t. If you store it on its side, make sure to let it sit upright for several hours before plugging it back in next season.
Why Storing Your AC Properly Matters
Putting your unit away correctly saves you money and hassle next summer. If you leave it installed all winter, rain, snow, and cold can damage the coils and seals.
Here is a quick check to ensure you are ready for the next cooling season:
| Component | Action for Storage | Why It Matters |
|---|---|---|
| Power Cord | Wrap loosely; do not tape tightly to the unit. | Prevents wire strain damage. |
| Filter | Clean thoroughly or replace. | Mold and mildew can grow over months of storage. |
| Exterior Casing | Cover loosely with a plastic sheet (not airtight). | Keeps dust out without trapping moisture. |
For general energy efficiency tips when buying a new unit next time, check out the great advice from the U.S. Department of Energy: Energy Star Guide on AC Efficiency.
Common AC Removal Headaches and Quick Fixes
Sometimes things don’t go exactly to plan. Here are the most common snags beginners hit when removing a window unit:
| Symptom | The Likely Cause | Jack’s Quick Fix |
|---|---|---|
| Unit won’t budge sideways. | The accordion panel is still screwed into the window frame, or it’s painted shut. | Double-check all side screws. If stuck, gently use a putty knife to break the seal where the panel meets the frame. |
| The window sash is stuck down on the unit. | The locking screw wasn’t fully loosened, or the weight of the AC is jamming it. | Ensure the lock screw is backed out fully. Try lifting the window sash slightly (with your helper) while pulling the AC forward. |
| It feels too heavy to lift safely. | It’s a high-BTU unit, or you are trying to lift it alone. | STOP. Get a second strong person. If necessary, use a small block of wood under the unit to raise it slightly before lifting. |
Remember, if you run into serious issues, like stripped screws or a damaged window track, sometimes it’s best to call a handyman. But for 90% of removals, following these steps keeps you safe and successful.
Frequently Asked Questions (FAQ)
Q: Can I remove the AC in the middle of winter?
A: Yes, absolutely! It’s often easier because you aren’t sweating, and the seals might be less sticky. Just be extra careful about the cold metal.
Q: How do I clean the filter before putting it away?
A: Slide the front panel off, pop the filter out, and gently vacuum it. If it’s really dirty, wash it with mild soap and water, but make sure it is 100% dry before storing the unit!
Q: Do I have to unplug it if I turn the breaker off?
A: Turning the breaker off is the safest step. You can unplug it too for extra peace of mind, but the breaker cut is what prevents electrical shock while you work.
Q: What if the unit tilts and leaks water when I move it?
A: A little bit of water is normal—that’s condensation. Just try to keep the unit as level as possible during the move, and don’t store it upside down.
Q: How long should I wait before plugging it back in next year?
A: If you stored it in a climate-controlled space, you can plug it in right away. If it was stored somewhere very cold or damp, let it sit inside at room temperature for at least 24 hours first.
Q: Can I just leave the unit in the window all year?
A: While some people do, it shortens the life of the unit and can let drafts or moisture into your home during winter. It’s best practice to remove it if you won’t be using it for more than a month.
Final Cool Thoughts
See? Removing that window AC wasn’t nearly as complicated as you might have feared. By taking it slow, using your helper, and cutting the power first, you handled a tricky appliance removal like a pro.
Remember that small, consistent steps are the secret to easy AC maintenance, whether you are taking it out or putting it in. Keep those steps simple, and you’ll save money and stay comfortable.
You’ve got this — and cool, comfortable air is just a few simple steps away.