
Quick Summary: Cleaning your window AC coils is easy! Just unplug the unit, remove the filter and grille, gently spray the coils with a no-rinse cleaner, let it sit, and wipe away the grime. This simple step boosts cooling power and cuts your energy bill fast.
Is your window air conditioner struggling to keep up lately? Maybe your electric bill is creeping higher than usual, or the air just isn’t as cold as it used to be. Don’t worry, this is a super common problem, and it usually has a simple fix.
Confusing AC maintenance can make anyone stressed out. But I’m Jack from ACReviewHub.com, and I promise to break down the coil cleaning process into easy steps. We’re going to get your unit running like new without needing a fancy technician.
Next up, we’ll gather our supplies and then dive into the step-by-step guide for safely cleaning those important coils. Let’s get your cool air flowing again!
Why Cleaning Window AC Coils Matters (It’s More Than Just Dust!)
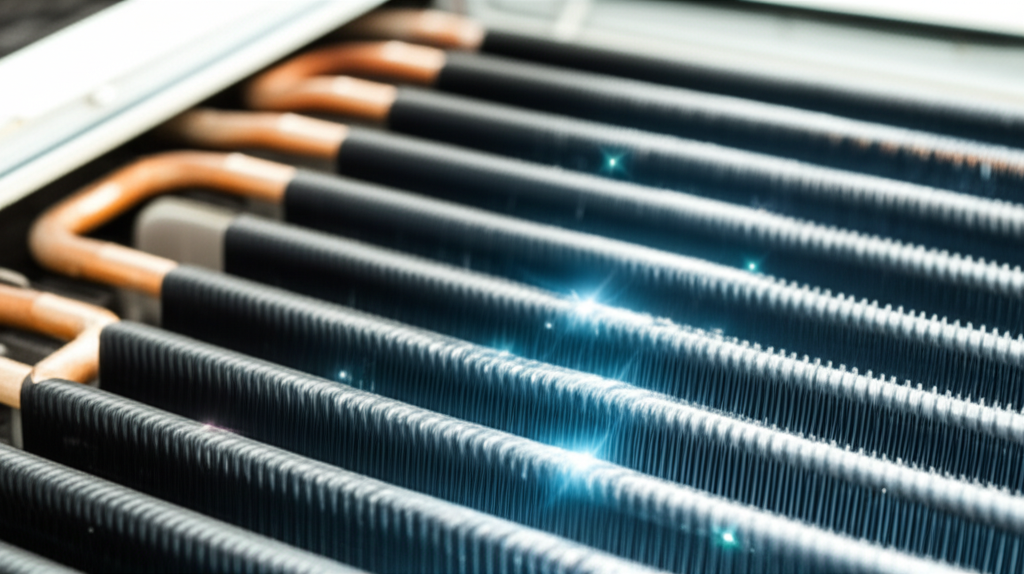
Inside your window AC, there are two main sets of coils: the evaporator coils (the cold ones) and the condenser coils (the ones that get rid of the heat). These coils are the heart of your cooling system.
When dirt, dust, and grime build up on these fins, they act like a thick blanket. This blanket stops the coils from absorbing or releasing heat efficiently.
When your AC struggles to move heat, it has to run longer and harder. That means higher energy bills and less cool air for you. Cleaning them unlocks their full potential!
Gathering Your Simple Coil Cleaning Toolkit
You don’t need expensive tools for this job. Most things you already have at home will work just fine. Think of this as a quick, satisfying DIY spa day for your AC unit.
Here is what you will need to have ready before we start opening things up:
- A screwdriver (if needed to remove the front grille).
- Soft-bristled brush or an old toothbrush.
- Vacuum cleaner with a brush attachment.
- Specialized no-rinse coil cleaner (available at hardware stores—ask for one specifically for AC coils).
- Clean rags or paper towels.
- A small bucket of mild soapy water (dish soap works).
Step-by-Step Guide: How to Clean Window AC Coils Safely
Safety first! We always want to make sure the electricity is off before we touch anything inside the unit. Trust me, this simple step prevents headaches later on.
Step 1: Unplug It—The Golden Rule
Go to the wall outlet where your AC is plugged in and pull the plug completely out. If your unit is hardwired, you must turn off the circuit breaker that controls that specific outlet.
Double-check that the power light is off on the unit itself. This is non-negotiable for your safety.
Step 2: Access the Filters and Front Panel
Most window units have a removable front grille or panel. Carefully lift or unlatch this cover. It often just pops off or is held by a couple of screws.
Slide out the air filter. This is usually the dirtiest part! Take this filter straight to the sink for a good wash with soap and water, or vacuum it thoroughly if it’s a permanent type.
Step 3: Locating and Cleaning the Evaporator Coils
Once the front is off, you will see the first set of coils—these are the evaporator coils. They are usually facing you inside the room.
Use your vacuum cleaner with the soft brush attachment to gently suck up any loose dust bunnies clinging to the fins. Be very gentle; those thin metal fins bend easily.
If they look oily or sticky, use a light mist of your mild soapy water solution and gently wipe them down with a soft cloth or toothbrush. Always wipe in the direction of the fins, not against them.
Step 4: Cleaning the Condenser Coils (The Outside Part)
The condenser coils are on the back of the unit, the side facing the outdoors. If you can safely access the back of the unit from inside (many modern units allow this), proceed carefully.
If you can’t reach them easily, wait until the unit is fully removed from the window for a deep clean, but for routine maintenance, focus on the inside coils first.
Use your vacuum attachment to remove surface debris from the exterior coils as well.
Step 5: Applying the No-Rinse Coil Cleaner
This is where the magic happens for deep cleaning. Follow the directions on your no-rinse coil cleaner bottle exactly.
Spray the cleaner liberally across the visible evaporator coils. This foam cleaner is designed to break down grease and dirt and then drip harmlessly away through the drain pan.
Let the cleaner sit for the recommended time—usually 10 to 15 minutes. You might see it fizzing a bit as it works!
Step 6: Reassemble and Test
Once the cleaner has done its job, make sure the filter is completely dry and put it back into place.
Snap the front grille back on securely. Plug the unit back in, turn the breaker on, and run the AC on a low setting for about 30 minutes. You should immediately notice fresher air!
Understanding Coil Health: A Quick Reference
Sometimes beginners confuse the two types of coils. Here is a simple way to remember which is which and what they do:
| Coil Type | Location | Primary Job | Cleaning Focus |
|---|---|---|---|
| Evaporator Coil | Inside the room | Absorbs heat from the room air | Dust, fingerprints, general grime |
| Condenser Coil | Outside the window | Releases heat to the outdoors | Leaves, pollen, heavy outdoor dirt |
When to Call for Professional Help
While coil cleaning is beginner-friendly, some issues mean you need an expert. Don’t try to fix things that look complex or involve refrigerant lines.
Here are a few signs that maybe it’s time to call a pro:
- The coils look heavily corroded or pitted, even after cleaning.
- You notice oily residue that the cleaner won’t remove.
- The unit is leaking refrigerant (often smells sweet or chemical).
- The unit is making loud banging or rattling noises you can’t trace to loose parts.
For more detailed energy efficiency tips, you can always check out resources from the U.S. Department of Energy at Energy.gov.
Frequently Asked Questions About AC Coil Care
Here are the quick answers to the most common questions I hear about keeping those coils clean:
- How often should I clean the coils? For routine filter changes, check the coils every month during heavy use season. A deep coil spray (Step 5) is best done once per season.
- Can I use a regular hose to spray the coils? No, definitely not. High water pressure can easily bend those delicate fins, which ruins the coil’s ability to transfer heat. Stick to sprays or very gentle wiping.
- What if I can’t reach the back (condenser) coils? If the back coils are inaccessible, you can try using a can of compressed air, held safely, to blow debris out from the back slots while the unit is unplugged.
- Why is my AC still not cooling well after cleaning? If the coils were very dirty, the fan motor or the capacitor might also be struggling. Check if the fan blade is spinning freely after cleaning.
- Do I have to unplug the AC to clean the filter? While you can often slide the filter out without unplugging, it’s safer to unplug it entirely, especially if you plan on touching the grille or anything near the internal components.
Taking care of your window AC doesn’t have to be a complicated chore. By sticking to a simple schedule—cleaning the filter monthly and giving the coils a gentle spray once or twice a season—you are doing the best thing for your comfort and your wallet.
Remember, a clean AC works less hard, uses less electricity, and keeps you much cooler when the temperatures climb. Consistency is key here.
You’ve got this — and cool, comfortable air is just a few simple steps away.