
Sealing your portable AC window kit right is key to keeping cool air in and hot air out. Use the provided foam strips and sliders correctly, press firmly, and check for gaps monthly. This simple fix stops energy waste and boosts cooling power instantly!
Is your portable air conditioner running non-stop but your room still feels warm? You are not alone in this frustration. Many people buy these great units but forget the small details that make them work well. That tiny gap around the exhaust hose can let tons of hot air back inside. Don’t worry about complicated repairs or high energy bills today.
I’m Jack from ACReviewHub.com, and I promise to make this easy. We will walk through how to seal that window kit perfectly, step-by-step. By the end of this guide, you will know exactly how to lock in that cool air and save some money.
Why Sealing Your Portable AC Window Kit Matters So Much
Think of your portable AC like a temporary window unit. It blows out hot air through a hose. This hose must vent outside, but the hole you make for it must be sealed tight.
If the seal is bad, hot air sneaks back in. This makes your AC work twice as hard. It runs longer, uses more electricity, and never quite reaches the temperature you set.
A good seal keeps the hot air where it belongs—outside. This means colder air inside and a happier wallet at the end of the month. It is the easiest way to get the most out of your machine.
What Comes in a Standard Portable AC Window Kit?
When you buy a portable AC, it comes with a kit to vent the hose. You might look at the parts and feel confused. Let’s break down the usual pieces you need to know:
- Exhaust Hose: This is the big, flexible tube that carries the hot air out.
- Window Panel/Slider: This piece fits into your window opening. It usually has an opening for the hose connector.
- Hose Connector/Adapter: This part snaps onto the hose and then into the window panel.
- Foam Weatherstripping (Seals): These are sticky foam pieces. They are the secret weapon for sealing gaps!
Step-by-Step: How To Seal Window Kit For Portable AC Like a Pro
This process is simple once you know where the leaks usually happen. We will focus on making sure the hose connection and the panel edges are tight.
Step 1: Prepare Your Window Opening
First, open your window a little bit. Most kits are made for sliding windows (up/down or side-to-side). Measure the gap you need to cover with the slider panel.
Remove any old tape or debris from the window frame area. A clean surface helps the foam stick really well. Wipe it down with a dry cloth.
Step 2: Install the Window Panel Slider
Slide the window panel into the opening. Adjust the telescoping parts of the panel until it fills the space snugly, but don’t force it too hard.
The panel should sit firmly between the windowsill and the top part of the window frame. This is the biggest piece that needs sealing.
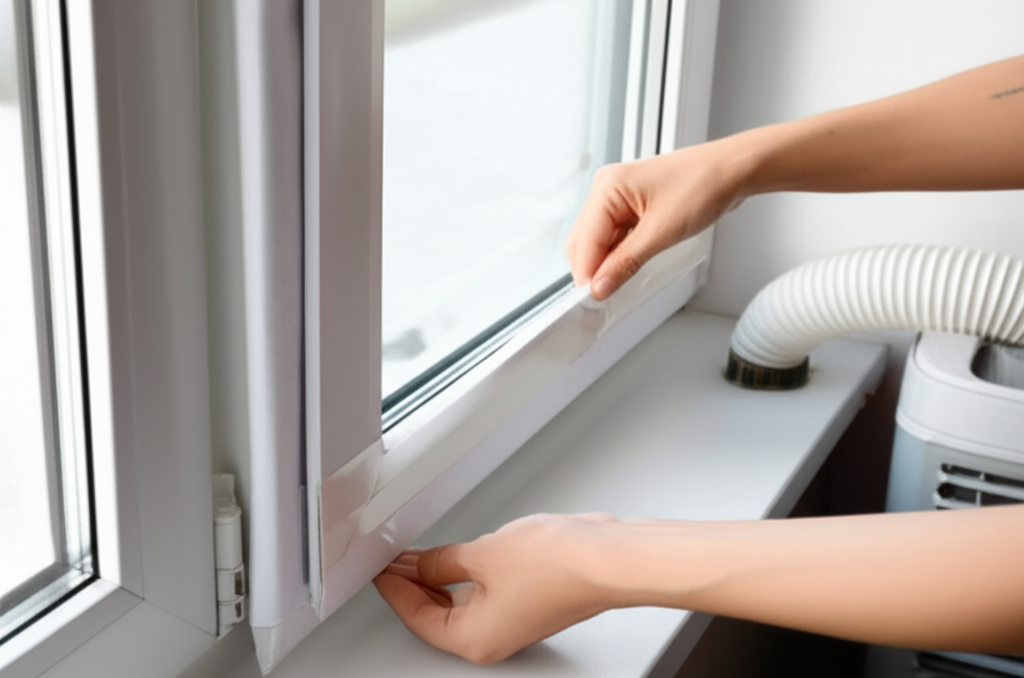
Step 3: Apply the Sticky Foam Seals (The Magic Part)
This is where most beginners go wrong. Peel the backing off your foam weatherstripping. Do not just stick it anywhere.
Apply the foam tape along all the edges where the window frame meets the sliding panel. Press the foam firmly against both surfaces.
Focus especially on the spot where the fixed part of your window meets the sliding panel you just installed. You are creating a cushion that blocks air flow.
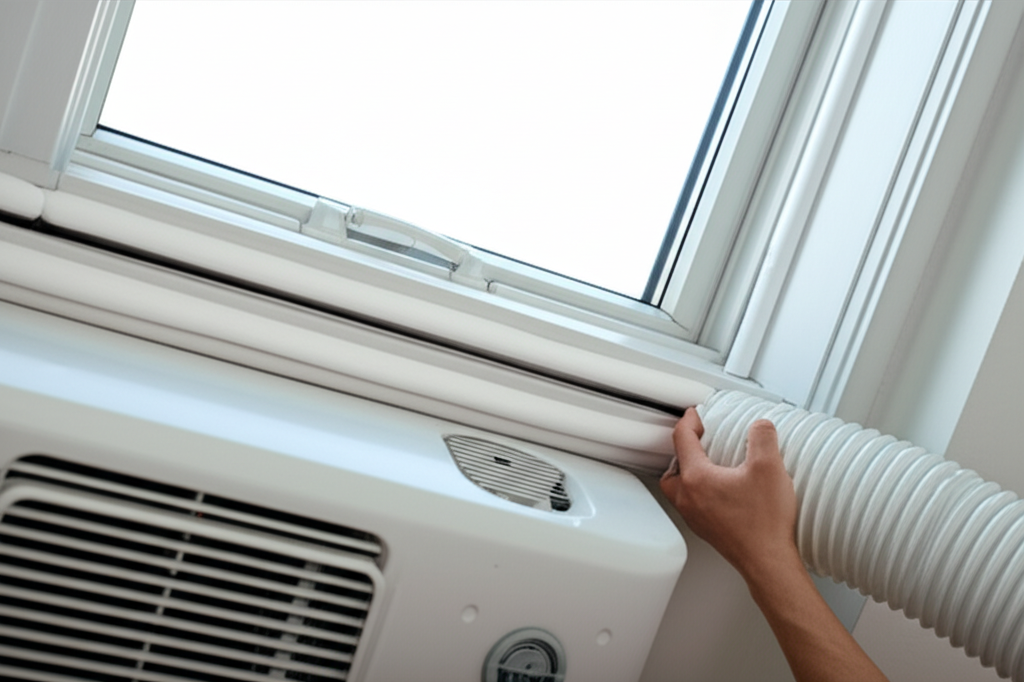
Step 4: Seal Around the Exhaust Hose Connector
Attach the hose adapter to the exhaust hose. Then, snap the hose assembly into the hole on your window panel.
There will likely be a small gap where the hose connector meets the panel. Use smaller pieces of the foam tape or the provided plastic gaskets (if your kit has them) to fill this small ring-shaped gap.
Press down hard on the foam here. This connection is where heat often leaks back in.
Step 5: Final Check and Closing the Window
Once everything is sealed, gently slide your actual window down until it rests against the installed panel. Do not crush the foam, but ensure there is contact.
Look closely from the inside and the outside if you can safely reach. Do you see any slivers of daylight? If yes, add more foam there.
Quick Comparison: Why Sealing Beats Just Using the Panel
Many people think just sliding the panel in is enough. It rarely is, especially in older or slightly uneven windows. Here is why that foam matters:
| Sealing Method | Effectiveness | Energy Savings Potential | Installation Difficulty |
|---|---|---|---|
| Panel Only (No Foam) | Poor to Fair | Low | Very Easy |
| Panel with Foam Strips | Excellent | High | Easy |
| Professional Custom Seal | Best | Highest | Moderate |
Common Mistakes to Avoid When Sealing Your AC Kit
We all make mistakes when setting things up the first time. Here are the top three things new users accidentally do wrong:
- Using the Wrong Window Type: Most kits are designed for vertical sliding windows. If you have a crank-out (awning) window, you usually need a specialized, non-foam kit or a custom Plexiglas insert.
- Not Pressing Hard Enough: That foam tape needs pressure to compress and seal the tiny imperfections in the frame. Push firmly!
- Forgetting the Top Gap: Hot air rises. If the top edge of your window sash is not sealed against the panel, hot air flows right back down into the room.
Keeping It Cool: Related Tips from Jack
Sealing the window is half the battle. To make sure your portable AC performs its best, check these things too:
- Check the Hose: Make sure the exhaust hose itself isn’t kinked or damaged. A kink reduces airflow dramatically.
- Filter Maintenance: Clean your air filter every two weeks. A dirty filter chokes the machine and reduces cooling power.
- Placement Matters: Don’t put the AC unit right next to a heat source, like direct afternoon sun on a wall or right next to a lamp.
For more detailed maintenance schedules, you can always check the great resources available at Energy.gov on efficient cooling.
Frequently Asked Questions About Portable AC Seals
Got a quick question buzzing around your head? Here are some fast answers:
- Q: Can I use duct tape instead of the foam strips?
- A: You can use duct tape for temporary fixes, but the foam provides better insulation and fills uneven spaces much better.
- Q: My window is odd-sized. What do I do?
- A: If the slider doesn’t fit, you might need to buy a piece of thin plastic or plywood, cut it to size, and then use the foam strips around its edges.
- Q: How often should I check the seal?
- A: Check it once a month during heavy use. If you open and close the window often, check it every time!
- Q: Will this stop condensation?
- A: It helps stop hot, humid air from entering, which reduces how much condensation forms on the outside of the unit.
- Q: My AC hose is hot. Is that normal?
- A: Yes! That hose is carrying hot exhaust air out. If the seal is good, the hose should feel hot, but the air leaking back in should not.
See? That wasn’t so bad! Taking a few extra minutes to apply that foam correctly transforms your portable AC from a struggling machine into a cool-air champion.
Remember, staying cool doesn’t need to be complicated or expensive. Consistent, small steps in maintenance and setup are the secret sauce. Keep those seals tight, and enjoy the cool comfort you deserve!