
Quick Summary: Winterizing your window AC means cleaning it thoroughly, sealing the unit completely with a custom cover or insulation, and turning off the power to protect it from harsh winter weather and moisture damage.
Hey there! I’m Jack from ACReviewHub.com, and I know dealing with your window AC when the cold hits can feel confusing. You don’t want that unit sitting there letting cold drafts in all winter long. We worry about energy bills, and we want our trusty AC to last for many summers to come. Don’t sweat the small stuff! I’m here to walk you through exactly what to do, step by simple step. By the time we’re done, you’ll know how to put your window AC to sleep safely until spring arrives.
Why You Must Winterize Your Window AC Unit
Putting your window AC unit to bed for the winter is super important. It’s not just about keeping drafts out of your living room. If you skip this step, winter moisture can sneak inside the unit. This can cause rust and damage sensitive electrical parts. A well-winterized unit will start up smoothly next summer without any surprise repair bills. Think of it like tucking your AC in with a warm blanket!
Step 1: Time to Clean Up—The Pre-Storage Tune-Up
Before you even think about removing the unit, it needs a good cleaning. This prevents dirt and grime from sitting on the coils all winter, which can lead to corrosion.
Cleaning Checklist Before Removal
- Power Down: Always unplug the unit from the wall outlet. Safety first, always!
- Remove Filters: Take out the reusable air filters. Wash them gently with warm, soapy water. Let them air dry completely.
- Wipe Down the Housing: Use a soft, damp cloth to wipe down the exterior casing. Avoid soaking any vents or controls.
- Deep Coil Cleaning (Optional but Recommended): If you feel comfortable, you can gently spray the indoor coils with a no-rinse coil cleaner made for AC units.
Step 2: Removing the Window AC Unit Safely
Removing the unit can look scary, but we’ll take it slow. Make sure you have a helper if the unit is heavy; most window units are awkward to carry alone.
Simple Steps for Safe Removal
- Unplug and Disconnect: Double-check that the power cord is unplugged.
- Remove Interior Screws: Look for screws or bolts holding the internal sleeve to the window frame or side brackets. Remove these carefully.
- Slide the Unit Inward: Gently push the unit slightly inward from the window opening.
- Support and Pull: Have your helper support the weight as you carefully slide the unit out of the mounting bracket and window frame.
- Store Properly: Carry the unit to your storage location. Always store it upright, never tilted on its side, to keep oil and refrigerant where they belong.
Step 3: Sealing the Deal—Blocking Winter Air
This is the most crucial part for energy savings and protection. You need to stop cold air from rushing in where the AC used to be.
Best Ways to Insulate the Opening
You have a few great options for sealing the gap left by the AC unit. Choose the one that works best for your window type.
| Method | What It Does | Best For |
|---|---|---|
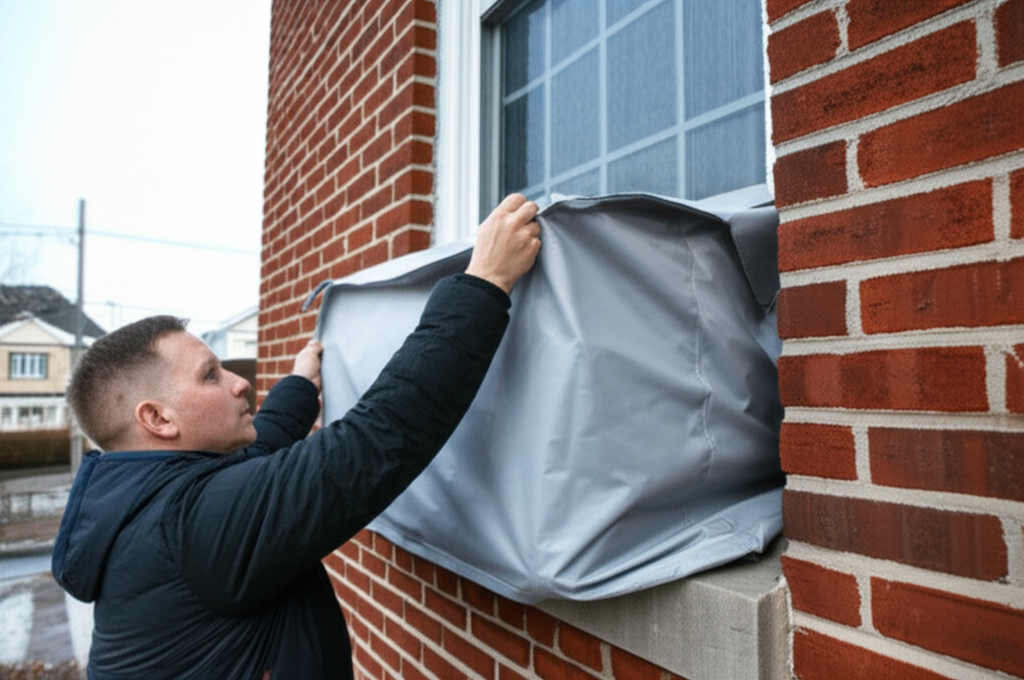
| AC Winter Cover Kit | A pre-formed fabric or vinyl cover that fits over the exterior portion. | Best overall protection and neatest look. |
| Foam Board Insulation | Cutting rigid foam to fit snugly into the open space inside the sleeve. | Maximum draft-proofing and budget-friendliness. |
| Use the Original Panels | Reinstalling the accordion side panels if you removed them. | Quick fix, but less insulation value than foam. |
Step 4: Protecting the Unit Itself
Even when stored indoors, the unit itself needs protection from dust and potential dampness.
Tips for Storing Your AC Unit
- Place the unit in a dry, covered area like a basement, garage, or attic.
- Cover the entire unit with a large, heavy-duty plastic trash bag or a dedicated AC storage cover.
- Do not stack heavy items on top of the AC unit, as this can bend the fins or damage the casing.
Common Mistakes Beginners Make When Winterizing
We all learn as we go, but avoiding these common slip-ups will save you headaches next spring.
- Forgetting to Unplug: Leaving the unit plugged in, even if the thermostat is off, wastes a tiny bit of energy and poses a slight risk.
- Storing It Wet: Storing the unit before the filters and coils are completely dry invites mold and mildew growth.
- Not Sealing the Window: If you don’t seal the hole where the AC was, you are essentially paying to heat the outside air!
- Leaving the Unit in the Window: Some people leave the unit in place but just cover the front. This still exposes the exterior components to rain, ice, and snow, causing damage.
Keeping Your AC Healthy Year-Round
Regular maintenance isn’t just for winterizing; it keeps your unit efficient all the time. For more detailed information on overall efficiency, check out the great tips from Energy.gov on saving energy at home. Learn more about home cooling efficiency here.
Frequently Asked Questions About Winterizing
Q1: Can I just leave my window AC in the window and cover the front?
A: No, that’s not ideal. While it stops some drafts, the exposed sides and back can take a beating from ice and moisture, leading to premature failure.
Q2: How long should I wait after cleaning before storing my AC?
A: Wait at least 24 hours after washing filters or cleaning coils to ensure everything is bone dry before you cover it up for storage.
Q3: Do I need to cover the exterior portion if I remove the whole unit?
A: Yes, even if you remove the unit, make sure the window opening is fully sealed. If you are storing the unit outside for some reason, a full, waterproof cover is mandatory.
Q4: What temperature is too cold for storing an AC unit?
A: Window AC units are built to handle cold, but avoid storing them where temperatures drop below freezing for long periods if they are not completely dry inside, as trapped moisture can expand when freezing.
Q5: Do I need to drain any water before storing it?
A: Most modern window units are designed to “self-drain” condensation by slinging water out the back while running. If you tilt it slightly during removal, any residual water will drain out the back, not into your home.
Conclusion
See? That wasn’t nearly as complicated as you might have thought! Taking these simple, proactive steps now—cleaning, removing, and sealing—will guarantee your window AC unit stays safe and sound all winter long. Consistent small care like this is how you save money and keep your appliances running smoothly for years.
You’ve got this — and cool, comfortable air is just a few simple steps away.