
Quick Summary: To seal your window AC for winter, you must remove the unit if possible, or use insulation kits, foam board, and weather stripping to block air leaks around the casing and frame. This stops cold drafts and saves energy.
Hello there! I’m Jack from ACReviewHub.com. Are you worried about that window AC unit sitting idle while winter winds blow? It’s easy to think those units are sealed tight, but cold air sneaks in surprisingly easily. High energy bills during winter can sneak up on you when you aren’t careful. Don’t worry about confusing technical jargon or complicated sealing methods. I promise to walk you through simple, practical steps to winterize that unit. Next, we’ll look at the easiest ways to block those chilly drafts and keep your home cozy.
Why Sealing Your Window AC for Winter is a Big Deal
That little gap around your window AC can let in a lot of cold air. Think of it like leaving a small window cracked open all winter long. When warm air escapes, your furnace works overtime. This means higher heating bills for you. Properly sealing the unit keeps the warm air in your house where it belongs. It also protects the AC components from winter moisture and ice buildup. It’s a simple step that makes a real difference in comfort and cost.
Step 1: Decide if You Need to Remove the Unit
The very best way to seal a window AC is to take it out entirely. If you live where winters are very cold, removing it is ideal. However, many people find them too heavy or bulky to move. Decide what works best for your situation first.
Here are the steps if you choose to remove your window AC unit:
- Unplug the Unit: Always turn off the power and unplug the AC completely. Safety first!
- Remove Window Hardware: Unscrew or unlock any brackets or side panels holding the unit in place.
- Slide It Out Carefully: With a helper, gently slide the unit out of the window track.
- Store It Properly: Cover the AC with a heavy-duty plastic bag or tarp and store it in a dry place, like a garage or basement.
- Seal the Window: Once the unit is gone, cover the window opening with a solid piece of plywood or thick foam board cut to fit snugly.
Step 2: Essential Supplies for Sealing an AC Left in Place
If taking the AC out isn’t an option, don’t sweat it. We can seal it right where it sits. You just need a few simple supplies. These materials are easy to find at any hardware store.
Here are the materials you’ll need for a great seal:
- Foam insulation board (cut to fit the opening)
- Clear plastic sheeting or a dedicated AC cover
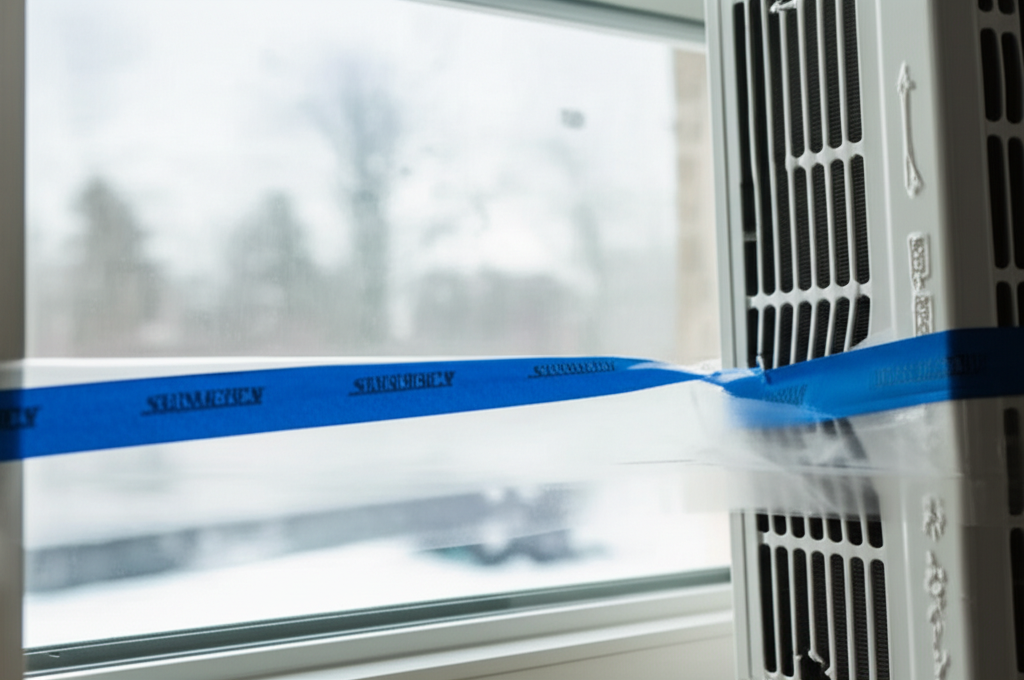
- Duct tape or strong weather-resistant tape
- Adhesive-backed foam weather stripping
- Caulk (for tiny, fixed gaps)
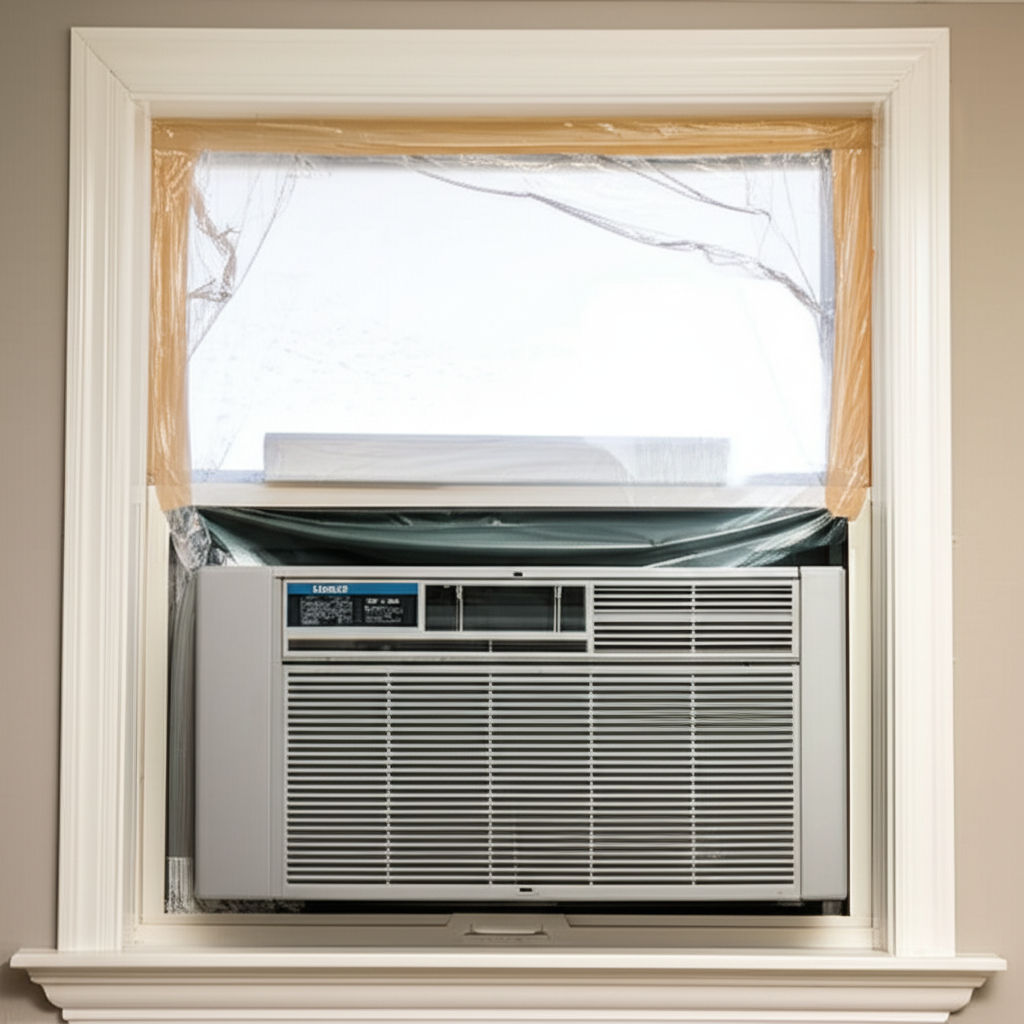
Step 3: Blocking Air Leaks Around the Casing
The biggest culprit for winter drafts is the space between the metal AC casing and the window frame. We need to close this gap completely.
First, look at the accordion-style side panels. These are often the weakest spots.
- Extend and Seal the Panels: Pull the side panels out as far as they will go to meet the window frame on both sides.
- Apply Weather Stripping: Peel the backing off your foam weather stripping and press it firmly along the edges where the panel meets the window glass or frame.
- Tape Over Gaps: Use duct tape to secure the edges of the side panels firmly to the window frame. Make sure the tape overlaps both surfaces well.
Step 4: Insulating the Inside of the Unit
Even when the side panels are sealed, cold air can sometimes pass through the front vents. We need an interior barrier to stop this airflow.
This step focuses on insulating the air path inside the unit from the room side.
A thick piece of foam board is your best friend here. Measure the inside opening where the AC sits.
Cut the foam board slightly larger than the opening. You want a snug fit that compresses just a tiny bit when you push it in. This creates a tight seal against the cold air trying to push through the machine.
Step 5: Using an External Window AC Cover
For an extra layer of protection, especially if you get heavy snow or wind, an external cover is a great idea. These covers are designed to handle outdoor weather.
These covers usually attach to the outside of the unit. They keep rain, snow, and wind from hitting the machinery directly. They also add another barrier against air infiltration.
Check out some tips on saving energy during the colder months from a trusted source:
Energy Saver Tips for Winterizing Your Home (Energy.gov)
Simple Comparison: Sealing Methods and Effectiveness
Not all sealing methods are created equal. Here’s a quick look at what gives you the best bang for your buck when winterizing.
| Sealing Method | Primary Benefit | Ease of Removal in Spring |
|---|---|---|
| Full Unit Removal | Maximum Protection & Best Look | Difficult (Requires lifting) |
| Foam Board + Weather Stripping | Excellent Draft Blocking | Easy (Peel/Pull off) |
| AC Cover Only | Protects Exterior Parts | Very Easy |
Frequently Asked Questions About Winterizing ACs
- Do I really need to seal my window AC if it’s turned off?
- Yes! Turning it off only stops the cooling. Air still moves right through the coils and the gaps around the unit.
- Can I just cover the front of the AC from the inside?
- Covering only the front is not enough. You must seal the gaps around the outside casing where the unit meets the window frame first.
- What if I use plastic wrap to cover the whole thing?
- Plastic wrap alone is usually too thin and tears easily. It’s better to use specialized foam insulation board inside and a durable cover outside.
- Is it safe to leave the unit installed during a mild winter?
- It is generally safe if sealed well, but constant cold and dampness can slightly shorten the lifespan of the internal components.
- How do I know if my seal is good enough?
- On a windy day, hold a lit stick of incense near the edges. If the smoke wavers or blows inward, you still have a leak that needs more tape or foam.
- What about the drain hole on the bottom?
- Most modern units have internal traps. If you have a very old unit and are concerned, you can temporarily plug the external drain hole with a piece of tape or rubber, but remember to remove it in spring!
A Quick Check to Save Energy This Winter
| Energy Saver Tip | Action Taken |
|---|---|
| Seal all drafts | Window AC sealed completely |
| Check thermostat settings | Set back temperature when away |
| Use window coverings | Keep curtains closed on very cold nights |
Taking a little time now to seal up that window AC unit is one of the smartest, easiest home maintenance tasks you can do. You are stopping energy waste before the cold really sets in. Remember, comfort and savings go hand-in-hand when you take these small, practical steps. You’ve got this — and cool, comfortable air is just a few simple steps away.