
Quick Summary:
Is your AC acting up? Checking the AC capacitor is a common DIY fix that can save you a service call. This guide shows you how to safely check your AC capacitor in easy steps, so you can get your cool air back!
Is your air conditioner making strange noises or just not cooling like it used to? It can be frustrating when your AC isn’t working right, and you might worry about a big repair bill. But sometimes, a simple part called a capacitor might be the culprit.
Don’t sweat it! We’re here to break down what an AC capacitor is and how you can check it yourself. We’ll make it super simple, so you feel confident taking a look.
By the end of this guide, you’ll know exactly how to spot a bad capacitor and what to do next. Let’s get your AC running smoothly again!
What is an AC Capacitor?
Think of your AC capacitor as a tiny battery for your air conditioner’s fan and compressor motors. It gives them a big jolt of electricity to get started when they turn on.
It’s a small, cylindrical part, usually black or silver. There are two main types: start capacitors and run capacitors, and sometimes you’ll see a dual-run capacitor that does both jobs.
Why Check Your AC Capacitor?
A failing capacitor is a common reason why an AC unit might hum but not start up, or why the outdoor fan might not spin. If you notice these signs, the capacitor is often the first thing to check.
Replacing a capacitor is usually much cheaper than calling a technician for a motor issue. It’s a great way to potentially save some money!
Safety First! How to Prepare to Check Your AC Capacitor
Working with electricity can be dangerous. Safety is the most important thing here. Always remember to turn off the power to your AC unit before you touch anything inside.
Find the breaker box for your home and flip the switch that controls your air conditioner. For extra safety, you can also unplug the unit if it has a cord.
Step-by-Step: How to Check Your AC Capacitor
Ready to take a look? Grab a few simple tools and follow these steps carefully.
1. Locate the Outdoor AC Unit
The capacitor is inside the outdoor part of your air conditioning system. It’s usually in a metal box on top or on the side of the unit.
2. Turn Off the Power
As we said, this is super important! Go to your electrical panel and switch off the breaker for your AC. Double-check that the unit is completely off.
3. Open the AC Unit Access Panel
You’ll need a screwdriver to remove the screws holding the access panel in place. Gently set the panel aside.
4. Identify the Capacitor
Look for a cylindrical component, often black or silver. It will have wires connected to it. If you have a dual-run capacitor, it will have three terminals (one common and two for the fan and compressor).
5. Discharge the Capacitor (Very Important!)
Capacitors can hold an electrical charge even when the power is off. You need to discharge it to be safe. Use an insulated screwdriver with a long metal shaft.
Carefully touch the metal shaft of the screwdriver across the two terminals of the capacitor. You might see a small spark. Do this for each pair of terminals if it’s a dual-run capacitor.
6. Disconnect the Wires
Take a picture of how the wires are connected before you unplug them. This will help you remember where they go. Gently pull the wires off the terminals.
7. Check for Physical Signs of Damage
Look closely at the capacitor. Does it look swollen, bulged on top, or have any oily leaks? These are clear signs that the capacitor has failed.
If you see any of these, it’s time for a replacement. You can often find the part number and ratings printed on the side of the capacitor.
8. Test the Capacitor (Optional, for Advanced Users)
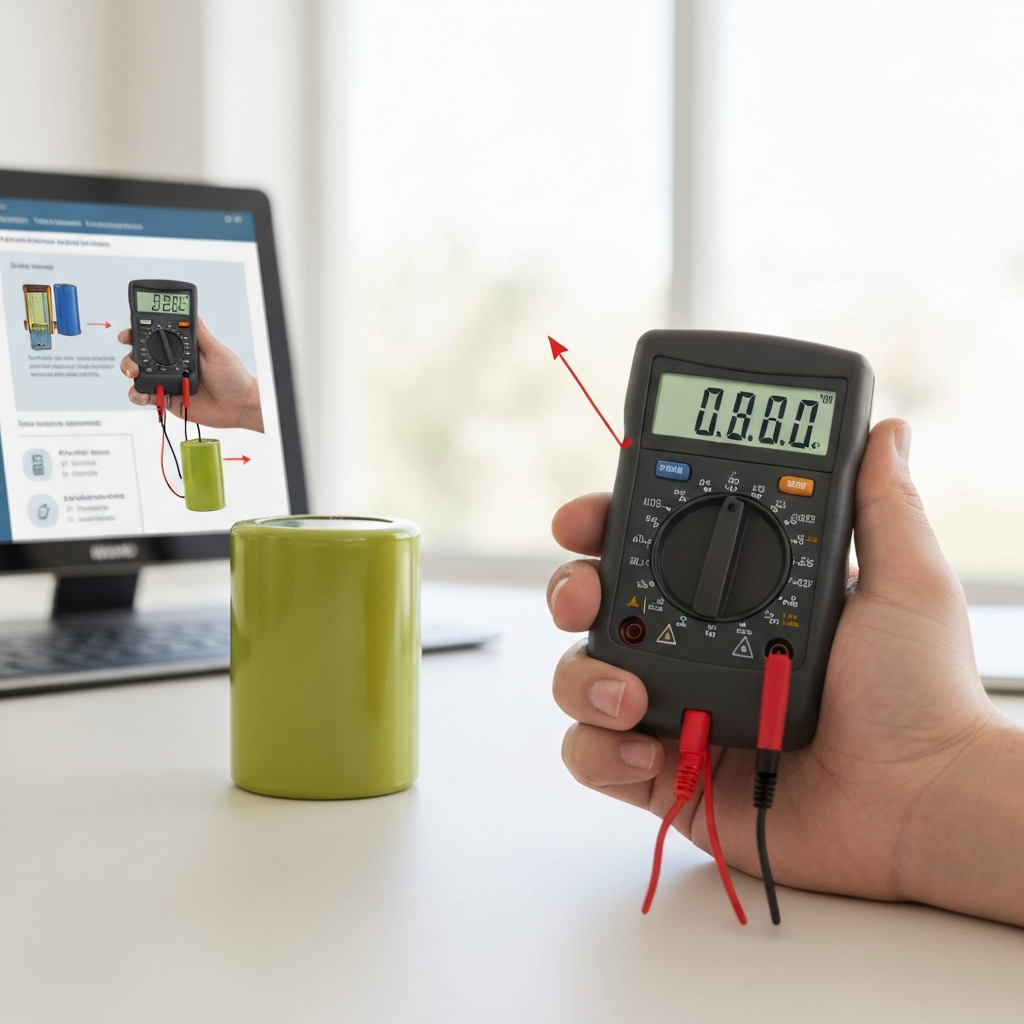
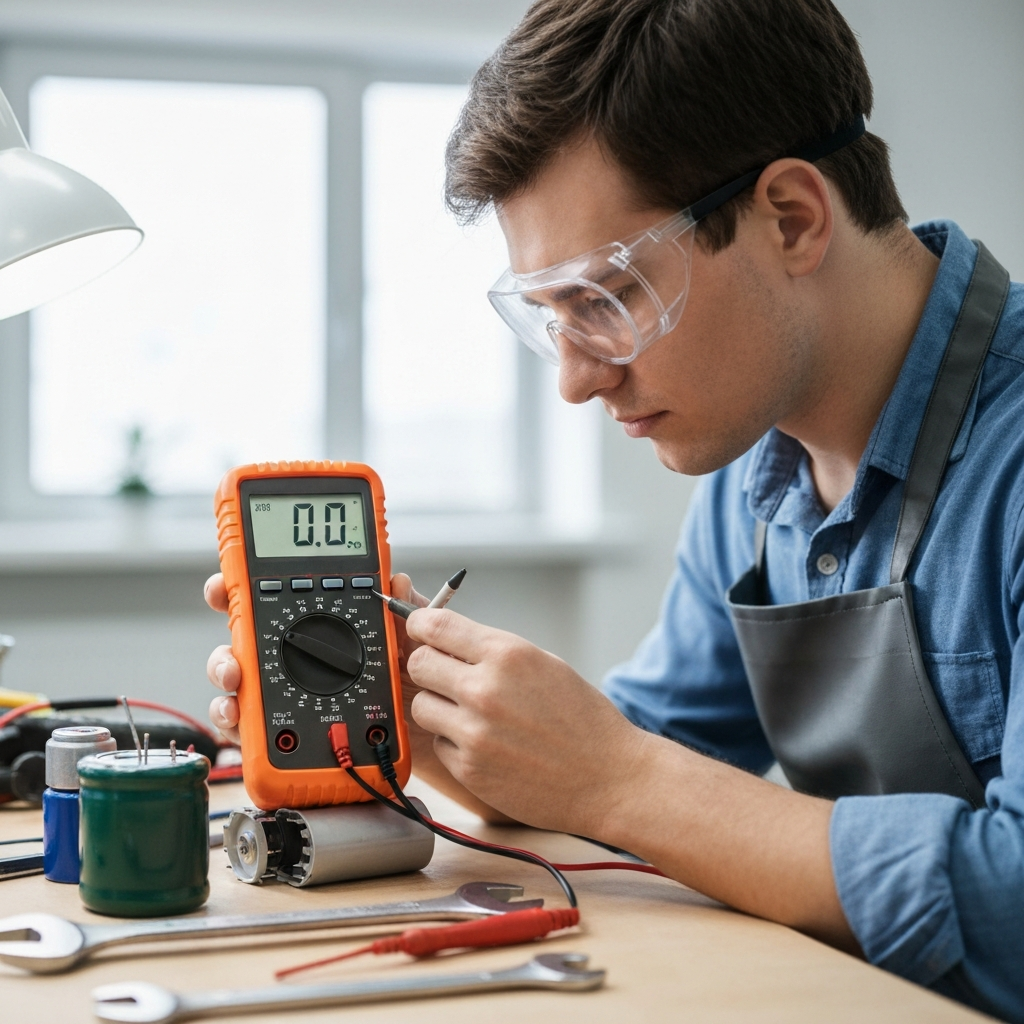
If there are no visible signs of damage, you can test the capacitor with a multimeter. Set your multimeter to measure capacitance (usually labeled with a ‘µF’ symbol).
Touch the multimeter probes to the correct terminals as per your multimeter’s instructions. Compare the reading to the rating printed on the capacitor. If the reading is significantly lower than the rating, the capacitor is likely bad.
9. Reconnect the Wires and Replace the Panel
If you replaced the capacitor, connect the new one using your photo as a guide. If you’re just checking and it looks okay, reconnect the wires exactly as they were.
Put the access panel back on and secure it with the screws. You’re almost done!
10. Turn the Power Back On
Go back to your breaker box and flip the AC breaker back on. Now, go outside and see if your AC unit starts up normally.
Signs Your AC Capacitor Might Be Failing
Here are some common symptoms that point to a capacitor problem:
- The outdoor fan motor isn’t spinning, but the compressor is running.
- The AC unit makes a humming noise but doesn’t start.
- The AC turns on and off frequently (short cycling).
- The air coming out isn’t as cool as it should be.
When to Call a Professional
While checking the capacitor is a great DIY step, there are times when you should call in an expert.
If you’re not comfortable working with electrical components or if you’ve replaced the capacitor and the problem still exists, it’s best to call a qualified HVAC technician.
There could be other issues with your AC system that require professional diagnosis and repair.
Helpful Resources
Want to learn more about keeping your home energy-efficient?
Check out the U.S. Department of Energy’s Energy Star program for tips on saving energy at home: EnergyStar.gov
For independent reviews and consumer advice on appliances, including air conditioners, visit Consumer Reports: ConsumerReports.org
Frequently Asked Questions About AC Capacitors
Q: How long do AC capacitors usually last?
A: They can last many years, often 10-20 years, but they can also fail sooner due to heat, age, or electrical issues.
Q: Can I just buy any capacitor to replace mine?
A: No, it’s important to match the microfarad (µF) rating and voltage exactly as printed on your old capacitor. Get the same type too (start, run, or dual-run).
Q: What’s the difference between a start capacitor and a run capacitor?
A: A start capacitor gives a big boost to get motors spinning, then disconnects. A run capacitor helps the motor keep running smoothly. A dual-run capacitor does both.
Q: Is it safe to touch a capacitor even if the power is off?
A: No, always discharge it first using an insulated tool. They can hold a dangerous charge.
Q: My AC capacitor looks fine, but the AC still won’t start. What else could it be?
A: It could be a bad fan motor, compressor, thermostat issue, or a problem with the electrical supply. Time to call a pro!
Q: Where can I find the capacitor in my AC unit?
A: It’s usually inside the outdoor unit, in a metal box. You’ll need to open an access panel to see it.
Q: How much does it cost to replace an AC capacitor?
A: The part itself is usually inexpensive, around $10-$30. If you hire a technician, labor can add $100-$300 or more, depending on your area.
Conclusion
See? Checking your AC capacitor doesn’t have to be scary. By following these simple, safety-first steps, you can often diagnose a common AC problem yourself.
Remember, regular checks and quick fixes can save you money and keep your home cool and comfortable. You’ve got this!