
Installing a portable AC drain hose is essential for preventing water buildup and ensuring your unit runs efficiently. This guide walks you through the process with clear steps, safety tips, and troubleshooting advice. Whether you’re cooling your home office or bedroom, proper drainage keeps your space dry and comfortable.
Cooling your home without permanent installation is a breeze with a portable air conditioner—but only if you handle the portable AC drain hose installation correctly. These units pull warm air in, cool it, and then expel hot air through an exhaust hose. But here’s the catch: they also produce condensation. Without a proper drain system, that water can pool inside your unit or leak onto your floor, leading to damage, mold, or electrical hazards.
That’s where the drain hose comes in. It safely channels excess moisture out of the machine and away from your living space. While some models are self-draining or use evaporative systems, many standard portable ACs still rely on gravity-fed drainage—and that means installing a drain hose. In this guide, we’ll walk you through everything you need to know: from choosing the right hose to securing it safely, plus pro tips to keep your setup leak-free and efficient.
Key Takeaways
- Prevents water damage: A properly installed portable AC drain hose stops condensation from leaking into your room.
- Easy DIY fix: Most installations require only basic tools and take under 30 minutes.
- Choose the right hose: Use flexible PVC or silicone tubing that fits your unit’s exhaust port.
- Secure the connection: Clamp or zip-tie the hose tightly to avoid dislodging during use.
- Route wisely: Always direct the hose downward toward a floor drain or bucket—never upward or sideways.
- Check for leaks: Run the unit for 15–20 minutes and inspect connections before leaving unattended.
- Maintain regularly: Clean the drain line every few weeks to prevent clogs and mold growth.
Quick Answers to Common Questions
Can I use any hose for my portable AC?
No—use only flexible PVC or silicone tubing rated for HVAC use. Standard garden hoses are too rigid and may crack.
How long should the drain hose be?
Keep it as short as possible. Longer hoses increase clog risk and reduce efficiency. Aim for under 6 feet if going through a window.
What if my AC keeps shutting off?
It’s likely detecting a full tank or blocked drain line. Empty the reservoir and check for kinks or clogs in the hose.
Do I need to insulate the hose?
Yes, especially if running it outdoors. Insulation prevents freezing in winter and UV damage in summer.
Can I connect multiple hoses?
Generally no—most portable ACs have one drain port. Splitting the line can cause uneven flow and leaks.
📑 Table of Contents
Why Portable AC Drain Hoses Matter
Portable air conditioners work by circulating refrigerant through coils. As warm indoor air passes over these cold coils, moisture condenses into water. This water needs somewhere to go—and that’s the job of the drain hose.
Without a functioning drain line, the collected water either overflows (triggering an automatic shutoff) or backs up into the unit, potentially causing internal damage. Over time, stagnant water invites mold and bacteria, which can affect indoor air quality.
A well-installed portable AC drain hose prevents all that. It ensures continuous operation, protects your home, and extends the life of your appliance. Think of it as the unsung hero of portable cooling—simple, vital, and often overlooked.
Tools and Materials You’ll Need
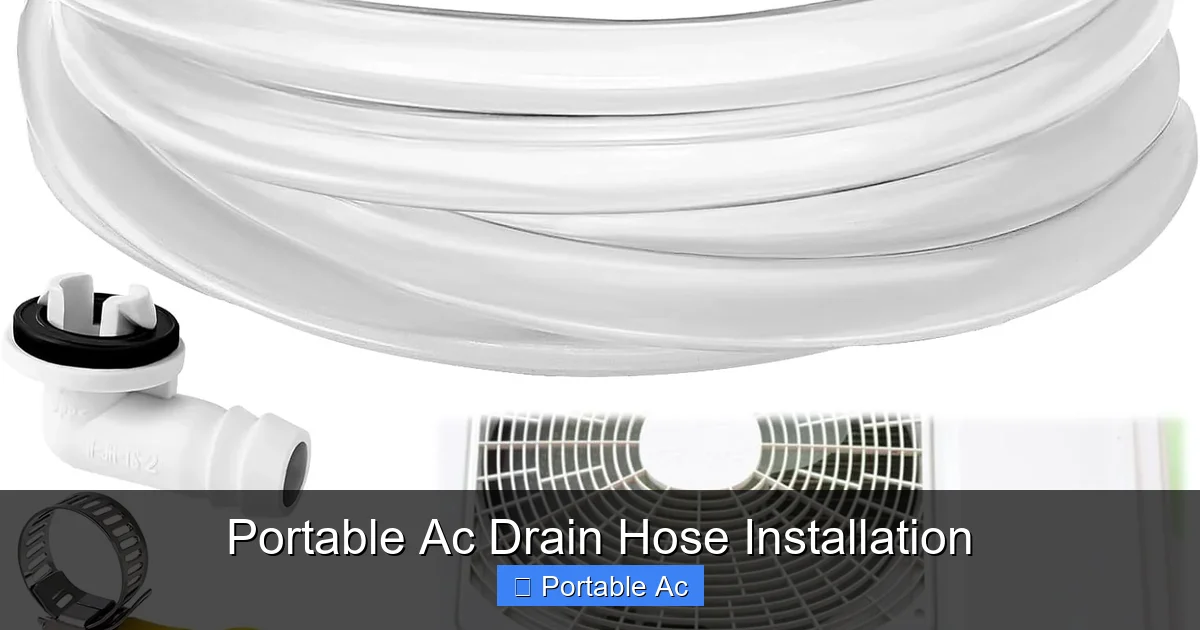
Visual guide about Portable Ac Drain Hose Installation
Image source: m.media-amazon.com
Before you begin, gather these essentials:
– **Flexible drain hose** (usually ½-inch or ¾-inch inner diameter; check your manual)
– **Clamps or zip ties** (to secure the hose)
– **Measuring tape**
– **Scissors or utility knife**
– **Bucket or drain location** (where you’ll route the water)
– **Towels or rags** (for spills)
Most portable AC manufacturers include a short plastic hose with the unit. If yours didn’t come with one, you can buy universal drain hoses online or at hardware stores. Just make sure it matches your model’s outlet size.
Step-by-Step Installation Guide
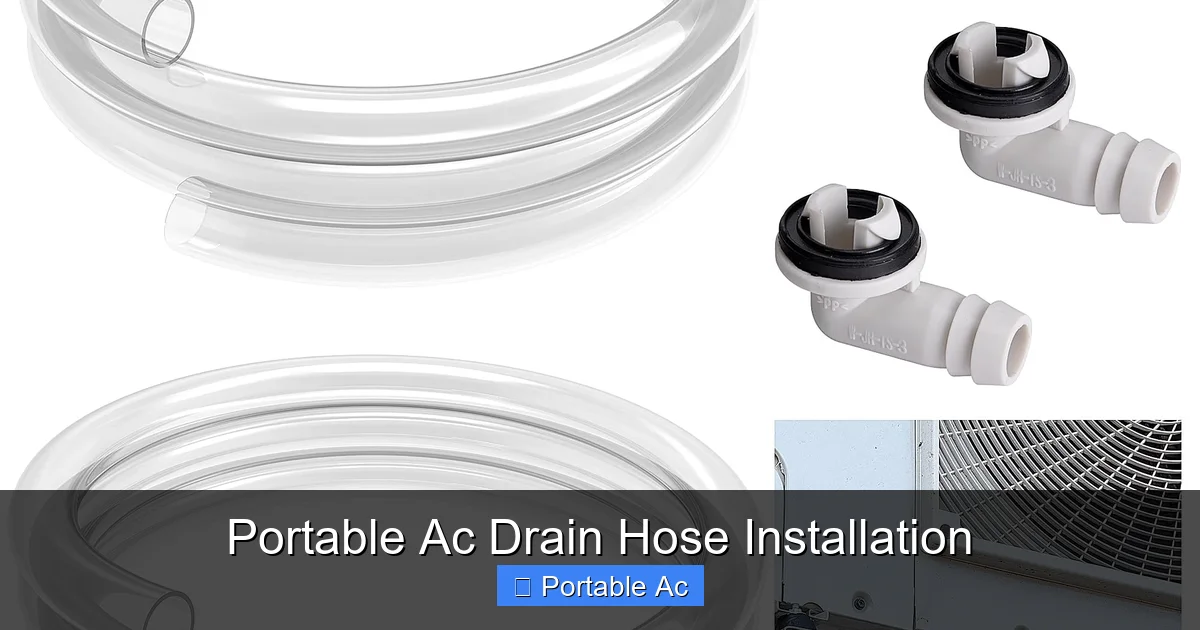
Visual guide about Portable Ac Drain Hose Installation
Image source: m.media-amazon.com
Follow these simple steps for a secure, leak-proof setup.
1. Locate the Drain Port
Your portable AC will have a small opening near the bottom—this is the drain outlet. It’s usually marked with a “Drain” label or has a removable cap. Remove any protective cover gently.
2. Attach the Hose
Slide the drain hose onto the outlet until it fits snugly. Some models have a locking mechanism; others just press on. If it feels loose, wrap the connection with plumber’s tape or use a hose clamp for extra security.
3. Route the Hose Outdoors or to a Drain
The key rule? Water must flow downhill. Never loop the hose upward or create sags that trap water. Here are common routing options:
– **Window or door:** Extend the hose through a window using a window kit (available separately). Make sure the outer end slopes downward slightly.
– **Floor drain:** If you’re near a bathroom sink or laundry tub, run the hose directly into it.
– **Outdoor bucket:** Place a large bucket outside your window and route the hose into it. Elevate the bucket slightly to encourage flow.
Use foam insulation sleeves (like those used for outdoor AC lines) to protect the hose from sunlight and temperature changes, especially if running it outdoors.
4. Secure the Hose
Avoid kinks or sharp bends. Use zip ties or hose clamps every 6–8 inches along the length. For window installations, use a hose clamp to seal the gap between the hose and window frame.
5. Test the System
Turn on your portable AC and let it run for 15–20 minutes. Check for leaks at every connection point. If water drips, tighten the clamps or reseal the joints.
Common Mistakes to Avoid
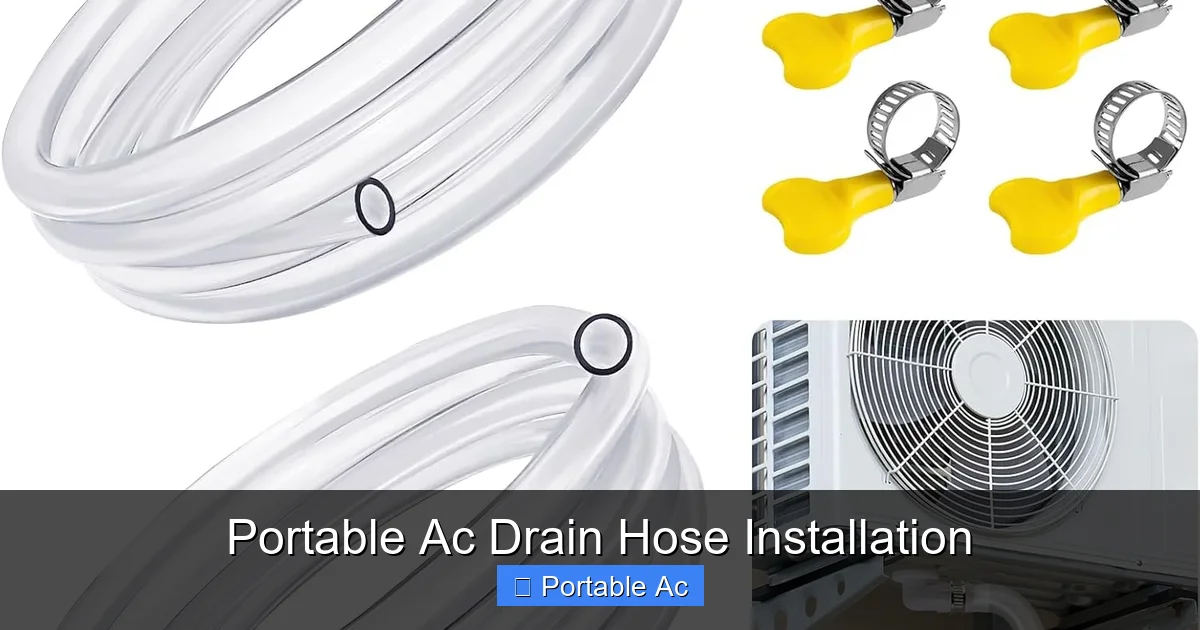
Visual guide about Portable Ac Drain Hose Installation
Image source: m.media-amazon.com
Even experienced DIYers can run into issues. Watch out for these pitfalls:
– **Kinking the hose:** This restricts water flow and causes backups.
– **Running the hose uphill:** Gravity won’t help—water will back up.
– **Using the wrong hose size:** Too narrow = clog risk; too wide = poor fit.
– **Neglecting insulation:** Outdoor hoses freeze in winter or get brittle in summer.
– **Forgetting to clean:** Mineral deposits from hard water can block the line over time.
If you’re unsure about your setup, refer to your user manual or contact customer support. Some modern models offer alternative solutions—like dual-hose systems or built-in pumps—that eliminate traditional drain hoses altogether.
Alternative Draining Methods
Not all portable ACs need a drain hose. Consider these options:
– **Self-evaporating models:** These recycle moisture back into the cooling cycle, so no external drain is needed. Look for units labeled “no-drain required.”
– **Dual-hose systems:** Instead of venting heat outside, these draw in fresh air from outside, reducing internal humidity and cutting down on condensation.
– **Manual draining:** Some units have a removable tank. You simply empty it periodically—ideal for small spaces or temporary use.
If you’re shopping for a new unit, compare features like best portable AC that does not need draining or best portable AC with dual hose system to find one that fits your lifestyle.
Maintenance Tips for Long-Term Performance
Once your drain hose is installed, keep it in top shape:
– **Flush monthly:** Mix equal parts vinegar and water, then pour it through the hose to dissolve buildup.
– **Inspect after heavy use:** Check for cracks or soft spots, especially in outdoor sections.
– **Replace when worn:** If the hose becomes brittle, discolored, or develops leaks, swap it out immediately.
Regular maintenance prevents clogs and ensures your AC runs efficiently year-round.
When to Call a Professional
While most portable AC drain hose installations are DIY-friendly, consider professional help if:
– Your unit constantly shuts off due to water detection.
– You notice mold around the base or inside the hose.
– The hose must be routed through walls or complex plumbing.
In rare cases, internal components like the condensate pump may fail—and that requires expert repair.
—
Proper portable AC drain hose installation isn’t complicated, but it’s critical. A few minutes of careful setup saves you from headaches, water damage, and costly repairs. Whether you’re setting up a cooling station for your home office or preparing for a heatwave, take the time to do it right. With the right tools, a little patience, and attention to detail, your portable AC will deliver reliable, leak-free performance—season after season.
Frequently Asked Questions
How do I prevent mold in my drain hose?
Flush the hose monthly with a vinegar-water solution and ensure it always slopes downward. Dry the exterior after cleaning.
Is it okay to leave the hose connected overnight?
Yes, as long as it’s properly secured and sloped. Just verify there are no leaks before bedtime.
Can I reuse an old drain hose?
Only if it’s in good condition—no cracks, soft spots, or mineral buildup. Otherwise, replace it to avoid clogs.
What happens if the hose gets clogged?
The water backs up, triggering the safety sensor to shut off the unit. Regular cleaning prevents this issue.
Do I need special tools to install the hose?
Basic tools like scissors, clamps, and measuring tape are enough. No power tools required.
Can I install the hose myself?
Absolutely! Most homeowners complete the installation in under 20 minutes with simple instructions.