
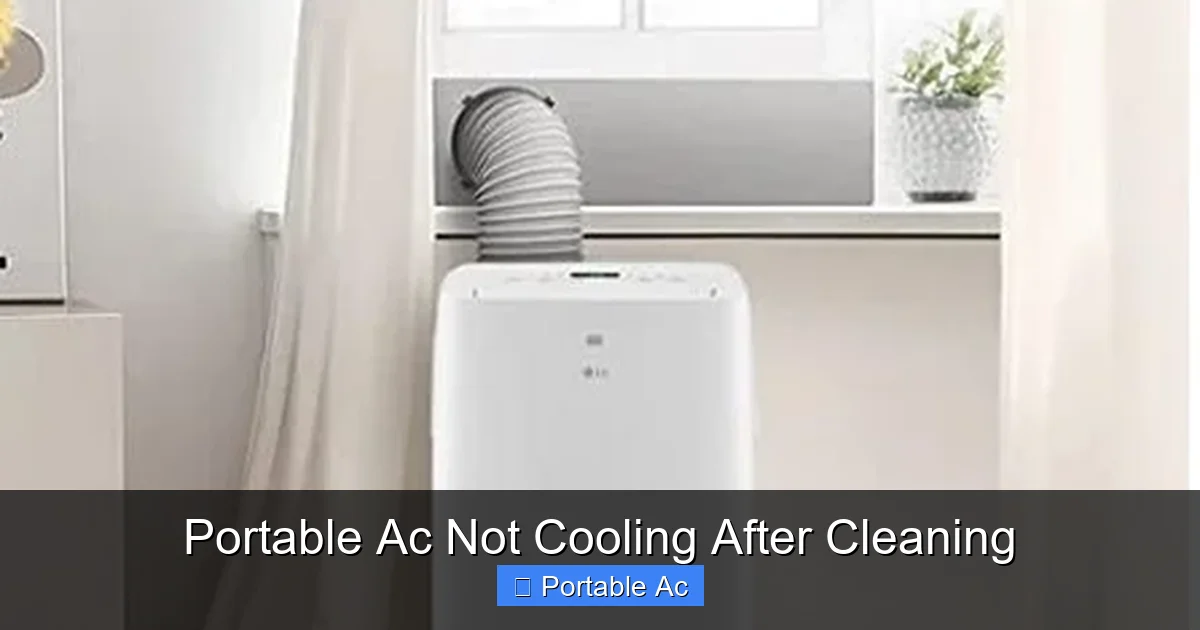
Your portable AC stopped cooling right after you cleaned it—frustrating, right? Don’t panic! Most issues stem from improper reassembly or missed steps during cleaning. This guide walks you through common causes like blocked air filters, disconnected hoses, or refrigerant problems, with clear fixes so you can get back to cool comfort fast.
If your portable AC isn’t cooling after cleaning, you’re not alone. Millions of homeowners and renters rely on these convenient units for relief during hot summer months—only to find them suddenly ineffective right after a much-needed cleaning. It’s incredibly frustrating: you take time to clean every component, follow instructions carefully, and still wake up sweating. The truth? Most post-cleaning cooling failures aren’t due to dirt or grime—they’re caused by simple mistakes during reassembly or overlooked system checks. In this article, we’ll walk you through exactly what went wrong (and how to fix it), so your portable AC works like new again.
Portable air conditioners are marvels of engineering. Unlike window units, they don’t need permanent installation—just a window vent hose to expel hot air. But that hose, along with filters, condensers, and drainage systems, must be maintained properly. When you clean your unit thoroughly but skip a critical step—like reconnecting the exhaust hose correctly—you essentially create a barrier between cold air and your living space. That’s why understanding both the science behind portable AC operation and common human error points is essential.
Before diving into fixes, remember: safety comes first. Unplug your unit before inspecting or handling internal parts. Use only manufacturer-recommended cleaning tools, and never force hoses or panels into place. With that said, let’s troubleshoot why your portable AC isn’t cooling after cleaning—and how to restore its performance quickly.
Key Takeaways
- Reassembly errors are the top cause: Misplaced hoses, loose panels, or incorrect filter placement can block airflow and prevent cooling.
- Refrigerant levels matter: If the coolant is low or frozen coils exist, your unit won’t cool—even if clean.
- Drainage clogs mimic cooling failure: A full or kinked drain tube stops condensation, leading to shutdowns or reduced efficiency.
- Power and settings check first: Always verify the unit is on “cool” mode, temperature is set below room temp, and power supply is stable.
- Use a proper cleaning kit: Investing in a quality portable AC cleaning kit ensures safe, effective maintenance without damaging parts.
- Schedule professional service if needed: Persistent issues may require certified technician help for internal components like compressors or sensors.
Quick Answers to Common Questions
Can I use tap water to clean my portable AC?
Yes, but only for rinsing filters and external surfaces. Never spray water directly onto electrical components or internal coils. Use distilled water if mineral buildup is severe.
How often should I clean my portable AC?
At least once every 2–3 weeks during heavy use. Monthly cleaning prevents mold and maintains efficiency. Refer to your manual for model-specific recommendations.
Will vinegar damage my portable AC parts?
No—white vinegar is safe for descaling coils and drain lines. Mix 1:1 with water and pour slowly into the drain tube. Rinse thoroughly afterward.
Is it normal for my portable AC to run but not cool?
Only briefly while warming up. If it continues running without cooling, check hose connections and filters. Prolonged operation suggests a deeper issue.
Can I leave my portable AC off for months?
Yes, but clean it before storage to prevent mold. Store in a dry place with the filter removed and drain tube emptied.
📑 Table of Contents
Why Your Portable AC Stops Cooling After Cleaning
Cleaning your portable AC improves efficiency and extends lifespan, but improper technique can do more harm than good. Here’s what typically happens:
When you remove the front panel or filter housing, you gain access to key components: the evaporator coil, fan blades, and condensate tray. While cleaning these areas removes dust and mold buildup, many users rush reassembly. A hose left disconnected, a filter placed upside down, or a panel misaligned can block essential airflow paths. Without proper intake and exhaust flow, your AC can’t transfer heat—so it won’t cool at all.
Another frequent issue involves the drain system. During cleaning, debris might fall into the drain tube or condensation pan. If the tube remains clogged or bent, water can’t exit properly. This triggers automatic shutoffs designed to protect the compressor from flooding. So even though your AC runs, it refuses to cool because it’s essentially shutting itself down to avoid damage.
Finally, some models have internal sensors that detect abnormal conditions. If the float switch (which monitors water level) gets stuck due to residue buildup, the system assumes it’s overflowing—even when it’s not. This causes premature shutdowns unrelated to actual cooling capacity.
Common Mistakes During Reassembly
Even experienced DIYers make these errors:
– Forgetting to reconnect the exhaust hose securely at both ends
– Installing the air filter backward, blocking return airflow
– Not aligning the side panels flush with the main unit
– Omitting the protective mesh cover over the condenser coil
Each of these blocks either incoming air or outgoing hot air, creating a loop where no real cooling occurs. Always double-check connections before plugging in your unit.
The Role of Refrigerant in Cooling Performance
While rare after cleaning, refrigerant issues can mimic post-cleaning failure. If your unit was serviced recently or shows signs of leaks (unusual hissing sounds, oily residue near joints), the refrigerant level may be insufficient. Low refrigerant means the compressor can’t absorb enough heat from indoor air—so output stays warm. In such cases, professional recharge is required; DIY attempts risk environmental harm and void warranties.
Step-by-Step Fix: Restore Cooling After Cleaning
Visual guide about Portable Ac Not Cooling After Cleaning
Image source: machineanswered.com
Follow this checklist to diagnose and resolve the problem systematically:
1. Verify Power and Settings
Ensure the unit is plugged in firmly and the circuit breaker hasn’t tripped. Check the display for error codes. Set the thermostat to “cool,” fan speed to high, and target temperature at least 5–7°F below current room temp. Wait 10–15 minutes—some units take time to activate the compressor.
2. Inspect Hose Connections
Remove the exhaust hose from the window and inspect both ends for cracks or blockages. Reattach snugly, ensuring the window bracket seals tightly to prevent air leaks. If your model uses a dual-hose system (more efficient), confirm both hoses are connected and unobstructed.
3. Clean or Replace Filters
Remove the washable filter(s) and rinse under lukewarm water with mild soap. Let them dry completely—never reinstall wet filters. If disposable, replace with OEM-grade replacements. Dirty filters restrict airflow, reducing cooling by up to 30%.
4. Clear the Drain Tube and Tray
Locate the drain outlet (usually at the back or bottom). Use compressed air or a soft brush to clear any debris. Pour a cup of white vinegar down the tube weekly to prevent algae growth. Ensure the condensate tray isn’t cracked—cracks cause leaks that trigger safety shutdowns.
5. Check Evaporator and Condenser Coils
Use a vacuum with a brush attachment to gently remove dust from aluminum fins. Never use high-pressure water, which damages coatings. If coils are heavily frosted, wait 30 minutes—it indicates low refrigerant or restricted airflow.
6. Reset the Unit
Unplug your portable AC for 5 minutes. This resets internal electronics and clears temporary faults. Plug back in and test again.
For persistent issues, consult our guide on fixing AC not cooling effortlessly. It covers advanced diagnostics like checking capillary tubes or sensor calibration.
Prevent Future Cooling Failures
Maintenance is easier than repair. Create a quarterly routine:
– Vacuum coils monthly
– Wash filters biweekly during peak use
– Inspect hoses for wear every season
– Keep the area around the unit clear of furniture or curtains
Invest in a reliable AC cleaning kit designed specifically for portable units. These include microfiber cloths, coil brushes, and sealants to protect against moisture.
When to Call a Professional
Visual guide about Portable Ac Not Cooling After Cleaning
Image source: machineanswered.com
Most post-cleaning issues are DIY-fixable, but certain red flags demand expert help:
– Loud grinding or clicking noises during startup
– Strong chemical smells or burning odors
– Continuous error codes (e.g., E1, F1, or “fault” messages)
– Frost forming inside the unit within 30 minutes of operation
These suggest internal mechanical failure, electrical faults, or refrigerant leaks. Attempting repairs without certification risks injury or further damage. Certified HVAC technicians have the tools and training to safely diagnose and service sensitive components.
Choosing the Right Portable AC for Reliable Performance
If your current unit repeatedly fails after cleaning, consider upgrading. Look for models with:
– Self-diagnostic displays
– Anti-mold filters
– Dual-hose designs for better airflow
– Easy-access panels for quick maintenance
Check out our picks for the best value portable ACs for money, which balance affordability with durability and user-friendly features.
Long-Term Tips for Optimal Cooling
Visual guide about Portable Ac Not Cooling After Cleaning
Image source: images.ctfassets.net
Beyond cleaning, optimize your setup:
– Place the unit on a flat, level surface to ensure proper drainage
– Use thermal curtains to reduce solar heat gain
– Elevate the window bracket slightly for improved exhaust efficiency
– Avoid placing the unit near heat sources like lamps or appliances
Remember, portable ACs work best in well-insulated rooms. If your space loses too much cool air through gaps or poor sealing, no amount of cleaning will compensate.
Environmental Considerations
Modern portable ACs use eco-friendly refrigerants like R-32, which have lower global warming potential than older models. Regular maintenance reduces energy waste and extends equipment life—making your cooling efforts more sustainable.
Frequently Asked Questions
Why does my portable AC leak water after cleaning?
Leaks usually occur if the drain tube wasn’t reassembled correctly or the condensate tray is cracked. Also, overfilling the tray during cleaning can cause spills. Always empty the tray fully before reassembly.
Should I clean the exterior vents too?
Absolutely. Dust-blocked intake/exhaust vents reduce airflow by up to 40%. Use a soft brush or canned air to clear grilles on both sides of the unit.
What if my portable AC has a dual hose?
Dual-hose models draw air through one intake and exhaust via the other, improving efficiency. Ensure both hoses are connected and free of kinks—especially the smaller vent hose inside the room.
Can I use a hairdryer to speed up drying?
Not recommended. Heat can warp plastic parts or damage insulation. Air-dry filters completely in shade—this takes 2–4 hours depending on humidity.
Does room size affect cooling after cleaning?
Yes. A portable AC rated for 500 sq ft won’t cool a 900 sq ft room effectively—even if perfectly maintained. Match unit capacity to your space using BTU guidelines.
How do I know if my portable AC needs professional service?
If it cycles on/off rapidly, emits strange noises, or shows consistent error codes despite basic troubleshooting, contact an HVAC pro. These indicate internal faults beyond user repair.