Venting your portable AC properly is essential for maximum cooling and energy efficiency. Without a proper exhaust setup, hot air recirculates, reducing performance and increasing humidity. This guide walks you through every step—from choosing the right hose to securing the vent—so your portable AC works smarter, not harder.
Key Takeaways
- Proper venting is critical: A portable AC removes hot air and moisture from inside your room. If that air isn’t exhausted outside, it just circulates back, making your unit work harder and cool less effectively.
- Use the correct vent hose: Most portable ACs come with a flexible exhaust hose. Ensure it’s the right size (usually 5 or 6 inches in diameter) and free of kinks or obstructions.
- Install through a window or wall: The vent hose must exit through a window, wall, or vent opening. A poorly sealed exit point can let in hot outdoor air or let cool air escape.
- Keep the hose straight: Avoid sharp bends or long, coiled sections. A straight or gently curved path ensures smooth airflow and better cooling performance.
- Prevent rain and debris: Use a rain guard or vent cover to stop water, dust, and pests from entering the hose. This also helps maintain airflow and protects your unit.
- Regular maintenance matters: Clean the filter and check the hose periodically. A clogged filter or dirty hose reduces efficiency and can lead to overheating or water leaks.
- Consider alternatives: If window installation is tricky, explore wall vent kits or external exhaust fans designed for portable ACs.
Quick Answers to Common Questions
Can I vent a portable AC through a sliding door?
Yes, you can vent a portable AC through a sliding door using a sliding door kit. These kits attach to the door track and provide a sealed exit for the exhaust hose.
What happens if I don’t vent my portable AC?
If you don’t vent your portable AC, hot air will recirculate back into the room, reducing cooling efficiency and increasing humidity. The unit may also overheat or shut down.
How long should the vent hose be?
The ideal hose length depends on your setup, but most portable ACs work best with hoses under 6 feet. Longer hoses can restrict airflow, so keep it as short and straight as possible.
Can I use tape to seal the vent hose?
Yes, use duct tape or foil tape to secure connections and prevent air leaks. Avoid regular tape, as it may degrade in heat and lose adhesion over time.
Do I need a rain guard for outdoor venting?
Yes, a rain guard or vent cover is essential to prevent water, dust, and pests from entering the hose. It also helps maintain airflow and protects your unit from damage.
📑 Table of Contents
How to Vent Portable AC: A Complete Guide to Efficient Cooling
You just bought a portable air conditioner because you need relief from the heat—but now you’re stuck trying to figure out how to vent it. Don’t worry, you’re not alone. Venting a portable AC is one of the most misunderstood parts of owning one. Many people assume it’s as simple as “plugging it in and pointing it at the window,” but the truth is, doing it wrong can make your unit less effective, increase your electricity bill, or even cause water leaks.
A portable air conditioner works by pulling in warm air from your room, cooling it, and then expelling the hot, moist air outside. If you don’t vent it properly, that hot air just recirculates back into the room—like trying to cool a room by blowing air into a closed box. That’s why understanding how to vent portable AC is so important. In this guide, we’ll walk you through everything from choosing the right hose to securing the vent, so you can enjoy cool, dry air without the headache.
Why Proper Venting Matters
Before we dive into the steps, let’s talk about why venting is so crucial. A portable AC removes heat and humidity from your space, but it needs an exit route for that heat. Without proper venting, the unit can’t expel the hot air, so it starts pulling it back in. This creates a loop—your AC works harder, uses more energy, and cools less efficiently. In some cases, poor venting can even cause the unit to overheat or shut down.
Visual guide about How to Vent Portable Ac
Image source: acsupportspoint.com
Additionally, if moisture isn’t expelled properly, it can condense inside the unit or drip into your room. That’s why a well-vented portable AC not only cools better but also helps reduce indoor humidity, making your space feel more comfortable. Think of venting as the lungs of your portable AC—without them, it can’t breathe.
Step-by-Step Guide to Venting Your Portable AC
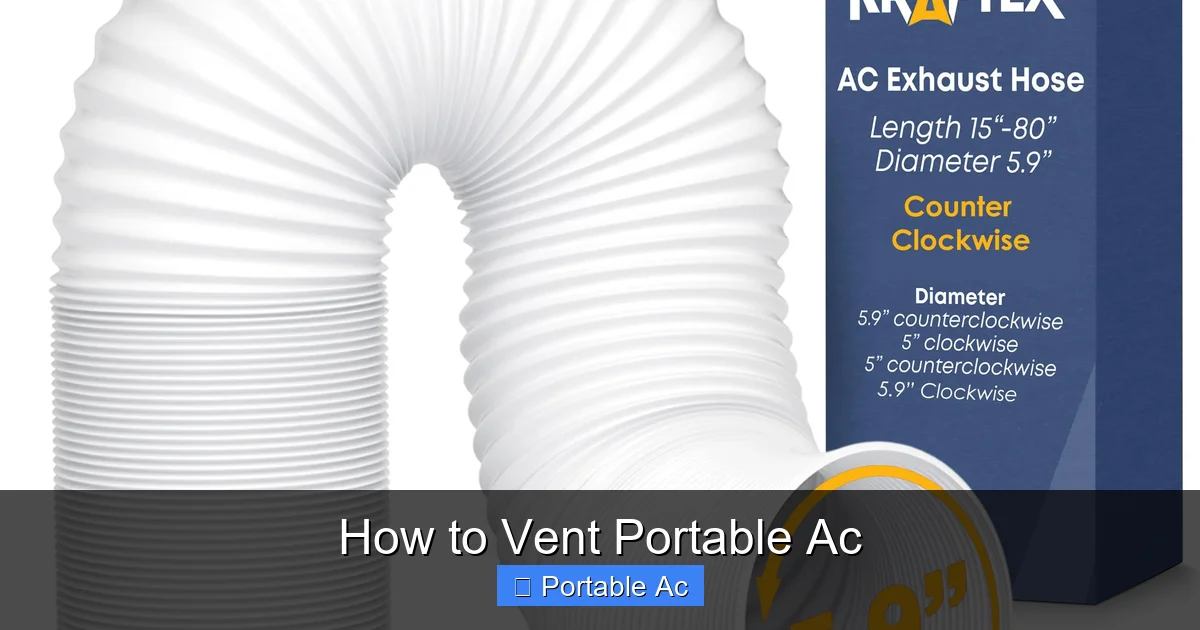
1. Check Your Unit’s Specifications
Not all portable ACs are created equal. Some come with a single-hose system, while others use dual hoses for better efficiency. Before you start, check your user manual to confirm what type of venting system your unit has. Most single-hose models require one hose to exhaust hot air, while dual-hose units pull in outside air through one hose and expel hot air through another—this design is more efficient but less common.
Visual guide about How to Vent Portable Ac
Image source: m.media-amazon.com
Also, verify the diameter of the exhaust hose. Standard sizes are 5 inches or 6 inches. Using a hose that’s too small or too large can restrict airflow and reduce cooling power. If your hose is damaged or missing, replace it with one that matches your unit’s specifications.
2. Choose the Right Exit Point
The next step is deciding where to vent your AC. The most common options are windows, sliding doors, or exterior walls. For windows, you’ll need a window kit—usually included with your unit or available for purchase. These kits often include a mounting bracket, adjustable panels, and a seal to block drafts.
If you’re venting through a wall, you’ll need a wall vent kit. These allow you to cut a hole in the exterior wall and install a duct that extends outside. This is a great option if you don’t have a window nearby or want a cleaner look. Just make sure the hole is the right size and properly sealed to prevent air leaks.
3. Install the Window Kit (For Windows)
Installing a window kit is usually straightforward. Start by attaching the mounting bracket to the outside of the window frame. Then, slide the adjustable panels into the bracket and secure them with screws or clamps. The idea is to create a snug fit so no hot air can sneak in around the edges.
Next, connect the exhaust hose to the back of your portable AC and thread it through the window opening. Make sure the hose is fully inserted into the window kit’s duct. Once everything is in place, close the window on top of the kit to create a tight seal. You can also use weather stripping or foam tape to fill any gaps.
4. Install the Wall Vent (For Walls)
For wall venting, you’ll need a wall sleeve or ducting kit. Start by marking the location on the exterior wall where you want the vent. Use a drill and saw to cut a hole slightly larger than the vent diameter. Insert the wall sleeve into the hole and secure it with screws or adhesive.
Then, connect the exhaust hose to the sleeve and run it through the wall. Inside your room, attach the hose to the back of the portable AC. Use duct tape or clamps to ensure a tight connection. Finally, install a vent cover or rain guard on the outside to keep out debris and water.
5. Secure the Hose and Prevent Air Leaks
Once the hose is connected, make sure it’s as straight as possible. Avoid sharp bends or long loops, especially near the AC unit. Kinks or coils can block airflow and reduce cooling efficiency. If you must run the hose around a corner, use a gentle curve or a flexible duct connector.
To prevent air leaks, use duct tape or foam sealant around any connections. You can also wrap the hose with foil tape or insulation tape to improve airflow and reduce noise. If the hose is long, consider using a hose support or clip to keep it off the floor and prevent tripping hazards.
6. Add a Rain Guard or Vent Cover
Outdoor conditions can be harsh. Rain, wind, and debris can enter the vent hose and cause problems. To protect your system, install a rain guard or vent cover on the outside. These are usually made of plastic or metal and attach to the vent opening. They allow air to flow out but block water and pests.
Some models come with built-in rain guards, but if yours doesn’t, you can buy an aftermarket cover. Just make sure it’s the right size and doesn’t restrict airflow. A well-designed cover can prevent water leaks, reduce noise, and extend the life of your portable AC.
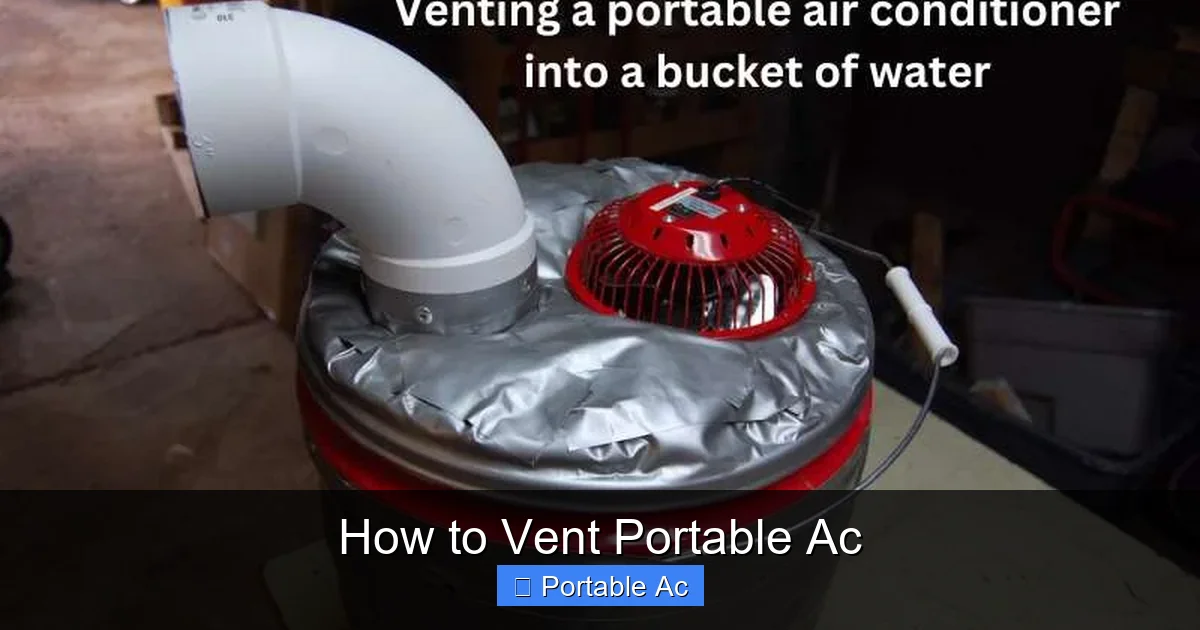
Common Venting Mistakes to Avoid
Even with the right tools, mistakes can happen. Here are some common errors people make when venting portable ACs—and how to avoid them.
Visual guide about How to Vent Portable Ac
Image source: smartacsolutions.com
Mistake 1: Using the Wrong Hose Size
Using a hose that’s too small or too large can restrict airflow. A 4-inch hose, for example, may not allow enough hot air to escape, reducing cooling power. Always check your unit’s manual for the correct hose diameter.
Mistake 2: Not Sealing the Window or Wall
If the vent exit isn’t sealed, hot outdoor air can enter the room, defeating the purpose of cooling. Use weather stripping, foam tape, or a window kit with a tight seal to block drafts.
Mistake 3: Coiling the Hose Too Tightly
Coiling the hose near the AC unit creates resistance and reduces efficiency. Keep the hose as straight as possible, and if you need extra length, run it along the wall or floor with supports.
Mistake 4: Forgetting to Clean the Filter
A dirty filter restricts airflow and forces the AC to work harder. Clean or replace the filter every 2–4 weeks, especially during peak cooling season. This also helps prevent dust buildup in the vent hose.
Mistake 5: Not Using a Rain Guard
Without a rain guard, water can enter the hose and drip into your room or damage the unit. Always install a cover or guard on the outside vent opening.
Tips for Better Performance
Want your portable AC to run cooler and last longer? Try these pro tips:
- Keep the room closed: Close doors and curtains to prevent hot air from entering and cool air from escaping.
- Use a dehumidifier nearby: Portable ACs remove moisture, but adding a dehumidifier can improve comfort in humid climates.
- Elevate the unit: Place your portable AC on a stand or table to improve airflow around the unit and reduce noise.
- Check for leaks: If you notice water pooling or dripping, inspect the drain hose and vent for blockages or kinks.
- Upgrade to a dual-hose model: If you’re serious about efficiency, consider switching to a dual-hose portable AC. It pulls in cool outside air and expels hot air, improving cooling and reducing humidity.
For more tips on maximizing your portable AC’s performance, check out our guide on How to Make Portable AC Colder.
When to Call a Professional
While most venting tasks are DIY-friendly, there are situations where you might need help. If you’re installing a wall vent and don’t feel comfortable cutting into the exterior wall, consider hiring a contractor. Also, if your unit is leaking water despite proper venting, there may be an internal issue—like a clogged drain or faulty float switch—that requires professional repair.
For complex setups or if you’re unsure about electrical or structural changes, it’s always safer to consult a technician. Safety first!
Conclusion
Venting your portable AC doesn’t have to be complicated. With the right tools, a bit of patience, and attention to detail, you can set up an efficient, leak-free system that keeps your room cool all summer long. Remember: a properly vented portable AC isn’t just more effective—it’s safer, quieter, and kinder to your wallet.
Whether you’re using a window kit, wall vent, or sliding door adapter, the key is to create a sealed, unobstructed path for hot air to escape. Avoid common mistakes like kinking the hose or skipping the rain guard, and your portable AC will thank you with consistent cooling and fewer repairs.
Ready to take the next step? Explore our related guides on How to Install Portable AC Hose and How to Prevent Rain Entering Portable AC Vent for even more expert tips.
Frequently Asked Questions
Can I vent a portable AC through a basement window?
Yes, but ensure the window is on an exterior wall and the vent hose is properly sealed. You may also need to install a window kit or wall sleeve for a secure fit.
How do I stop my portable AC from leaking water?
Water leaks are often caused by a clogged drain hose, improper tilt, or a full drip tray. Check the hose for kinks, clean the filter, and empty the water tank regularly.
Is it safe to vent a portable AC through a bedroom window?
Yes, as long as the window is sealed properly and the exhaust hose is securely connected. Just make sure the window kit blocks drafts and prevents hot air from entering.
Can I use an extension hose for my portable AC?
You can use an extension hose, but make sure it’s the same diameter as the original and doesn’t create sharp bends. Avoid long, coiled sections that restrict airflow.
How often should I clean the vent hose?
Clean the vent hose every 1–2 months, especially if you notice reduced airflow or musty smells. Use a vacuum or brush to remove dust and debris.
What’s the difference between single-hose and dual-hose portable ACs?
Single-hose units expel hot air through one hose, while dual-hose units pull in cool outside air through one hose and expel hot air through another. Dual-hose models are more efficient but more expensive.